Homemade Pumpkin Pie (No-Fuss Greek Yogurt Crust)
This homemade pumpkin pie has a flaky Greek yogurt crust and a silky spiced filling — plus exact high altitude adjustments so it turns out perfect every time.
Quick Look at this Homemade Pumpkin Pie
This post may contain affiliate links. As an amazon associate I earn from qualifying purchases at no additional cost to you.
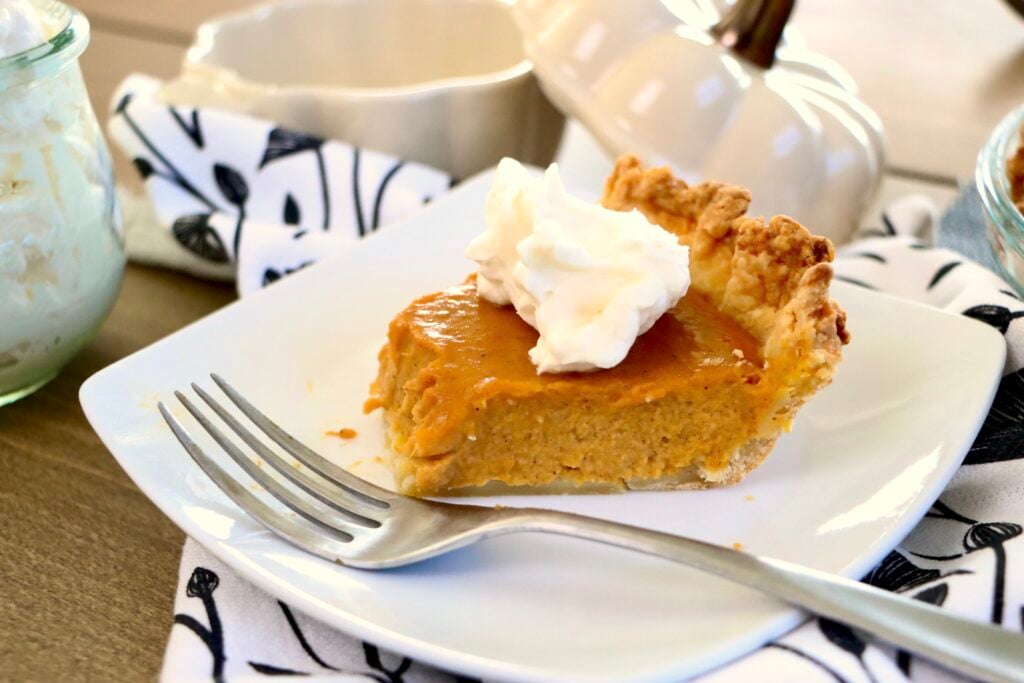
This homemade pumpkin pie is delightful — a flaky, Greek yogurt crust holding a silky, perfectly spiced pumpkin custard. No shortening, no lard, no 37-ingredient filling. Just real ingredients, a handful of pantry spices, and a crust that comes together with your hands in about ten minutes.
If you’ve made my Greek Yogurt Pie Crust before, this filling is the one I built to go with it. And because I bake at 7,053 ft, every single step below has the high altitude adjustment built right in — so you’re not left guessing why your pie cracked or your crust turned out tough.
This filling is actually my great-grandma’s recipe. She used to cook down and can her own pumpkin filling from scratch every fall — we’ve swapped that step for a can of pumpkin puree, and it’s still just as good. And unlike most pumpkin pie recipes, this one skips the canned evaporated milk entirely and uses heavy cream instead, for a richer, silkier custard.
The #1 fix for a pumpkin pie that cracks is baking it at a lower temperature — 325°F if you’re at high altitude, 350°F at sea level — and pulling it while the center still has a gentle jiggle instead of baking until it looks fully set (see more notes below).
High Altitude Tips
Crust oven temp: blind bake at 425°F instead of 400°F. This crust formula needs that 15–25°F bump at altitude to set before the butter melts out.
Filling oven temp: bake at 325°F instead of 350°F. Custard fillings at altitude actually need a lower temp than sea level, not higher — the lower air pressure makes moisture evaporate faster, so a hotter oven will crack and curdle the custard before the center sets.
Watch the time, not just the clock: altitude ovens run unevenly. Start checking at 55 minutes and use the doneness test below rather than pulling it at a fixed time.
Ingredients
For the Greek Yogurt Crust
- 1 cup all-purpose flour (+1 Tbsp for high altitude)
- 1/8 cup (2 Tbsp) granulated sugar
- 1 tsp salt
- 1/2 cup cold butter, grated
- 1/3 cup plain Greek yogurt
For the Pumpkin Filling
- 1 (15 oz) can pumpkin puree
- 2 large eggs
- 1 cup heavy cream
- 1/2 cup granulated sugar
- 1/2 tsp salt
- 1/2 tsp ground nutmeg
- 1/2 tsp ground ginger
- 1 tsp ground cinnamon
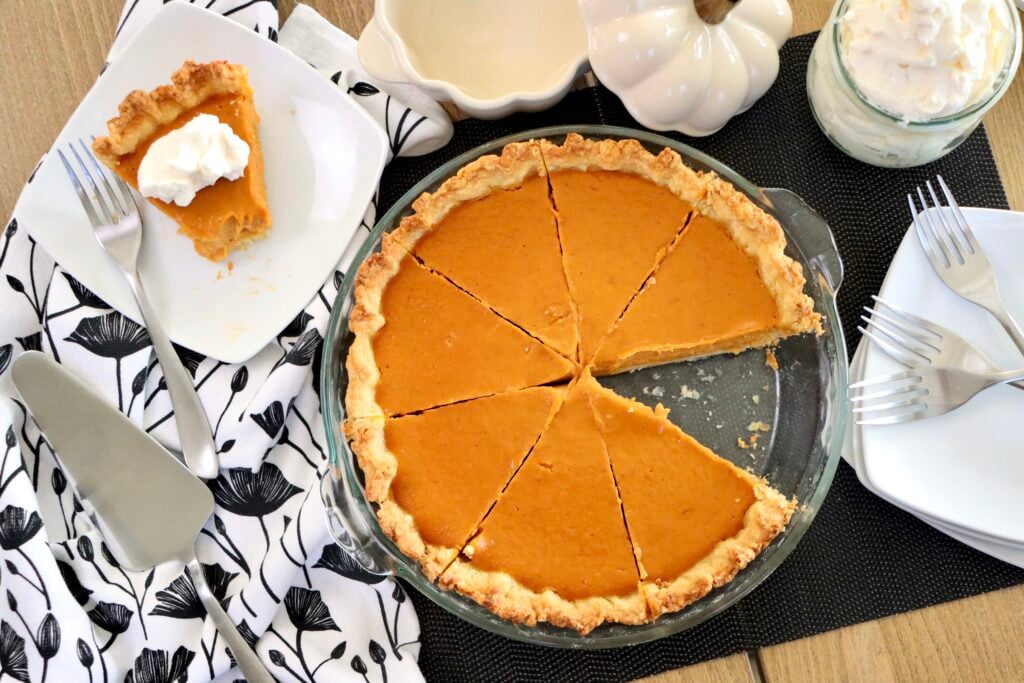
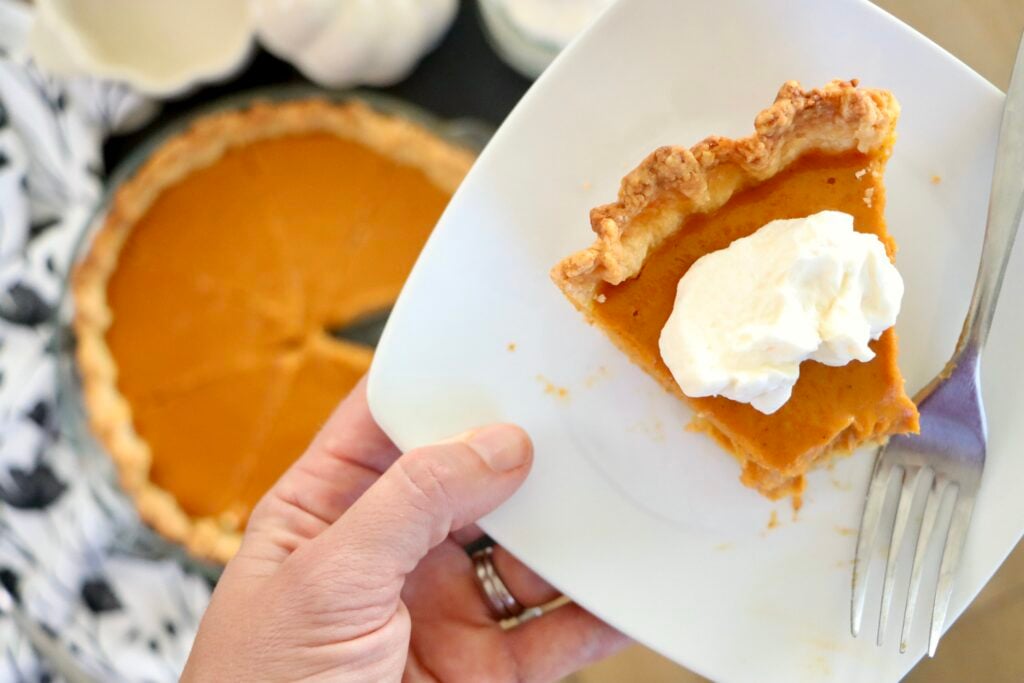
Serve with a dollop of homemade whipped cream, or go all in with a scoop of cinnamon ice cream on the side — it’s the easiest way to make this feel finished.
Directions
Make the Crust
Add the flour, sugar, and salt to a large bowl and whisk to combine. Grate the cold butter straight into the bowl using a box grater, then work it in gently with your hands just until the mixture looks shaggy and coarse — you still want to see small bits of butter. Add the Greek yogurt and mix with a pastry cutter, your hands, or both, just until the dough comes together. If it feels dry, add flour 1–2 Tbsp at a time (see high altitude note above) rather than more yogurt.
On a lightly floured surface, roll the dough out and gently shape it into a 9-inch pie pan, crimping the edges however you like. Once shaped, pop the crust in the freezer while your oven preheats to 400°F (425°F for high altitude).
Blind Bake
Once the oven is fully preheated, pull the crust straight from the freezer, line it with parchment or foil, and fill with pie weights. Bake for 12–15 minutes, until the edges are just starting to turn golden.
Make the Filling
While the crust bakes, add the pumpkin puree, eggs, heavy cream, sugar, salt, nutmeg, ginger, and cinnamon to a bowl and whisk until completely smooth.
Bake the Pie
Pour the filling into your prebaked crust. Bake at 350°F (325°F for high altitude) for 55–75 minutes, watching closely toward the end. Use the doneness test below rather than relying on time alone — every oven (and every altitude) bakes a custard pie a little differently.
Cool
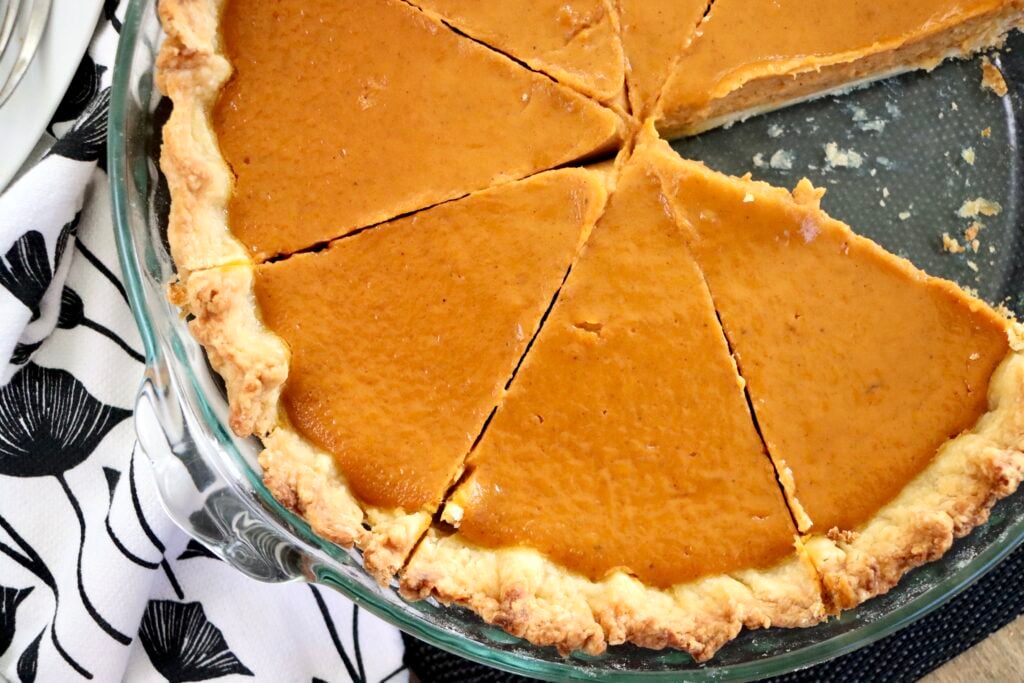
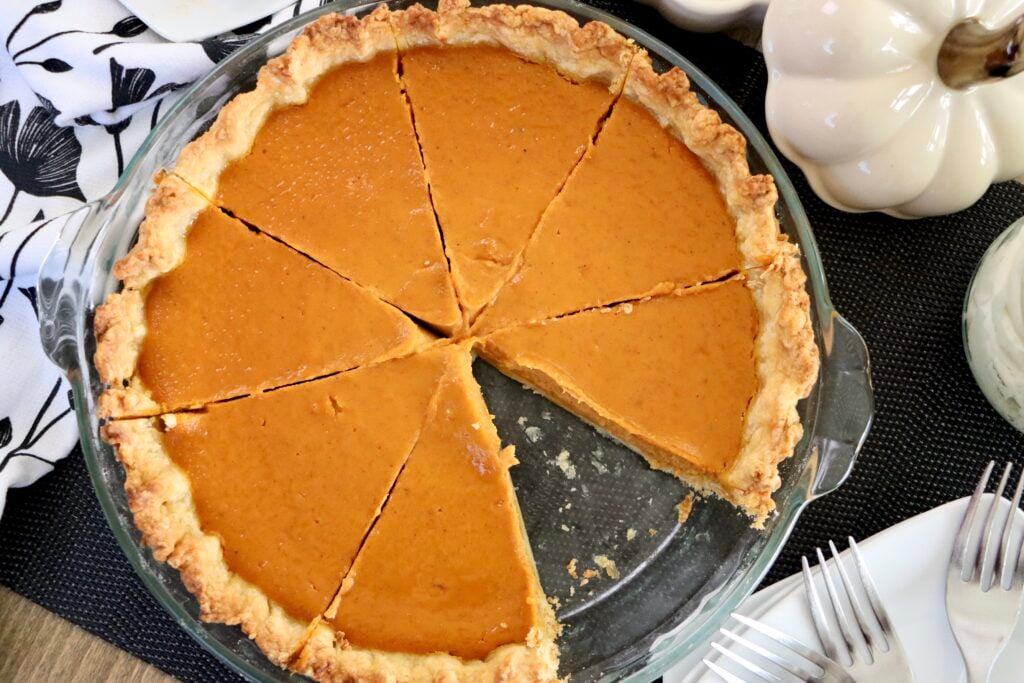
Let the pie cool completely on the counter, then chill for at least 2 hours before slicing. This is the step people skip and shouldn’t — a warm pumpkin pie won’t hold a clean slice.
How to Tell If Your Pumpkin Pie Is Done
This is the part that trips people up more than anything else in this recipe, so here’s exactly what to look for:
- Perfectly baked: the outer 2–3 inches are set and slightly puffed, while the very center still has a gentle jiggle — think set Jell-O, not liquid. If you have an instant-read thermometer, the center should read 175–180°F.
- Underbaked: the center looks wet, shiny, or sloshes when you nudge the pan. If a knife inserted an inch from the center comes out with wet batter clinging to it, it needs more time.
- Overbaked: the top has cracked, the filling looks puffed up like a soufflé, or the edges have pulled away from the crust. This almost always means the oven was too hot for the altitude you’re baking at — see the high altitude tip above.
The filling will continue to set as it cools, so a slight wobble in the very center when you pull it from the oven is exactly what you want.
Why This Recipe Works
The Greek yogurt in the crust does two jobs at once — it keeps the dough tender without shortening or lard, and it adds just enough tang to balance the sweetness of the filling. Grating the butter instead of cutting it in means you get even, tiny pockets of fat throughout the dough without overworking it, which is what gives you that flaky texture. And blind baking the crust before the filling goes in keeps the bottom from turning soggy under all that custard.
Tips
- Grate your butter straight from the fridge or freezer for the coldest, easiest-to-work-with pieces.
- Don’t skip the pie weights during the blind bake — without them, the crust will puff and slide down the sides.
- Let the filling cool at room temp for about an hour before moving it to the fridge, so the pie doesn’t sweat under plastic wrap.
- A glass or ceramic pie pan bakes more evenly than metal for a custard filling like this one.
Variations
- Spice it up: add a pinch of ground cloves or allspice alongside the nutmeg and ginger for a deeper, more old-fashioned flavor.
- Swap the cream: half-and-half works if that’s what you have on hand — the filling will be slightly less rich but still sets up fine.
- Serve it cold or slightly warm: this pie is genuinely good both ways. If you like it warm, let it sit out for 20–30 minutes after chilling rather than reheating it in the oven.
- Want a sourdough crust instead? My Sourdough Pie Crust swaps in beautifully here if you’ve got discard to use up.
Equipment
A few things that make this pie easier — I keep all of them, plus everything else in my kitchen, on my Amazon storefront:
- A box grater for the cold butter
- Ceramic pie weights (dried beans work too, but pie weights heat more evenly)
- A 9-inch glass or ceramic pie pan
FAQ’s
Can I use fresh pumpkin instead of canned?
Yes, but drain it well first — fresh roasted pumpkin puree holds a lot more water than canned, and extra moisture will give you a runnier filling and a longer bake time.
Why did my pumpkin pie crack?
Cracking almost always means the oven was too hot or the pie baked too long. At altitude specifically, drop the temp to 325°F as noted above — a hotter oven at altitude cooks the edges of the custard much faster than the center, and that uneven cooking is what causes cracks.
Can I make this pumpkin pie ahead of time?
Yes — it actually slices cleaner the next day. Bake it up to 2 days ahead, cool completely, and store covered in the fridge until you’re ready to serve.
Do I have to blind bake the crust?
For this filling, yes. The custard needs about an hour in the oven, and an unbaked crust underneath it will turn soggy long before the filling sets.
Can I freeze pumpkin pie?
You can, though the texture softens slightly after thawing. Freeze the fully cooled, unsliced pie tightly wrapped for up to a month, and thaw overnight in the fridge before serving.
How long does pumpkin pie last in the fridge?
Covered and refrigerated, this pie stays good for 3–4 days. Because it’s a custard filling with eggs and dairy, it should always be stored in the fridge, never left out on the counter for more than about 2 hours.
What’s the difference between pumpkin puree and pumpkin pie filling?
They are not the same thing, and grabbing the wrong can is the most common pumpkin pie mistake. Pumpkin puree is just cooked, pureed pumpkin — nothing else added. Pumpkin pie filling already has sugar and spices mixed in. This recipe calls for plain pumpkin puree, since the spices are added separately.
Can I use pumpkin pie spice instead of the individual spices?
Yes — swap the cinnamon, nutmeg, and ginger for about 2 teaspoons of pumpkin pie spice blend. The flavor will be slightly less bright than using them individually, but it works well in a pinch.
Final Thoughts
This is the pumpkin pie I make every year without fail — real ingredients, no shortcuts, and a crust that actually holds together at altitude. If you make it, leave a comment and let me know how it turned out, and come find me on Instagram, Facebook, or YouTube — I love seeing your pies.
For more from-scratch fall baking, try my Apple Crisp or Pumpkin Spice Muffins next.
Don’t forget to pin this for later!

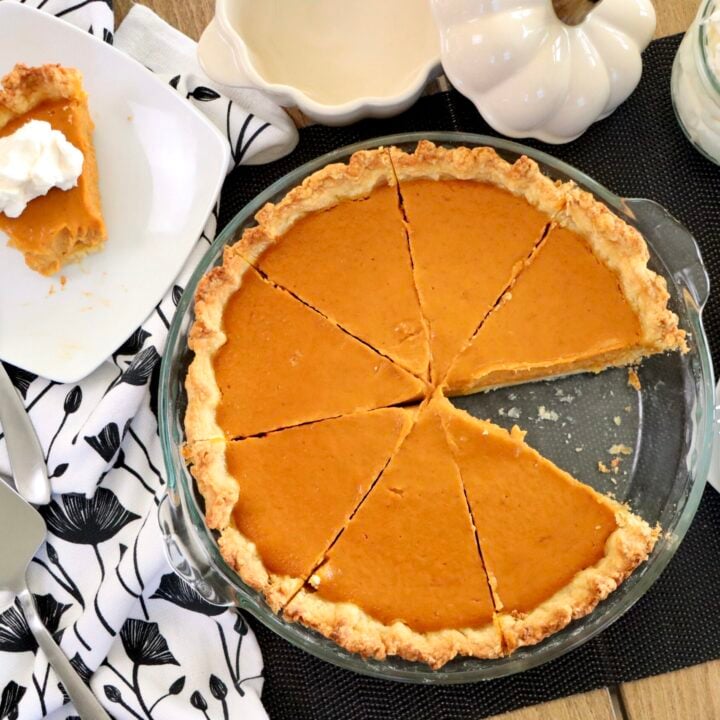
Pumpkin Pie
A flaky Greek yogurt crust filled with a silky, warmly spiced pumpkin custard — made with real ingredients and adjusted for high altitude.
Ingredients
Crust:
- 1 cup all-purpose flour (+1 Tbsp for high altitude)
- 1/8 cup granulated sugar
- 1 tsp salt
- 1/2 cup cold butter, grated
- 1/3 cup plain Greek yogurt
Filling:
- 1 (15 oz) can pumpkin puree
- 2 large eggs
- 1 cup heavy cream
- 1/2 cup granulated sugar
- 1/2 tsp salt
- 1/2 tsp ground nutmeg
- 1/2 tsp ground ginger
- 1 tsp ground cinnamon
Instructions
- Whisk the flour, sugar, and salt together. Grate in the cold butter and work it in gently with your hands. Mix in the Greek yogurt until the dough comes together.
- Roll out on a floured surface and shape into a 9-inch pie pan. Freeze while the oven preheats to 400°F (425°F high altitude).
- Blind bake with pie weights for 12–15 minutes.
- Whisk together all filling ingredients until smooth.
- Pour filling into the prebaked crust. Bake at 350°F (325°F high altitude) for 55–75 minutes, until the center has a slight jiggle.
- Cool completely, then chill at least 2 hours before slicing.
Notes
High altitude bakers — see the full high altitude tips section above before starting.
Doneness test: outer edges set, center jiggles gently like set Jell-O, internal temp 175–180°F.
Nutrition Information:
Yield: 8 Serving Size: 1 SliceAmount Per Serving: Calories: 451Total Fat: 26gSaturated Fat: 16gUnsaturated Fat: 10gCholesterol: 116mgSodium: 541mgCarbohydrates: 48gFiber: 2gSugar: 22gProtein: 7g
Nutrition facts are calculated automatically and are approximate.