The Best Greek Yogurt Pie Crust — So Buttery & Flaky
This Greek yogurt pie crust recipe is buttery, flaky, and ready in minutes — no shortening, no vinegar, just simple ingredients for a savory or sweet pie.
Quick Look at this Greek Yogurt Pie Crust
This post may contain affiliate links. As an amazon associate I earn from qualifying purchases at no additional cost to you.
Real butter, real Greek yogurt, and fifteen minutes — that’s genuinely all this greek yogurt pie crust needs. No shortening, no vinegar, no ice-water guessing games, and no sourdough starter.
I already have a sourdough pie crust on the site that I love, and I still make it all the time. But it needs an active starter or discard on hand, and that’s not always where you’re at. This is the crust for the rest of us — the “I want to make a pie tonight” crust. The Greek yogurt does two things at once: it tenderizes the gluten the same way sour cream or vinegar would, and it adds just enough moisture that you can skip the ice water altogether. The result is a crust that’s flaky in the oven and genuinely forgiving in your hands, which matters more than people admit when you’re rolling dough at 7,053 ft.
Grated cold butter is the move here, not cubed-and-cut-in. A box grater turns a stick of butter into dozens of thin shards in about ten seconds, and those shards are what give you flaky layers instead of one dense, tough disk. If you only take one tip from this post, take that one.
Here’s the actual reason this works: Greek yogurt is acidic, and that acidity slows down gluten development the same way vinegar or sour cream would in a traditional crust. Less gluten development means a more tender bite instead of a tough one — plus the yogurt brings enough moisture on its own that you can skip the ice water most pie crust recipes call for.
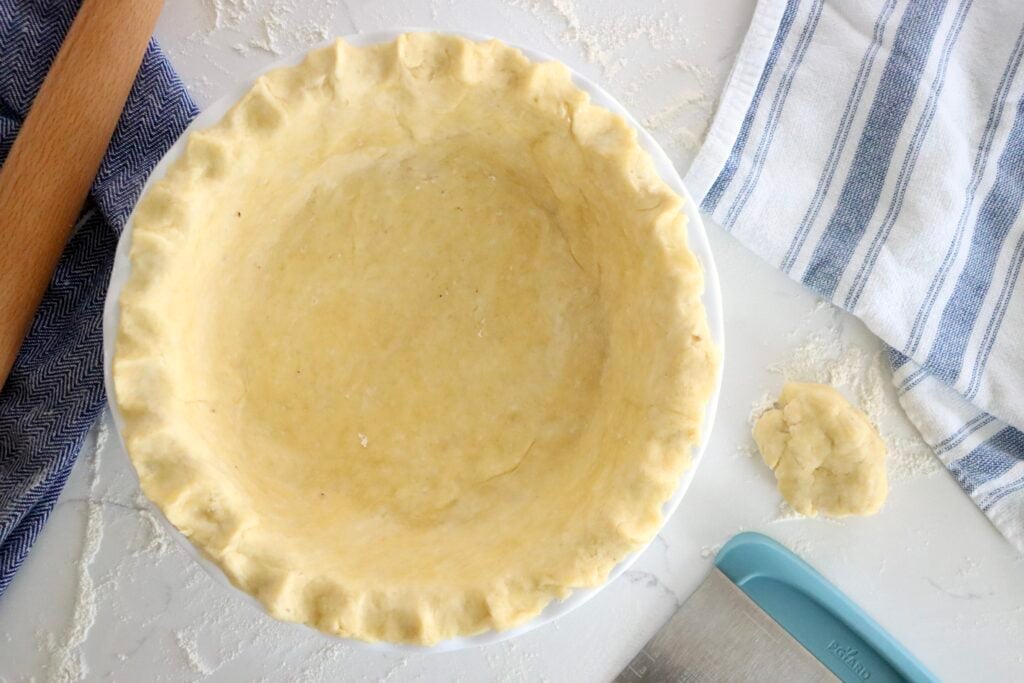
What You’ll Need
- All-purpose flour — unbleached, if you can. No need to weigh it, just don’t pack the cup.
- Granulated sugar — a small amount. It’s not enough to make the crust sweet, just enough to round out the flavor, and it helps the crust brown.
- Salt — don’t skip it, even in a sweet pie. It’s doing more flavor work than the sugar is.
- Cold butter, grated — I use salted butter. Straight from the fridge, or 15 minutes in the freezer if your kitchen runs warm.
- Plain Greek yogurt — full-fat gives you the richest, most tender result. Low-fat works fine too, just slightly less rich.
How to Make Greek Yogurt Pie Crust
Combine the dry ingredients. In a large bowl, whisk together the flour, sugar, and salt until they’re fully combined. This is also the point to double-check your high altitude adjustment below — a little extra flour makes a real difference at elevation.
Grate the butter in. Grate the cold butter directly into the bowl using the large holes of a box grater (aka cheese grater), tossing it through the flour with your fingers every so often so the shreds don’t clump into one mass. Once it’s all in, work it through the flour lightly until it’s evenly coated and the mixture looks like coarse, buttery crumbs.
Add the Greek yogurt. Add the Greek yogurt and start bringing the dough together — a pastry cutter or a fork gets you most of the way there, then switch to your hands to finish. You’re not kneading bread here; you want the dough to just come together, with visible flecks of butter still intact. Overworking it is the #1 way to end up with a tough crust instead of a flaky one.
Divide and chill. Divide the dough in half, shape each half into a flat disk, and wrap tightly in parchment paper or plastic wrap. Use it right away if you’re in a hurry, or chill for at least 30 minutes — this relaxes the gluten and firms the butter back up, which is what actually creates those flaky layers when it hits the oven.
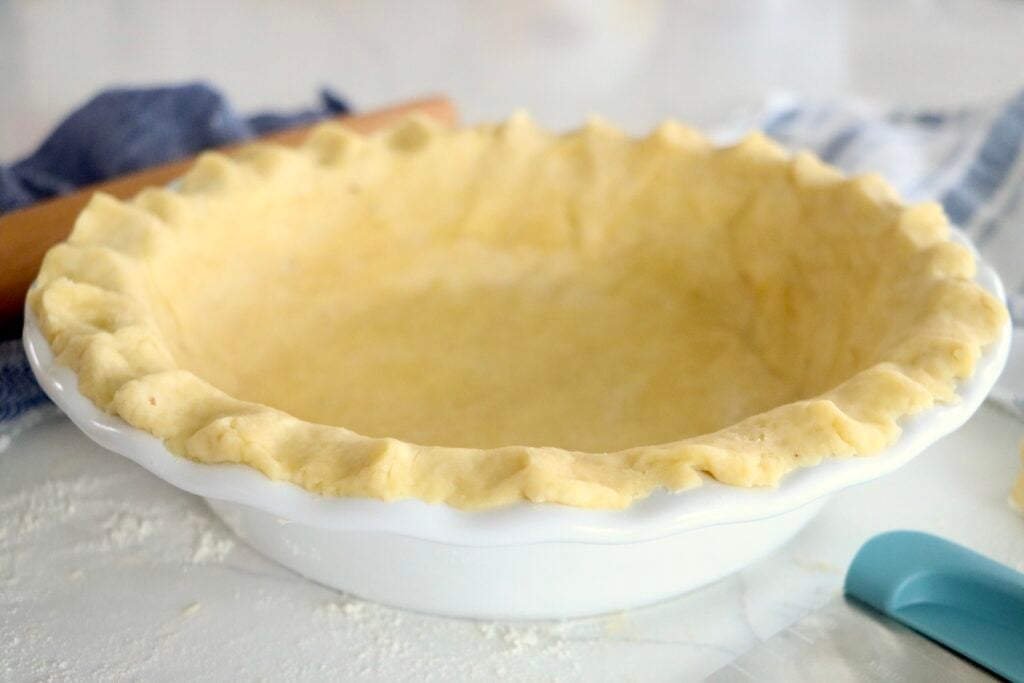
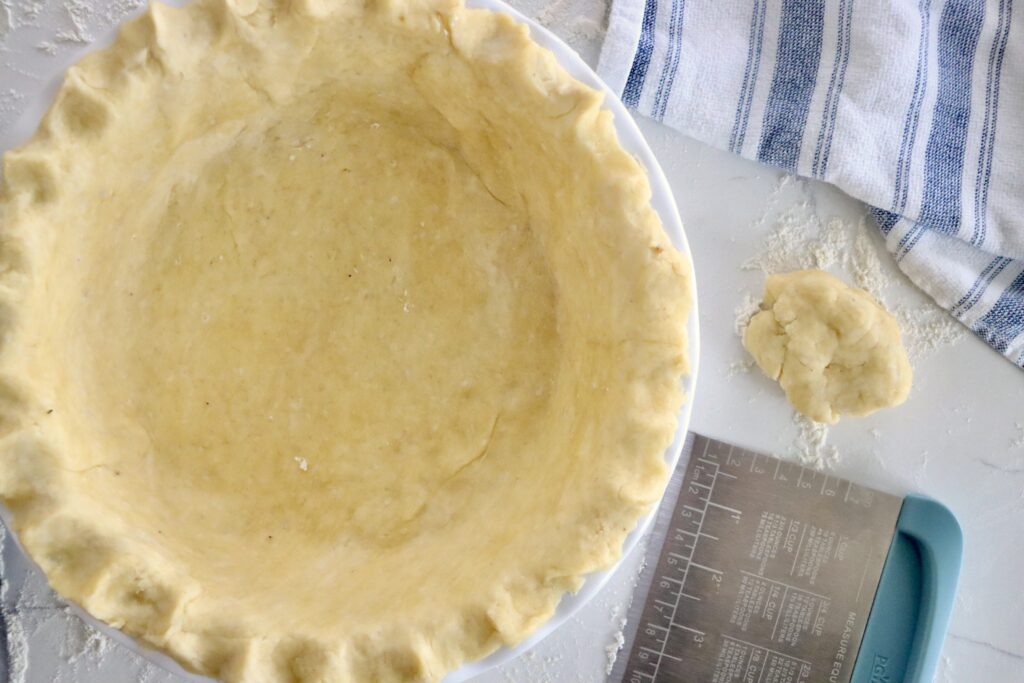
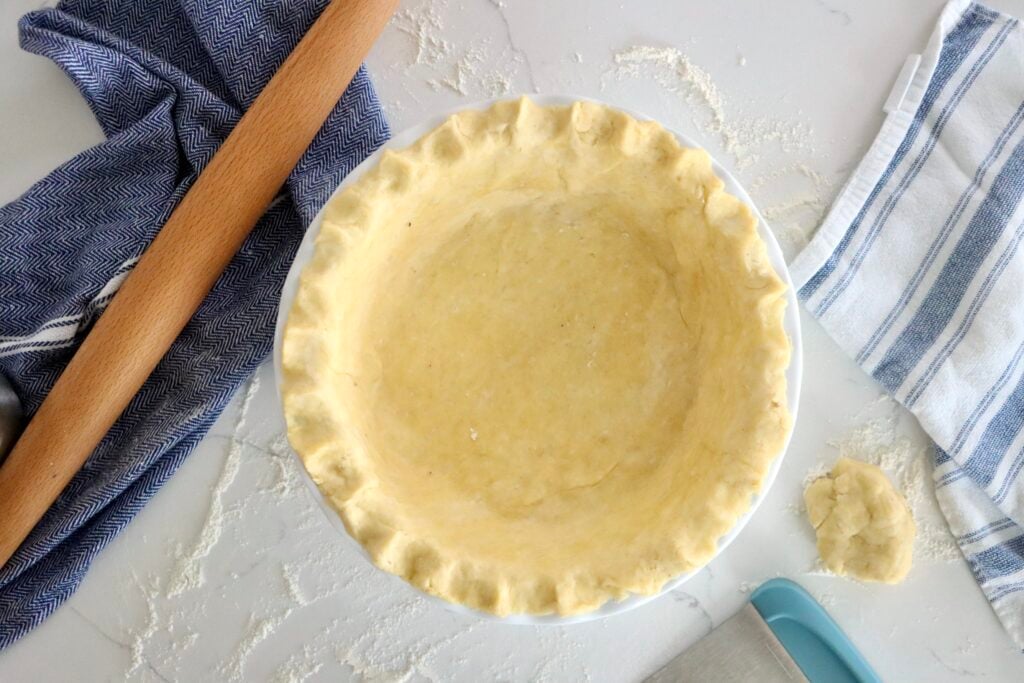
Roll and use. On a lightly floured surface, roll each disk into a 12-inch circle, about 1/8-inch thick, rolling from the center outward and turning the dough as you go. Transfer to your pie plate for a single crust, or use both disks for a full double-crust pie — top and bottom.
High Altitude Tips (from 7,053 ft)
Pie crust is more forgiving at elevation than yeasted or leavened baked goods since there’s no baking powder or soda working against thinner air — but a few small adjustments still make a noticeable difference up here:
- Flour: 2 cups all-purpose flour (+1–2 Tbsp for high altitude) — flour tends to run drier at elevation, and that extra tablespoon or two keeps the dough from cracking as you roll it.
- Butter: 1 cup cold butter, grated — no change needed.
- Greek yogurt: 3/4 cup — if the dough still feels dry or crumbly after adding it, work in an extra teaspoon at a time until it holds together when pinched.
- Chill time: don’t shortcut it. Butter softens faster in a low-humidity kitchen, so the full 30 minutes (or longer) really matters for flakiness.
- Bake temperature: if a recipe calls for a specific bake temp for the filled pie, add about 15–25°F and start checking a few minutes early — crusts can brown faster at altitude even though the inside of the pie may need the same amount of time to set.
Frequently Asked Questions
Can I use low-fat Greek yogurt instead of full-fat?
Yes. Low-fat Greek yogurt will still give you a tender, workable dough — the crust will just be very slightly less rich than one made with full-fat.
Can I use regular yogurt instead of Greek yogurt?
Yes, but add it a little at a time. Regular yogurt is thinner than Greek yogurt, so start with 1/2 cup instead of 3/4 cup and add more only if the dough still feels dry — otherwise you’ll end up with a sticky dough that’s hard to roll.
Why did my crust shrink while it baked?
That usually means the dough was warm when it went into the oven, or it got stretched (instead of gently eased) into the pie plate. Chill the shaped crust for at least 20–30 minutes right before baking, and lay it into the plate loosely instead of pulling it taut — it should relax into place, not get tugged there.
Can I freeze this pie crust?
Yes, and it freezes beautifully. Wrap each disk tightly in plastic wrap, then place in a freezer bag for up to 3 months. Thaw overnight in the fridge before rolling.
Why is my dough cracking when I roll it out?
It’s usually either too cold (let it sit at room temp for 5–10 minutes) or slightly dry, which is more common at high altitude. Work in an extra teaspoon of Greek yogurt next time, or press the cracks back together with your fingers as you roll.
Do I need to blind bake this crust?
Only if your pie filling doesn’t need to bake as long as the crust does — custard and cream pies usually call for a blind-baked (pre-baked) crust, while most fruit pies bake the crust and filling together.
Can I make this dough ahead of time?
Yes — it keeps well in the fridge, tightly wrapped, for up to 3 days before you need to roll it out.
Final Thoughts
This is the crust I reach for on a weeknight, when the pie idea hits at 4pm and there’s no time to feed a starter or chill ice water. Buttery, flaky, made with real ingredients, done in fifteen minutes of hands-on time. If you make it, I’d love to know what you filled it with — leave a comment below or tag me @my.colorado.kitchen on Instagram so I can see it. And if you want the tools I use for pie crust every single time (bench scraper, box grater, glass pie plate), they’re all on my Amazon storefront.
Don’t forget to pin this for later!

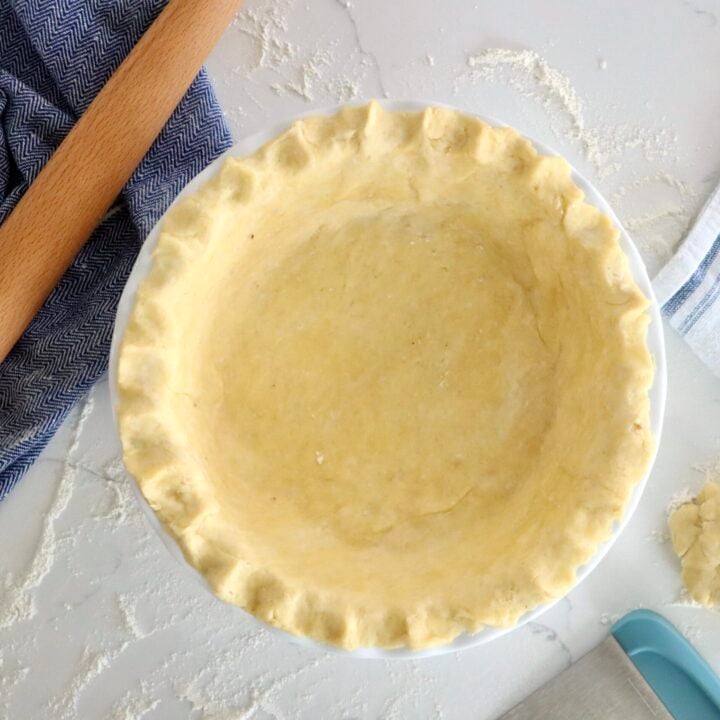
Greek Yogurt Pie Crust
This Greek yogurt pie crust is buttery, flaky, and made with real ingredients — no shortening and no vinegar required. Ready in 15 minutes of hands-on time.
Ingredients
- 2 cups all-purpose flour (+1–2 Tbsp for high altitude)
- 1/4 cup granulated sugar
- 1 tsp salt
- 1 cup cold butter, grated
- 3/4 cup plain Greek yogurt
Instructions
- In a large bowl, whisk together the flour, sugar, and salt.
- Grate the cold butter into the bowl and toss through the flour until evenly coated and crumbly.
- Add the Greek yogurt and mix with a pastry cutter or fork, finishing by hand, until the dough just comes together.
- Divide the dough in half, shape into two flat disks, and wrap tightly in parchment paper or plastic wrap.
- Chill for at least 30 minutes, or use right away if needed.
- Roll each disk into a 12-inch circle on a lightly floured surface and use as directed in your pie recipe.
Notes
Nutrition Information:
Yield: 2 Serving Size: 1 CrustAmount Per Serving: Calories: 1989Total Fat: 102gSaturated Fat: 64gUnsaturated Fat: 38gCholesterol: 274mgSodium: 1928mgCarbohydrates: 227gFiber: 7gSugar: 35gProtein: 36g
Nutrition facts are calculated automatically and are approximate.