The Best Cherry Yum Yum (Homemade, No Canned Filling)
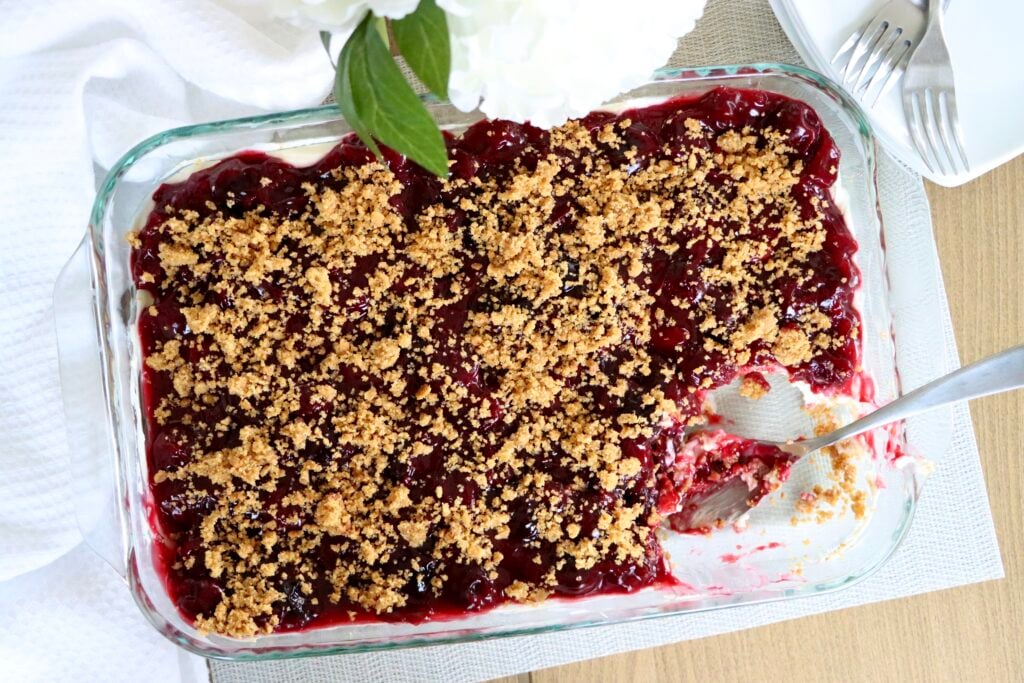
This cherry yum yum recipe skips the canned filling and uses real cherries instead. Creamy, no-bake, and perfect for feeding a crowd.
Quick Look at this Cherry Yum Yum Recipe
This post may contain affiliate links. As an amazon associate I earn from qualifying purchases at no additional cost to you.
Cherry yum yum recipe alert — and this one skips the can. If you’ve had this dessert before, it probably came from a can of cherry pie filling and a tub of Cool Whip (I dare you to turn the cool whip tub over and read those ingredients!) I make mine with real cherries cooked down on the stove and real whipped cream, and once you try it that way, you won’t go back.
This is such a nostalgic dessert for me, my aunt would make this every Christmas and it was my absolute favorite! So of course I had to try to recreate it, but with real ingredients.
You might know this dessert under a different name — a lot of families call it Cherry Delight instead of Cherry Yum Yum. Same layered, no-bake dessert, just depends on whose recipe box it came from. Either way, this is the from scratch version.
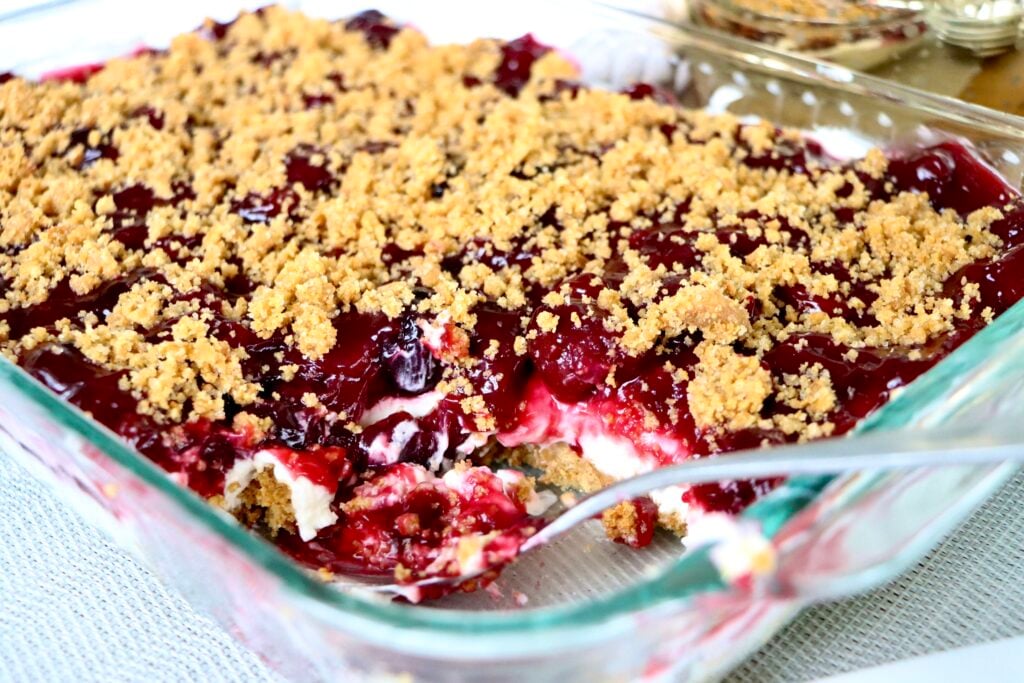
Three layers, no oven, and it comes together with ingredients you can actually pronounce — cherries, cream cheese, butter, graham crackers. Simple, but real.
Why You’ll Love This Cherry Yum Yum
- Made with real cherries, not a can of pie filling loaded with corn syrup
- No oven needed — the only cooking is a pot of cherries on the stove
- Make-ahead friendly — it actually needs the fridge time to set up right
- Feeds a crowd out of one 9×13 pan, so it’s built for potlucks, holidays, and everything between
What You’ll Need
For the graham cracker crust:
- 2 cups graham cracker crumbs (about 2 sleeves, ground fine — I use Annie’s brand for cleaner ingredients)
- 12 tablespoons butter, melted
- 1/2 cup granulated sugar
For the cream cheese layer:
- 8 ounces cream cheese, softened
- 1/2 cup powdered sugar
- 1 teaspoon vanilla extract
- 1 1/2 cups heavy whipping cream
For the homemade cherry filling:
- 4 cups frozen or fresh cherries, pitted
- 3/4 cup granulated sugar
- 1/2 cup water
- 1/4 cup cornstarch
- 2 tablespoons lemon juice
- 1 tablespoon butter
- 1 teaspoon vanilla extract
High Altitude Adjustments: No changes to any of the ingredient amounts — this recipe is naturally altitude-friendly since nothing bakes. The only thing that changes is your cherry filling’s cook time. Water boils at a lower temperature up here, so your filling may need an extra 2–3 minutes at a steady boil to thicken all the way through. Don’t rush it off the heat — it should coat the back of a spoon and hold its shape before you pull it.
How to Make Cherry Yum Yum
Make the cherry filling first. Combine the cherries, sugar, water, and cornstarch in a saucepan over medium heat. Bring to a boil, stirring often, and cook until it’s thick and glossy — this takes a little longer at altitude, so watch for the texture rather than the clock. Pull it off the heat and stir in the lemon juice, butter, and vanilla. Let it cool completely before you build the dessert — if it’s even a little warm, it’ll melt your cream layer. I usually make this part the night before.
Build the crust. Stir the graham cracker crumbs, melted butter, and sugar together until every crumb is coated. Set aside 1/2 cup of the mixture for the topping. Press the rest firmly into the bottom of a 9×13 pan — you don’t need to pack it super hard, just even.
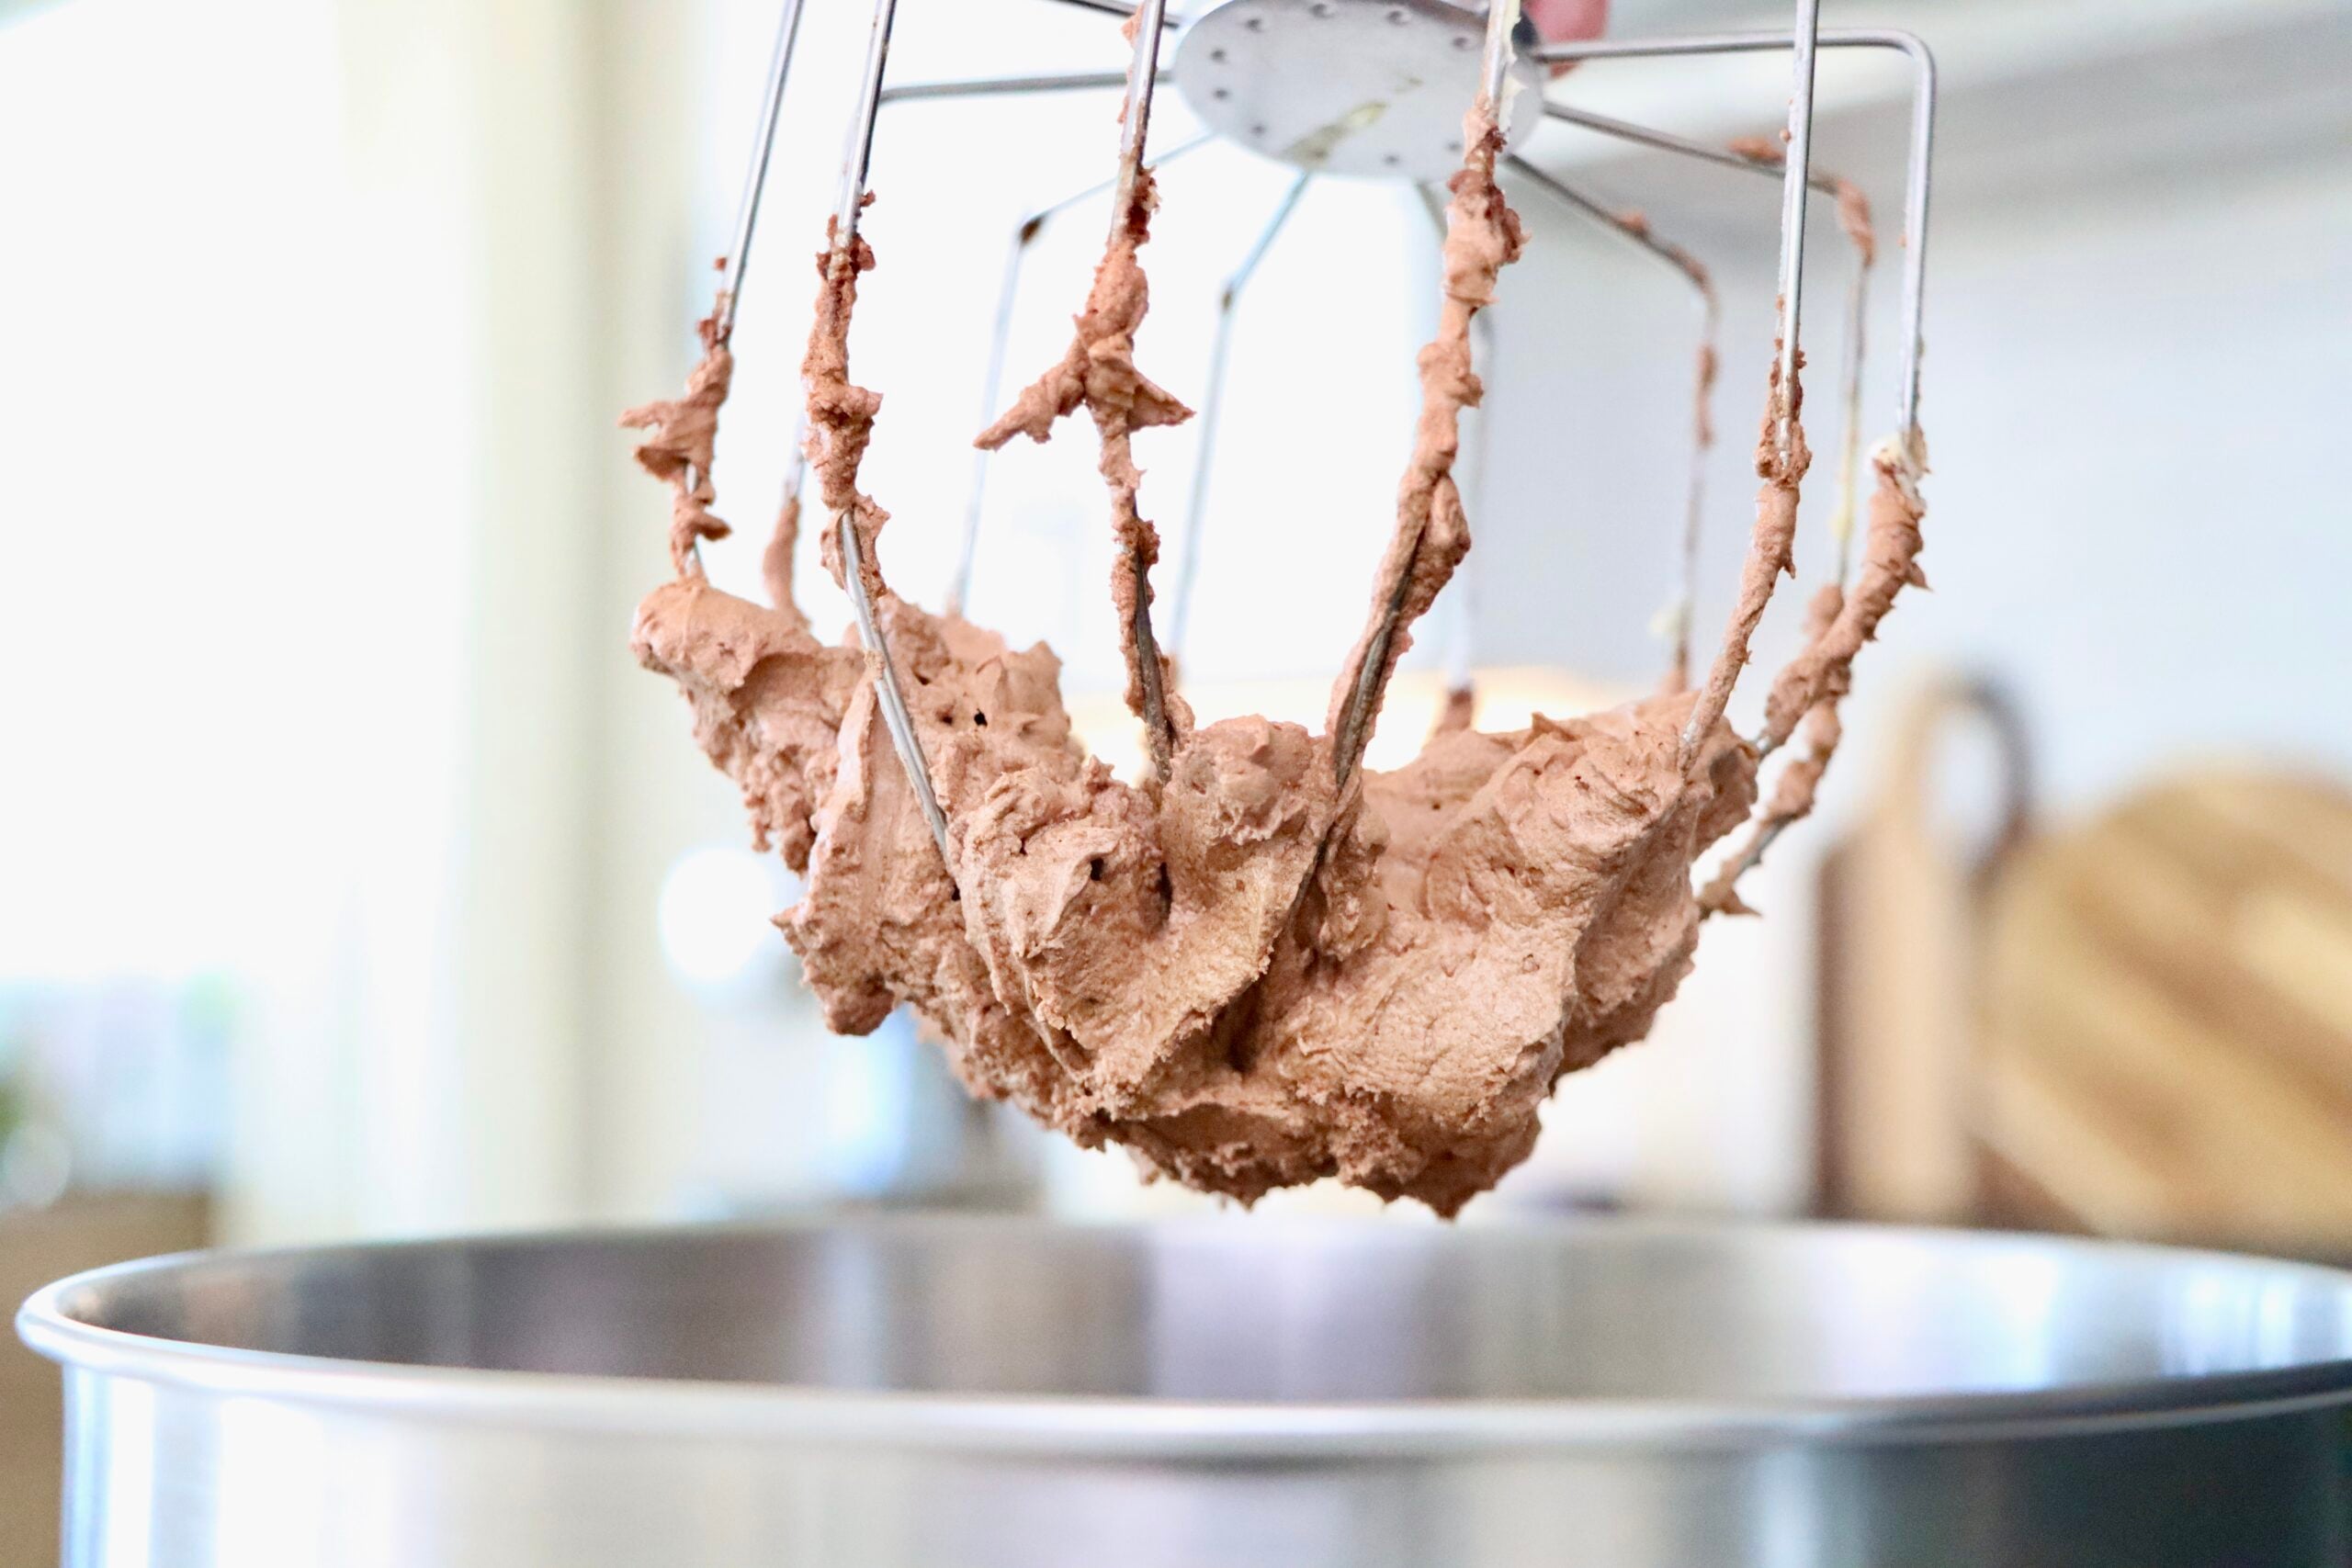
Whip the cream cheese layer. In a stand mixer with the whisk attachment, beat the softened cream cheese until it’s light and fluffy — a couple of minutes on medium-high. Add the powdered sugar and vanilla and mix again. Pour in the heavy whipping cream and keep whipping until stiff peaks form throughout. This is the step that gives the whole dessert its texture, so don’t stop early.
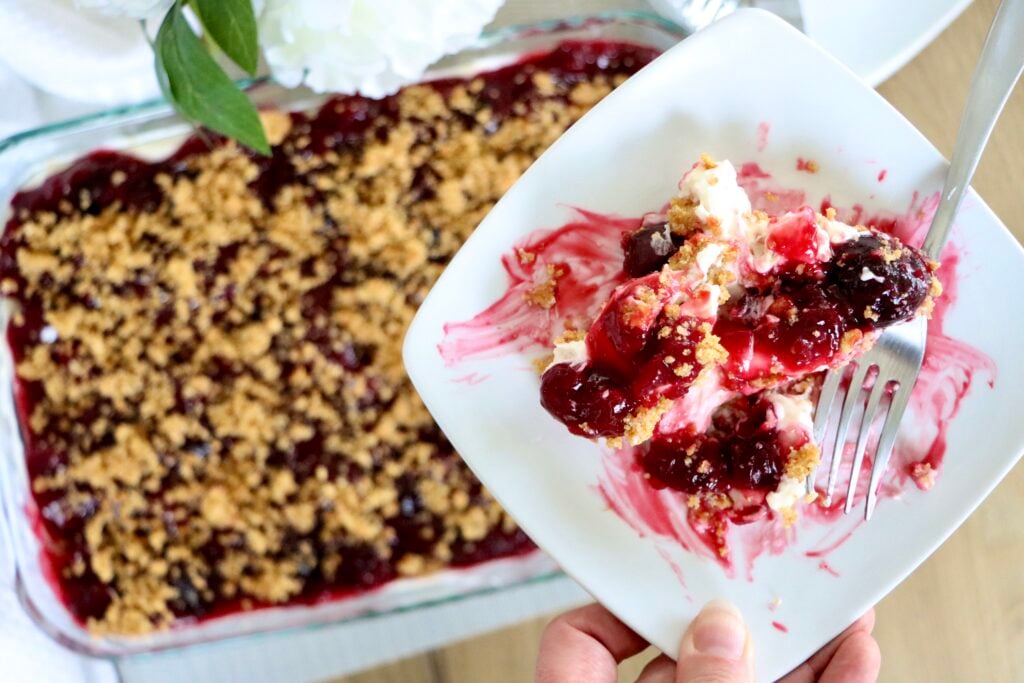
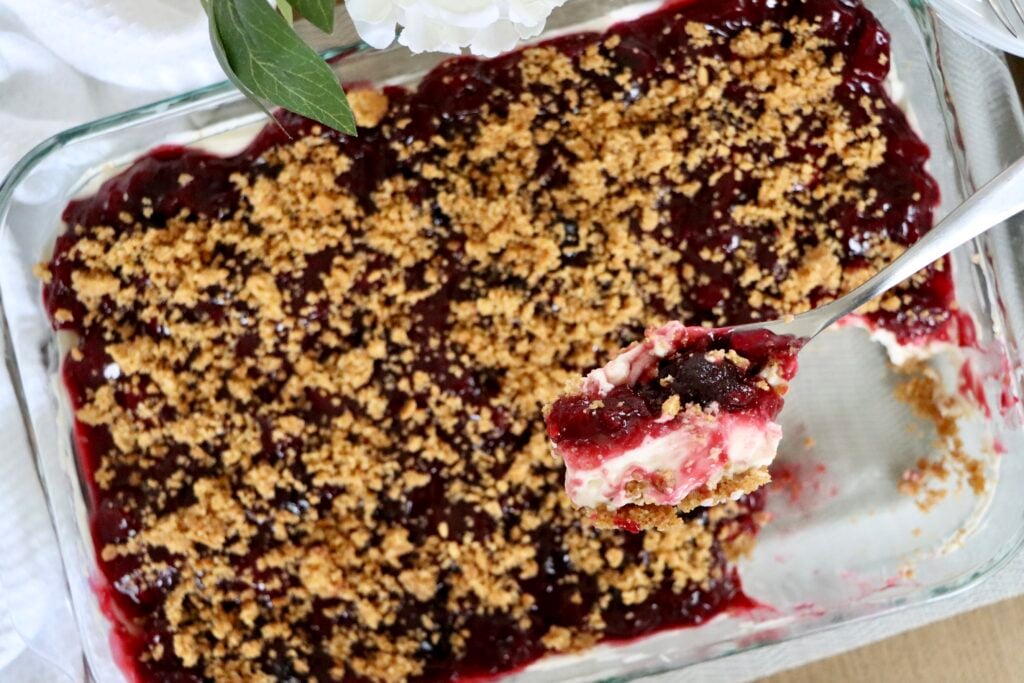
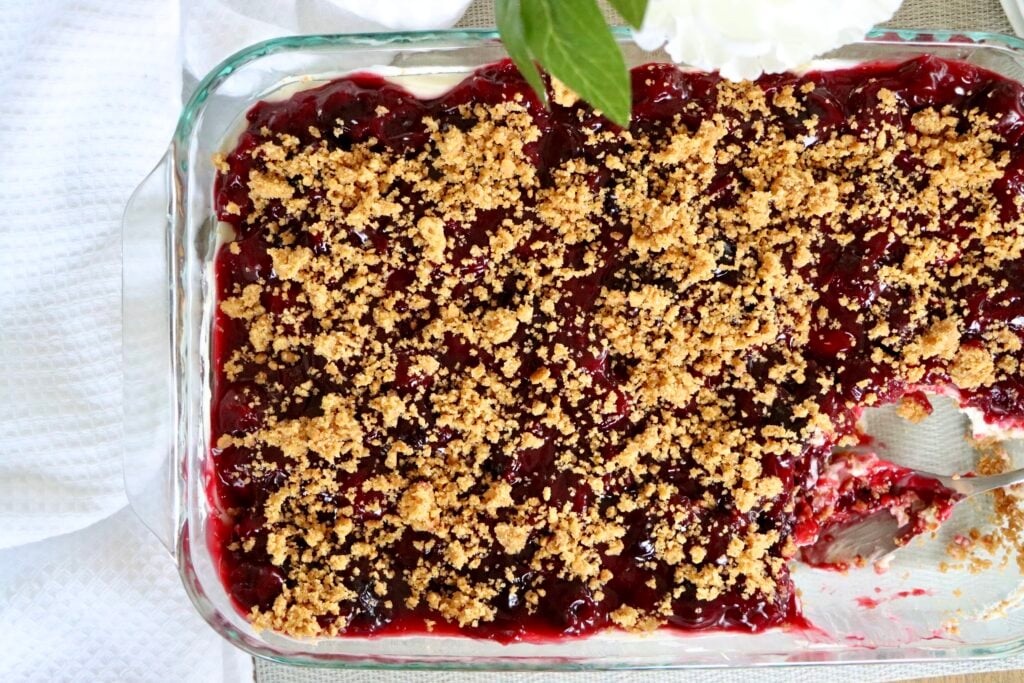
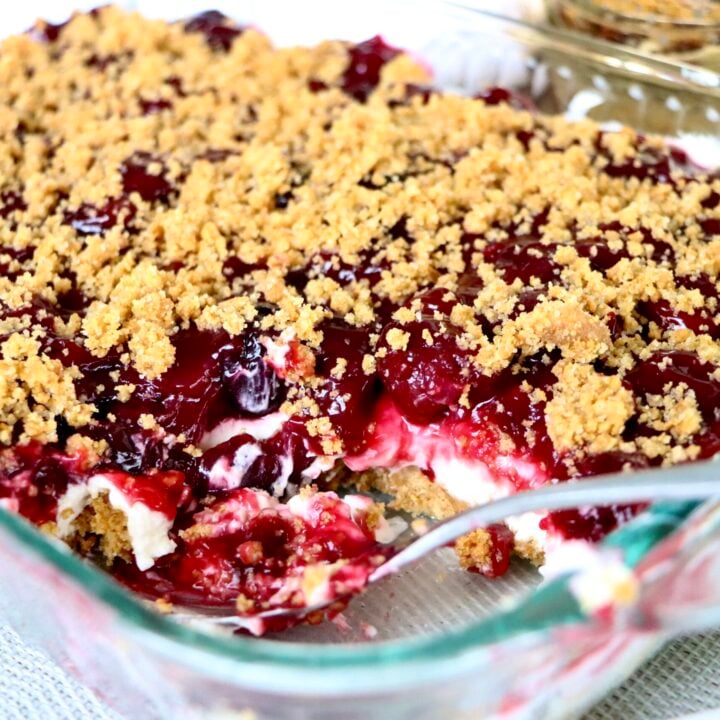
Layer it up. Spread the whipped cream cheese mixture evenly over the graham cracker crust. Top with your fully cooled cherry filling, then sprinkle the reserved 1/2 cup of graham cracker crumbs over the top.
Chill. Cover and refrigerate for at least 4 hours — overnight is even better and makes for cleaner slices. Cut into squares and serve cold.
Recipe Notes & Substitutions
- Fresh or frozen cherries both work. If using frozen, no need to thaw first — just add a couple extra minutes to the cook time.
- Want a shortcut? A high-quality canned cherry pie filling works in a pinch, but the homemade version has less sugar and way more cherry flavor.
- This same method works with other fruit — swap in peaches or blueberries if you want to switch it up. If you like fruit desserts like this, my Peach Pie and Apple Crisp are two more real-ingredient favorites worth trying.
- Tools that make this easier: my stand mixer, glass mixing bowls, and 9×13 pan are all things I reach for on repeat — linked in my Amazon storefront.
- This also works beautifully as individual jars for a potluck or picnic — just layer it the same way in mason jars.
Frequently Asked Questions
Is cherry yum yum the same as cherry delight?
Yes — they’re the same dessert with two different names, and which one you grew up calling it usually just depends on the recipe box it came from. Both are graham cracker crust, whipped cream cheese filling, and cherry topping.
Can I make cherry yum yum ahead of time?
Yes — it actually needs to chill for at least 4 hours, so this is a true make-ahead dessert. It holds well in the fridge for up to 4 days, covered.
Can I use canned pie filling instead of making it from scratch?
You can, but the homemade version has noticeably less sugar and a much fresher cherry flavor. If you’re short on time, a good-quality canned filling will still work in this layering.
Why is my cherry yum yum runny?
Usually it means the cherry filling wasn’t fully thickened before it went on top of the cream layer, or the dessert didn’t chill long enough. Cook the filling until it’s glossy and holds its shape on a spoon, and let it cool completely before assembling.
Can I use a different fruit filling?
Yes — this same crust-and-cream base works with peach, blueberry, or apple filling if you want to switch it up. The technique doesn’t change, just the fruit on top.
Can I freeze cherry yum yum?
The graham cracker crust and cherry filling freeze fine, but the whipped cream cheese layer can weep and lose its texture once thawed. I recommend making and eating this one fresh within a few days instead.
Final Thoughts
This cherry yum yum recipe is one of those desserts that looks fancier than the effort it actually takes. No oven, no fuss, just real ingredients layered up and left alone in the fridge to do their thing. If you make it, I’d love to know — leave a comment below, follow along @my.colorado.kitchen for more real-ingredient recipes every week, watch the full video on YouTube, and join the family over on Facebook too.
Don’t forget to pin this for later!

Cherry Yum Yum
A no-bake layered dessert with a buttery graham cracker crust, whipped cream cheese filling, and homemade cherry filling made with real cherries instead of canned pie filling. Also known as Cherry Delight.
Ingredients
Cherry Filling:
- 4 cups frozen or fresh cherries, pitted
- 3/4 cup granulated sugar
- 1/2 cup water
- 1/4 cup cornstarch
- 2 tablespoons lemon juice
- 1 tablespoon butter
- 1 teaspoon vanilla extract
Graham Cracker Crust:
- 2 cups graham cracker crumbs (about 2 sleeves)
- 12 tablespoons butter, melted
- 1/2 cup granulated sugar
Cream Cheese Layer:
- 8 ounces cream cheese, softened
- 1/2 cup powdered sugar
Instructions
- Combine cherries, sugar, water, and cornstarch in a saucepan over medium heat. Bring to a boil and cook, stirring often, until thick. Remove from heat and stir in lemon juice, butter, and vanilla. Cool completely.
- Mix graham cracker crumbs, melted butter, and sugar. Reserve 1/2 cup. Press the rest into the bottom of a 9x13 pan.
- In a stand mixer with the whisk attachment, beat cream cheese until light and fluffy. Add powdered sugar and vanilla; mix. Add heavy whipping cream and whip until stiff peaks form.
- Spread the cream cheese mixture over the crust. Top with cooled cherry filling, then sprinkle with reserved graham cracker crumbs.
- Chill at least 4 hours, or overnight, before slicing and serving.
Notes
- At 7,053 ft, the cherry filling may take 2–3 extra minutes to fully thicken since water boils at a lower temperature. Cook until glossy and thick, not by the clock.
- Cherry filling must be completely cool before assembling, or it will melt the cream layer.
Nutrition Information:
Yield: 15 Serving Size: 1Amount Per Serving: Calories: 544Total Fat: 27gSaturated Fat: 16gUnsaturated Fat: 12gCholesterol: 70mgSodium: 283mgCarbohydrates: 71gFiber: 3gSugar: 47gProtein: 5g
Nutrition facts are calculated automatically and are approximate.