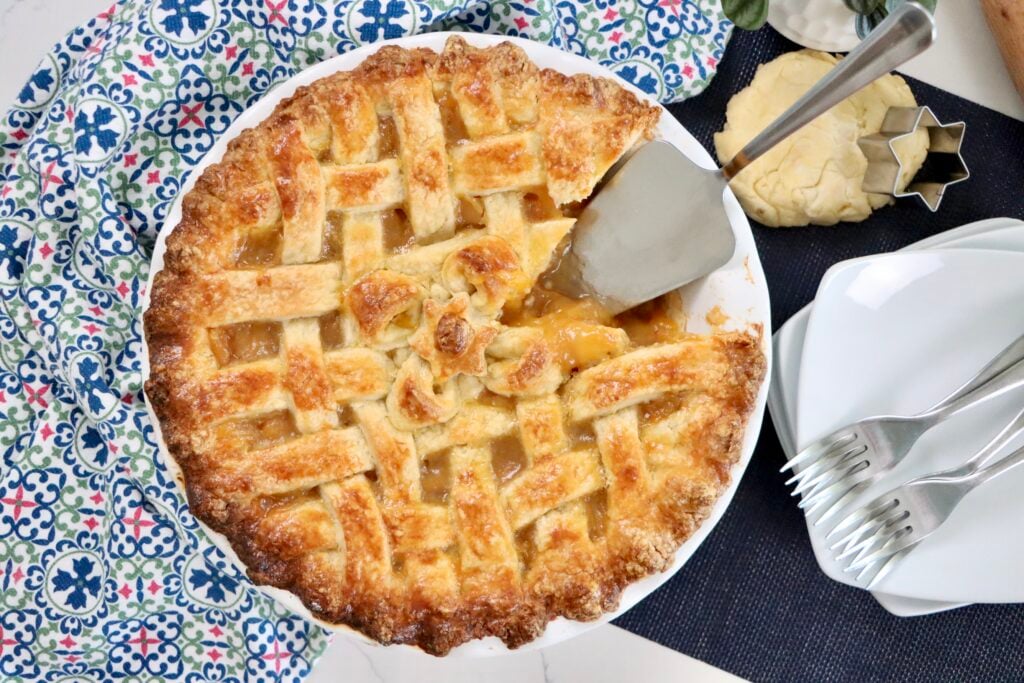
Easy Peach Pie Recipe (Classic Lattice Crust, No Fuss)
Easy peach pie made with real ingredients — fresh or frozen peaches, a golden lattice crust, and simple pantry staples. No-fuss, all flavor, every time.
This post may contain affiliate links. As an amazon associate I earn from qualifying purchases at no additional cost to you.
Peach season in Colorado is short, so when it hits, I make the most of it. This peach pie is the one I make on repeat all summer — a thick, jammy peach filling, a flaky homemade crust, and a lattice top that makes it look way fancier than it actually is to make. No 37-ingredient list, no weird thickeners you’ve never heard of. Just real ingredients, the way my grandma would’ve made it.
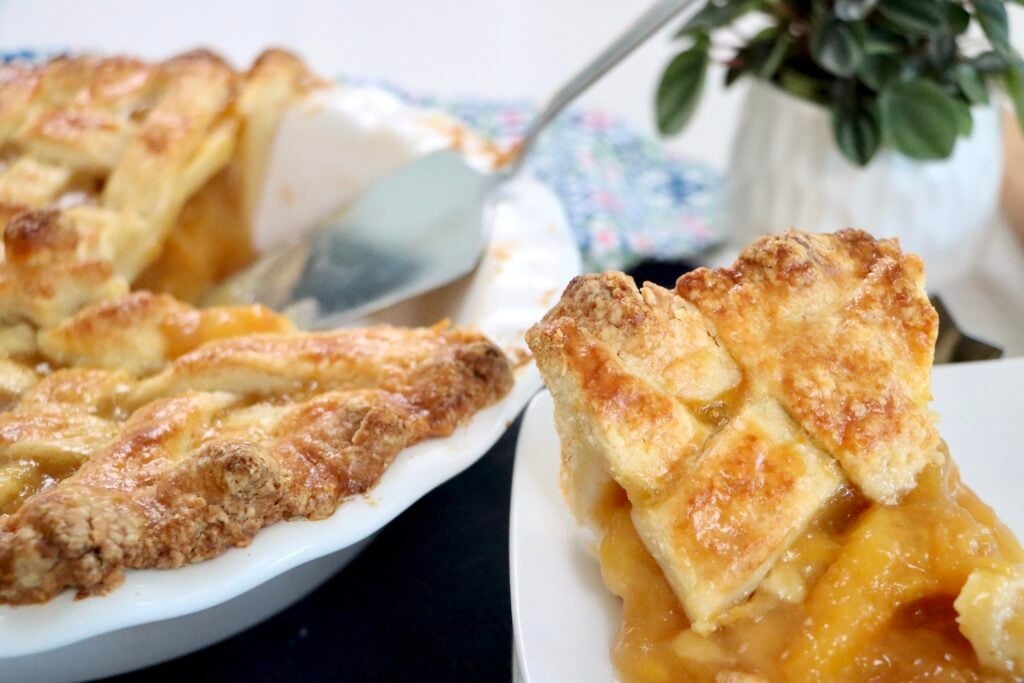
It works with fresh peaches straight off the tree (or from the farmers market) or with frozen peaches when it’s the middle of January and you’re craving summer. Either way, you end up with a filling that’s sliceable, not soupy, and a crust that holds its own.
You’ve got options here too. Use my sourdough pie crust if you want that little extra something, or grab your favorite store-bought crust — I won’t tell. This is a “made with real ingredients,” no-judgment kitchen.
Quick answer: Cook sliced peaches with sugar, water, cornstarch, lemon juice, butter, and vanilla into a thick filling, pour it into a pie crust, top with a lattice (or full) crust, brush with egg wash, and bake at 375°F for 50–60 minutes until golden and bubbling. That’s the whole recipe.
Why You’ll Love This Peach Pie
- Works with fresh or frozen peaches — so it’s not just a summer-only dessert.
- A foolproof, thickened filling. The cornstarch does the heavy lifting here, so you don’t end up with a soggy, runny mess when you slice into it.
- Lattice top or full top — your call. I’ll walk you through the lattice, but a full crust with a few steam slits is just as good (and faster).
- Pairs beautifully with a homemade crust. I use my sourdough pie crust recipe for this one, but a store-bought crust works completely fine too.
- Freezer-friendly, so you can bake now and thank yourself later.
What You’ll Need
- 2 pie crusts — homemade or store-bought. My sourdough pie crust recipe is my go-to, but don’t stress if you’re grabbing one from the store. This recipe doesn’t judge.
- 5 cups fresh or frozen peaches, sliced — no need to thaw frozen peaches first.
- 3/4 cup sugar
- 1/2 cup water
- 1/4 cup cornstarch — this is what gives you that thick, sliceable filling instead of peach soup.
- 2 Tbsp lemon juice — brightens up the peaches and balances the sweetness.
- 1 Tbsp butter
- 1 tsp vanilla — I always use my homemade vanilla extract for this. It makes a noticeable difference in a filling this simple.
- 1 egg, beaten (for egg wash)
- Turbinado sugar, optional, for sprinkling on top
How to Make Peach Pie
Preheat and Prep
Start by preheating your oven to 375°F so it’s fully up to temperature by the time your pie goes in — sliding a pie into an oven that isn’t hot enough yet is one of the sneaky reasons crusts turn out soggy on the bottom. While it heats, pull your crusts out of the fridge if you’re using homemade dough. You want them cold but pliable, not stiff and cracking.
Cook the Peach Filling on the Stovetop
This is the step that actually makes or breaks a peach pie, so don’t rush it. In a saucepan, combine the peaches, sugar, water, cornstarch, lemon juice, and butter, and cook over medium heat, stirring often. At first it’ll look thin and watery — that’s normal, keep going. Around the 6-8 minute mark, it’ll start to thicken, turn glossy, and shift from a gentle simmer to a real bubble. That bubbling is your cue that the cornstarch has fully activated. Pull it off the heat too early and the filling won’t set, which is how you end up with a runny slice instead of a clean one.
Once it’s thick and glossy, take it off the heat and stir in the vanilla — adding it off-heat keeps the flavor from cooking off. Let the filling cool for about 10 minutes while you roll out your crust. Slightly warm is fine; piping hot will start melting your bottom crust before it ever sees the oven.
Build the Bottom Crust
Press one crust into a deep-dish pie pan, working it gently into the corners without stretching the dough — stretched dough shrinks back as it bakes, which pulls your edges out of shape. Trim the overhang to about an inch past the rim of the pan. That extra inch gives you enough dough to crimp and seal against the top crust later.
Fill and Top the Pie
Pour in the cooled peach filling, scraping the saucepan so you get every bit of that thickened juice.
From here, top it however fits your time and mood: lay the second crust on whole and cut a few vent slits so steam can escape, or weave it into a lattice for a more show-stopping finish (full lattice directions below). Either way, press the top and bottom crusts together at the edge and crimp — that seal is what keeps the filling from bubbling out the sides in the oven instead of staying put.
Egg Wash and Bake
Brush the top crust with egg wash — this is what gives you that deep golden color instead of a pale, flat-looking crust. Sprinkle on turbinado sugar if you want extra crunch and sparkle.
Bake at 375°F for 50-60 minutes, and watch for two signs it’s done: a deep golden crust, and filling visibly bubbling up through the vents or lattice. That bubbling is your confirmation the filling has fully set, not just heated through. If the crust edges start browning before the center catches up, tent them loosely with foil so they don’t burn while the rest finishes.
Let It Cool Before You Cut It
I know this is the hardest part, but give the pie at least 2-3 hours to cool completely before slicing. The filling is still setting during that time, and cutting in early is the number one reason a beautiful peach pie turns into peach soup on the plate. If you can stand to wait even longer, do it — this pie actually slices the cleanest once it’s fully cooled.
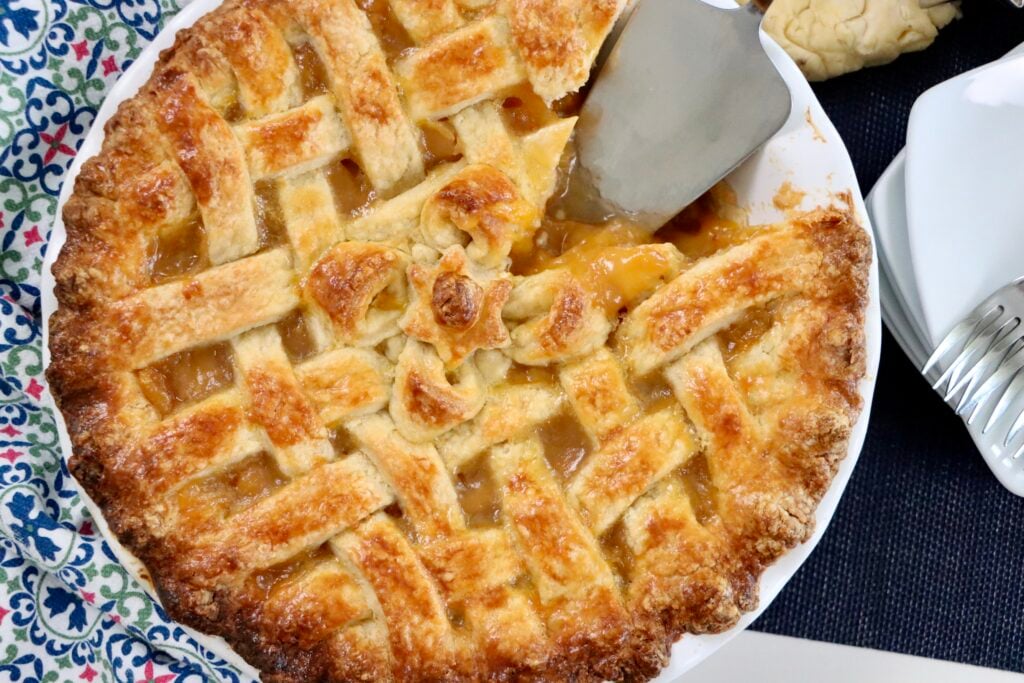
How to Weave a Lattice Crust
- Roll your second crust into a circle and cut it into 8-10 even strips (a pizza cutter or fluted pastry wheel makes this easy).
- Lay half the strips across the pie vertically, evenly spaced.
- Fold back every other strip, lay your first horizontal strip across, then unfold.
- Fold back the alternating strips this time, lay your second horizontal strip, unfold.
- Keep repeating that over-under weave until the top is covered.
- Trim the excess and crimp the edges to seal it to the bottom crust.
I’ll be doing the full lattice walkthrough in the YouTube video (in the recipe card below) for this one, so if you’re a visual learner, that’s your best bet.
High-Altitude Baking Tips for Peach Pie
Fruit pies are a little more forgiving at altitude than cakes or breads, but a couple of things to watch for up here:
- Your filling may need those extra few minutes on the stove to fully thicken, since water boils at a lower temperature at elevation.
- Ovens can run drier at altitude, so keep an eye on your crust — a pie shield or foil ring around the edges after the first 25-30 minutes will keep it from over-browning before the filling fully bubbles through.
- If your kitchen is very dry, brushing the bottom crust with a thin layer of egg white before adding the filling helps prevent a soggy bottom.
Storage & Make-Ahead Tips
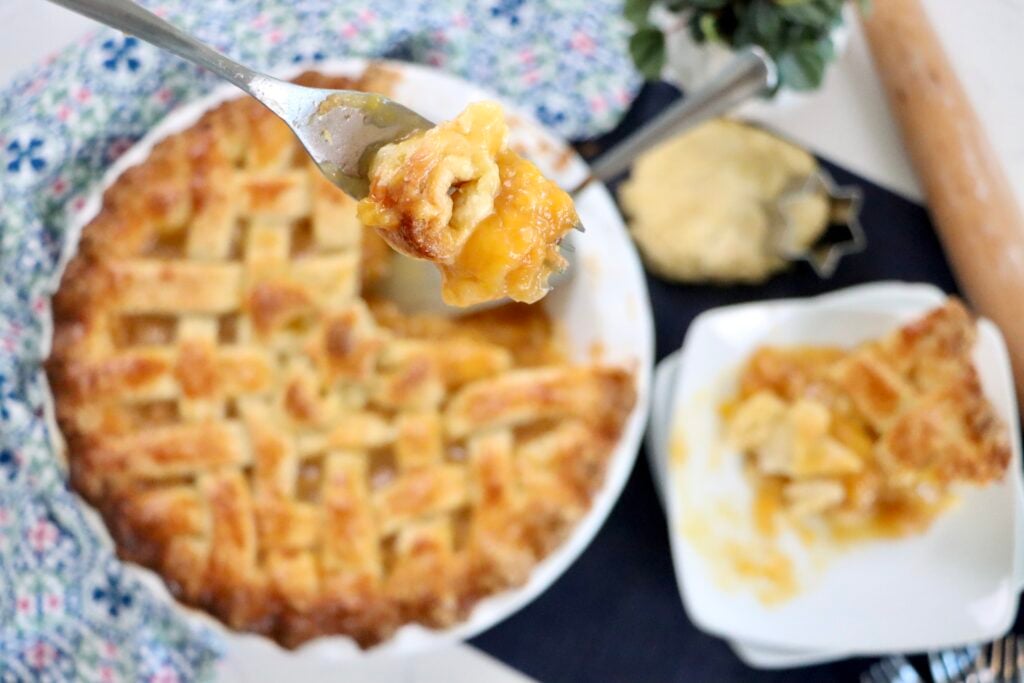
- Store leftover pie loosely covered at room temperature for up to 2 days, or in the fridge for up to 5 days.
- You can make the peach filling up to 2 days ahead and store it in the fridge — just bring it closer to room temp before assembling so it spreads easily.
- To freeze: assemble the full pie (unbaked), wrap tightly, and freeze for up to 3 months. Bake straight from frozen, adding 20–30 extra minutes.
Frequently Asked Questions
Frequently Asked Questions
Can I use frozen peaches for peach pie?
Yes — frozen peaches work great and you don’t need to thaw them first. Just add a couple of extra minutes to the filling’s cook time on the stovetop, since frozen fruit releases more liquid as it cooks.
Do I need to peel the peaches first?
It’s a personal preference. Peeling gives you a smoother filling and more classic pie texture, but the skins soften a lot during cooking, so leaving them on works fine too if you’re short on time.
How do I keep my peach pie from turning out watery?
The cornstarch is doing the work here — make sure the filling is fully thickened and bubbling on the stovetop before it goes into the crust, and let the baked pie cool for at least 2–3 hours before slicing so the filling can fully set.
Can I make peach pie ahead of time?
Yes. You can fully bake it a day ahead and store it at room temperature, or prep the filling up to 2 days in advance and assemble the pie just before baking.
How long should peach pie bake at high altitude?
Bake at 375°F for 50–60 minutes, and lean toward the longer end of that range at altitude. Look for a deeply golden crust and filling that’s visibly bubbling in the center, not just at the edges.
MOre
Recipes You’ll Love
Final Thoughts
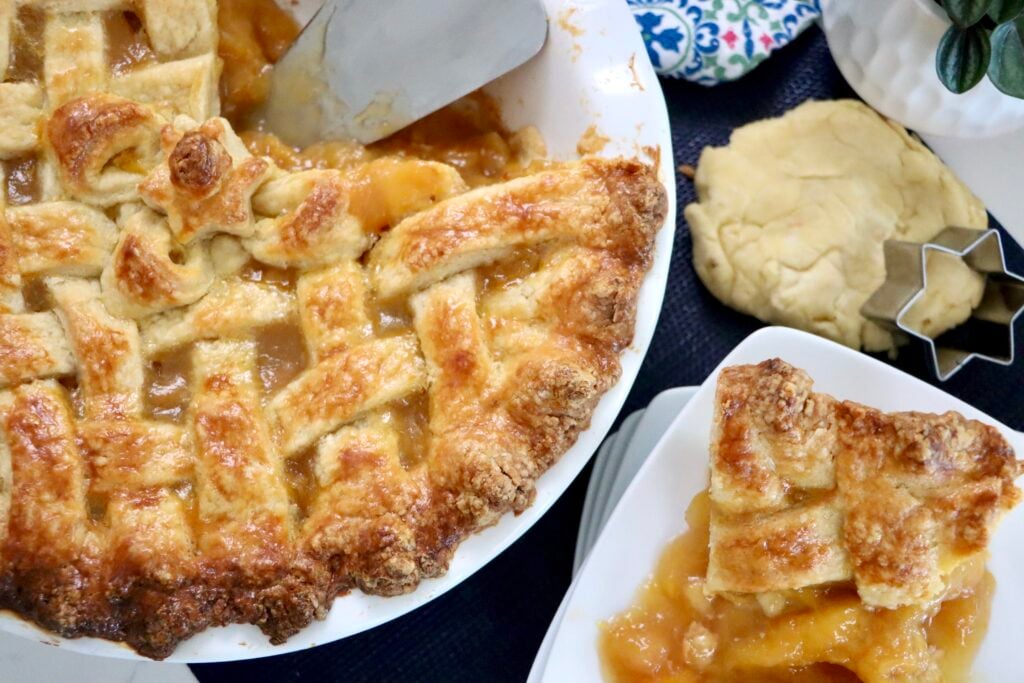
This peach pie is one of those recipes that looks like it took way more effort than it did — and honestly, that’s my favorite kind. Cook the filling first, don’t rush the cooling, and you’ve got a pie people are going to ask you to bring back. If you make this one, I’d love to hear how it turns out — leave a comment below and let me know, and if you snap a photo, tag me on Instagram @my.colorado.kitchen so I can see it. 💛
Don’t forget to pin this for later!

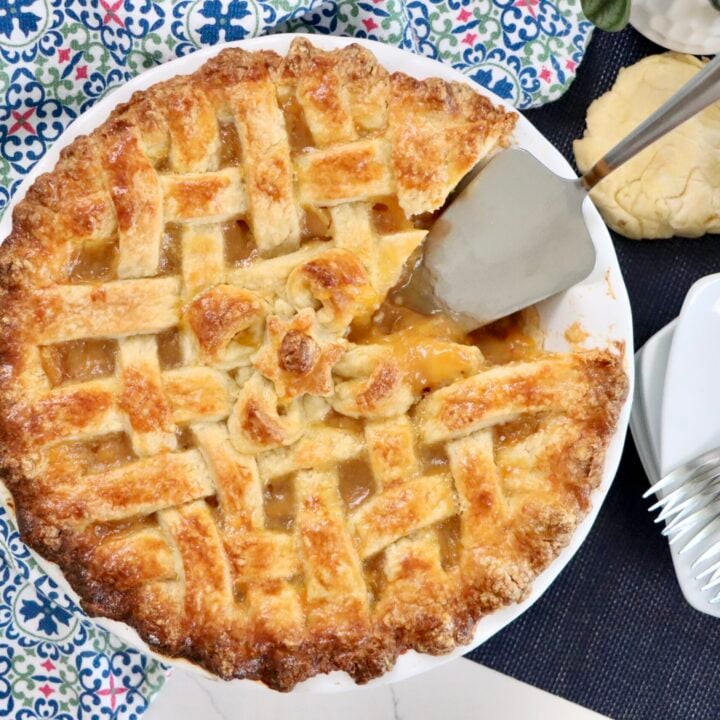
Easy Peach Pie Recipe
Easy peach pie made with real ingredients — fresh or frozen peaches, a golden lattice crust, and simple pantry staples. No-fuss, all flavor, every time.
Ingredients
- 2 pie crusts (homemade sourdough or store-bought)
- 5 cups fresh or frozen peaches
- 3/4 cup sugar
- 1/2 cup water
- 1/4 cup cornstarch
- 2 Tbsp lemon juice
- 1 Tbsp butter
- 1 tsp vanilla
- 1 egg, beaten (for egg wash)
- Turbinado sugar, optional
Instructions
- Preheat oven to 375°F.
- In a saucepan over medium heat, combine peaches, sugar, water, cornstarch, lemon juice, and butter. Cook, stirring often, until thickened and bubbling, 8-10 minutes. Remove from heat and stir in vanilla. Cool slightly.
- Press one crust into a deep-dish pie pan; trim edges.
- Pour in peach filling.
- Top with second crust — whole with vent slits, or woven into a lattice. See directions for how to do the lattice in the post above or in the YouTube video below.
- Brush with egg wash; sprinkle with turbinado sugar if using.
- Bake 50-60 minutes, until crust is golden and filling is bubbling. Tent edges with foil if browning too quickly.
- Cool 2-3 hours before slicing.
Notes
- Here is the link to my Sourdough Crust Recipe. You can use this or your favorite store bought crust.
- Frozen peaches don't need thawing; just add a few extra minutes to the stovetop cook time.
- Freezes beautifully unassembled and unbaked — see the Storage section above for details.
- High-altitude bakers (7,053 ft+): see the tips section above for a couple of small adjustments.
- Store leftover pie loosely covered at room temperature up to 2 days, or refrigerate up to 5 days.
Nutrition Information:
Yield: 8 Serving Size: 1Amount Per Serving: Calories: 1753Total Fat: 89gSaturated Fat: 29gUnsaturated Fat: 60gCholesterol: 4mgSodium: 1449mgCarbohydrates: 219gFiber: 13gSugar: 50gProtein: 22g
Nutrition facts are calculated automatically and are approximate.