How to Make Homemade Vanilla Extract (Easy with Just 2 Ingredients)
Learn how to make homemade vanilla extract with just vodka and vanilla beans. This easy, from-scratch recipe is budget-friendly, rich in flavor, and perfect for baking or gifting.
This post may contain affiliate links. As an amazon associate I earn from qualifying purchases at no additional cost to you.
If you bake even a little, you’ve probably noticed how expensive vanilla extract has gotten. Those tiny bottles don’t last long—and the flavor? It’s often just okay.
The good news is, making your own homemade vanilla extract is incredibly simple, far more cost-effective, and the flavor is richer the longer it sits.
With just two real ingredients and a few minutes of prep, you can create a pantry staple that will elevate everything from cookies to pancakes.
And the best part? Once you start, it practically makes itself.
At My Colorado Kitchen, this is exactly what we’re about—where real ingredients meet everyday cooking in a way that actually fits into your life.
Why You’ll Love This Homemade Vanilla Extract
- Saves money long-term (especially if you bake often)
- Richer, deeper flavor than most store-bought options
- Only 2 ingredients
- Minimal hands-on time
- Perfect for gifting (especially during the holidays)
- A simple from-scratch swap that makes a big impact
Ingredients You’ll Need
- 1.75 L vodka (a mid-range option works perfectly – I get mine at Costco for around $10)
- About 50 whole vanilla beans
That’s it.
A Quick Note on Ingredients
The quality of your vanilla beans matters more than the alcohol. You don’t need anything fancy for the vodka—just something you’d feel okay using in a cocktail.
👉 If you want to see the exact vanilla beans, bottles, and tools I use, I’ve linked my favorites in my Amazon Storefront to make it easy to get started.
How to Make Homemade Vanilla Extract (Step-by-Step)
Step 1: Make Room in the Bottle
Pour out a small amount of vodka to create space in the bottle.
Or… turn it into a quick treat and make a cocktail (I personally like to mix up my Lemon Drop Martini 🍋).
Step 2: Prep the Vanilla Beans
Chop or split each vanilla bean in half.
This exposes the inside of the bean and allows the flavor to infuse more effectively into the vodka.
Step 3: Add Beans to the Bottle
Place all of the prepared vanilla beans directly into the vodka bottle.
Make sure they are fully submerged.
Step 4: Seal and Label
Secure the lid tightly and label the bottle with the date.
This step is simple but important—you’ll want to track how long it’s been infusing.
Step 5: Store and Wait
Place the bottle in a cool, dark pantry or cupboard.
- Let it sit for at least 6 months
- Shake occasionally (whenever you remember—no pressure here)
Then… go enjoy that cocktail you made earlier. You’ve officially started your homemade vanilla.
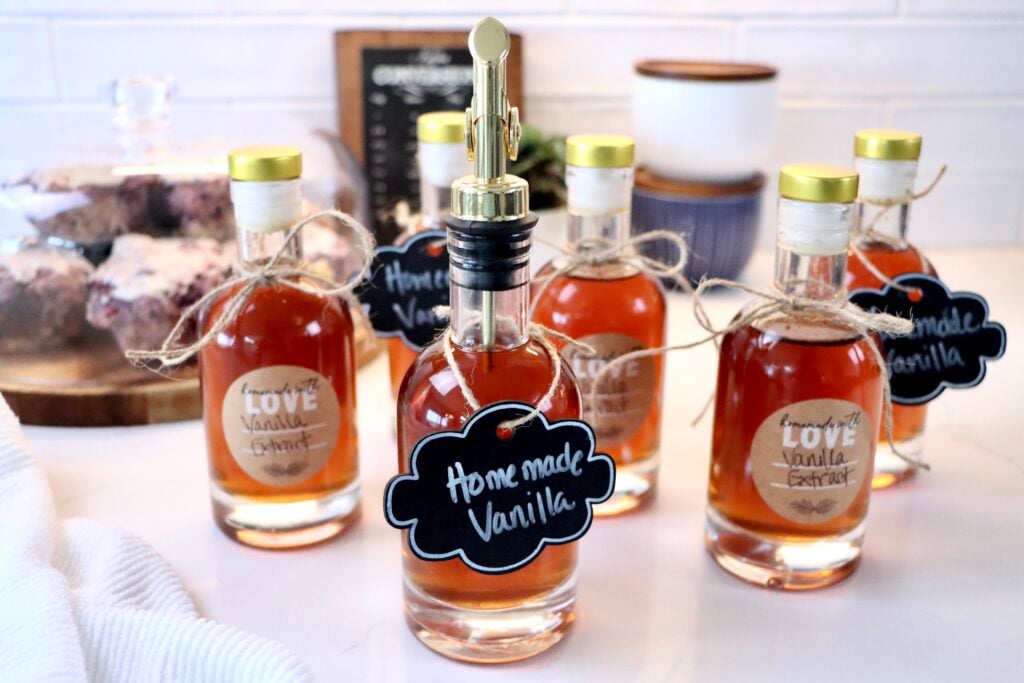
What to Expect Over Time
One of the best parts of making DIY vanilla extract is watching it transform.
- 1 month: Light in color, mild flavor
- 3 months: Darker with developing flavor
- 6 months: Rich, classic vanilla extract
- 12+ months: Deep, complex, bakery-level flavor
The longer it sits, the better it gets.
Tips for the Best Homemade Vanilla Extract
- Use quality vanilla beans for the best flavor
- Keep beans fully submerged at all times
- Shake occasionally to help infusion
- Store in a cool, dark place
- You can top off with more vodka as you use it
- Reuse beans once or twice for additional batches
Why Homemade Vanilla Extract Saves You Money
Store-bought vanilla extract is one of the most expensive baking ingredients per ounce.
When you make your own:
- You get a large batch at once
- The cost per ounce drops significantly
- You always have it on hand
If you bake regularly, this adds up quickly—and the flavor payoff is even better.
Ways to Use Homemade Vanilla Extract
Once your vanilla is ready, you’ll find yourself reaching for it all the time:
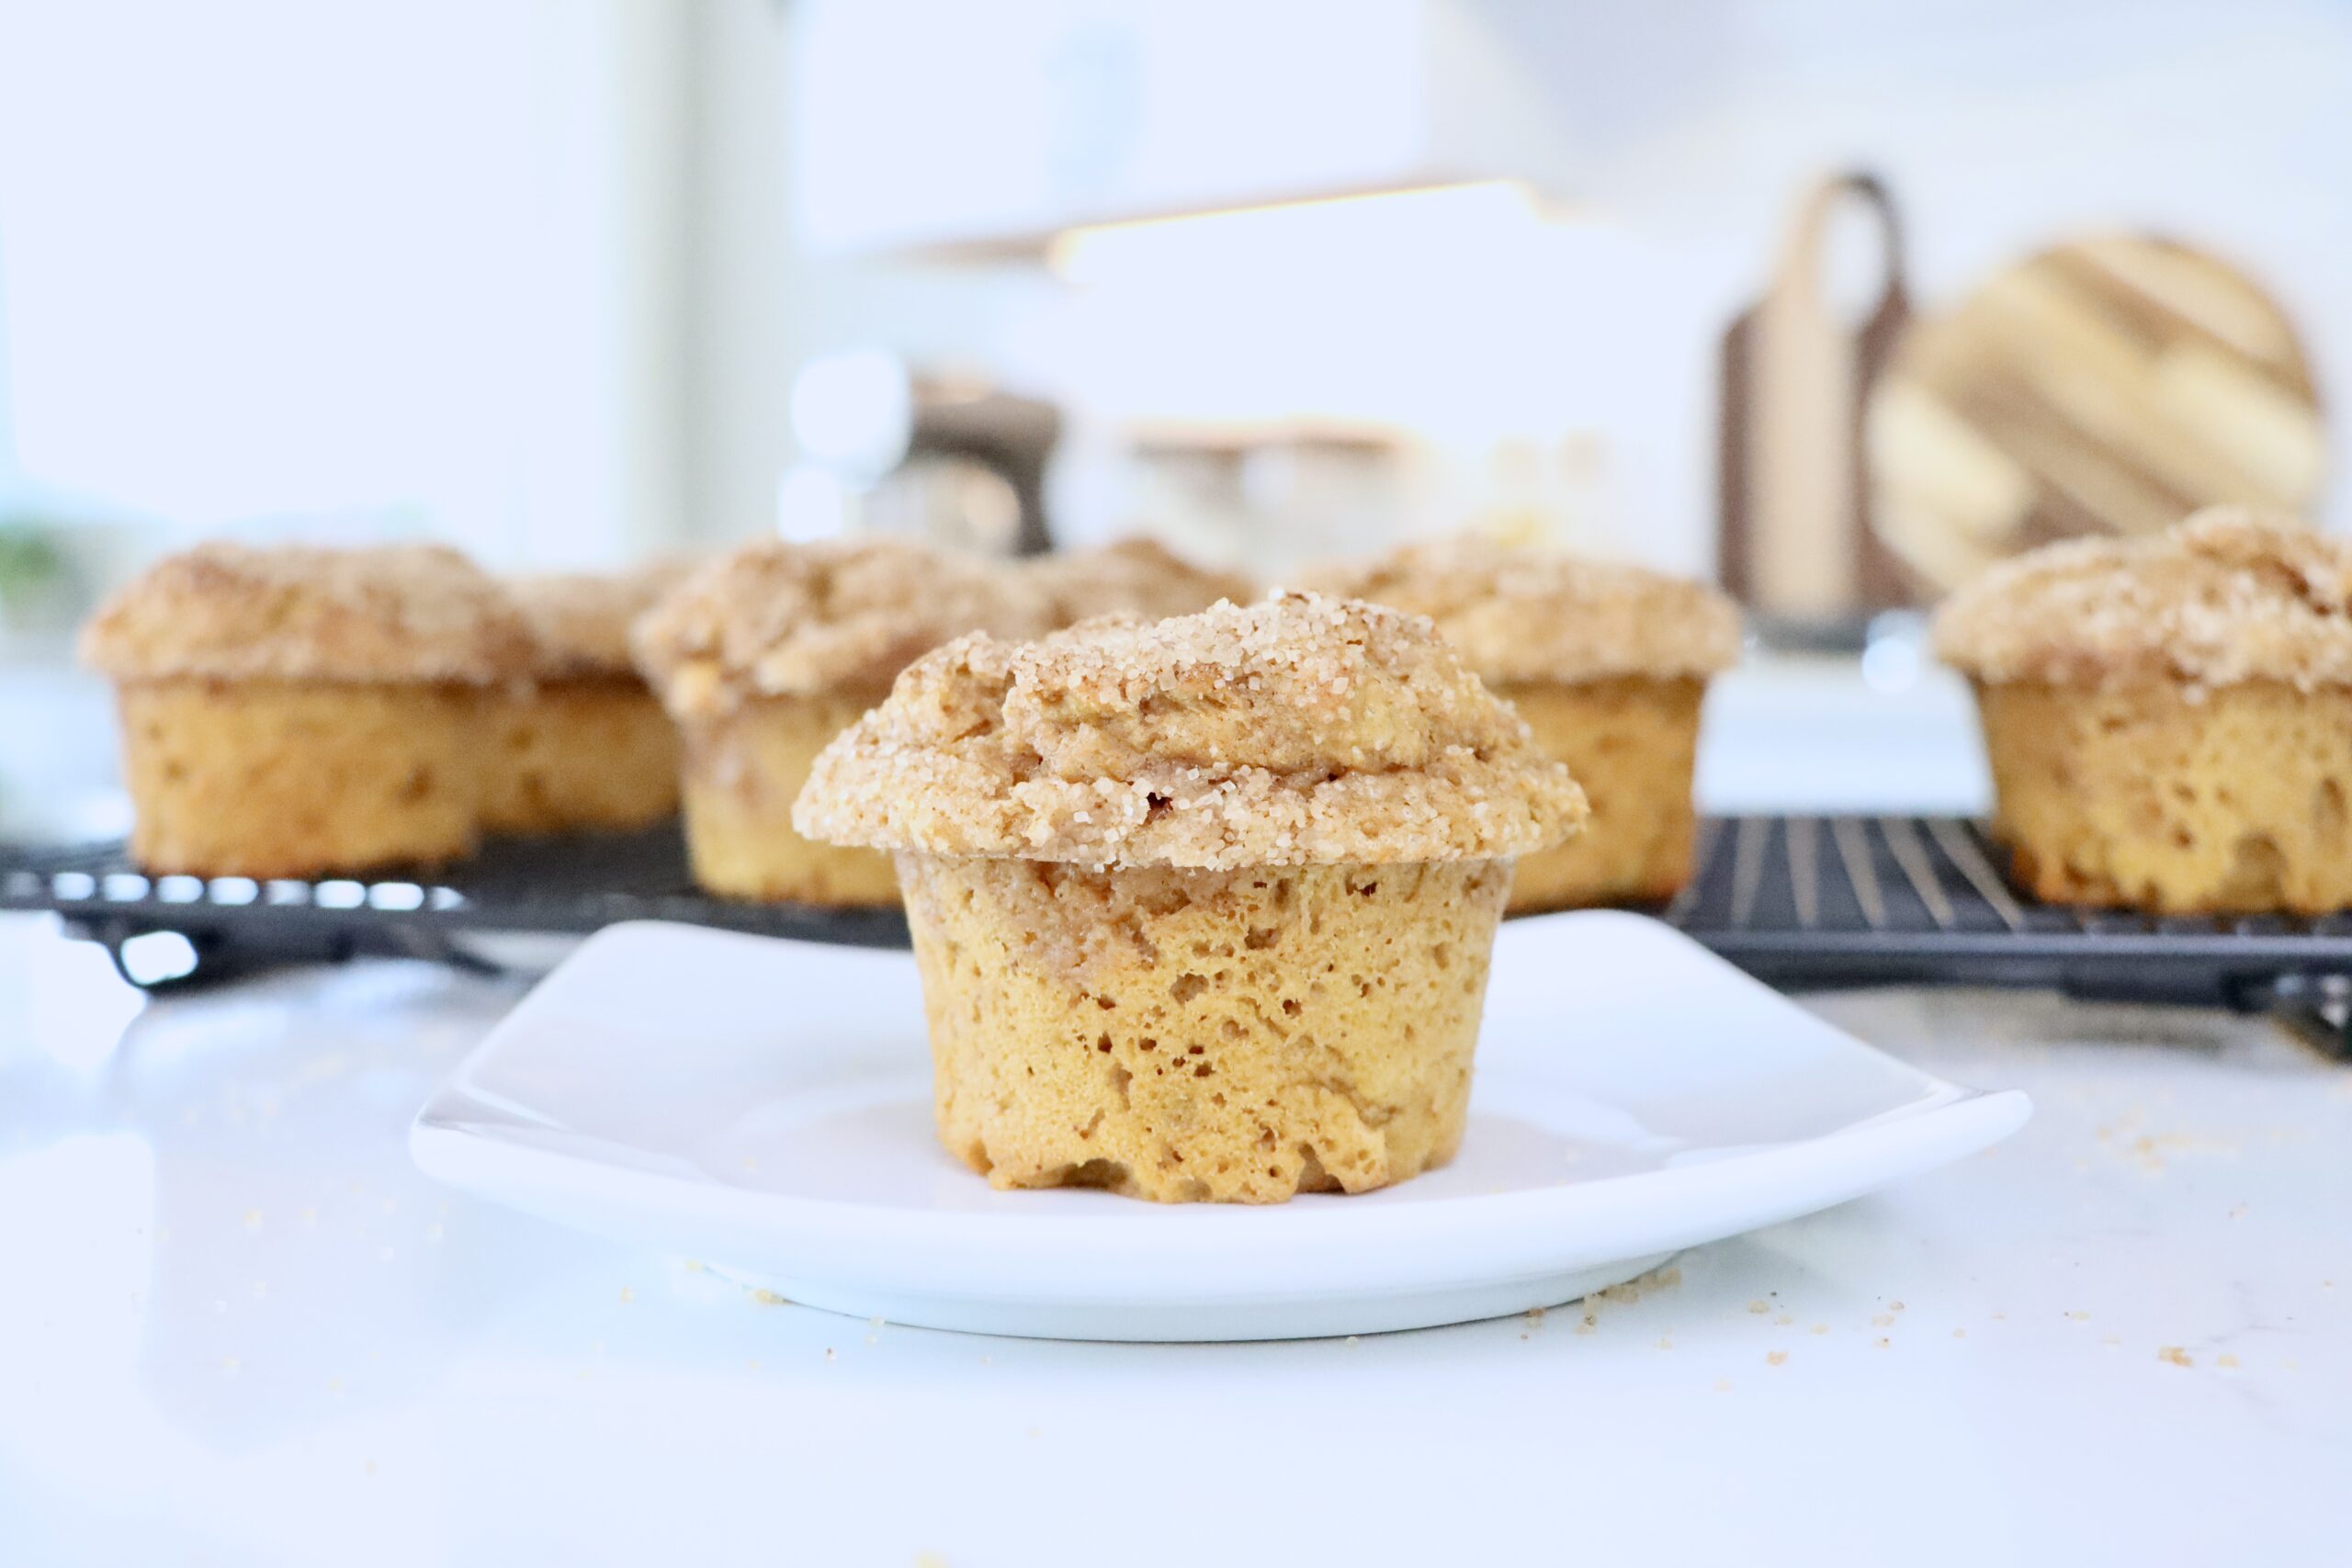
- Cakes and cookies
- Muffins and quick breads
- Pancakes and waffles
- Whipped cream
- Coffee and lattes
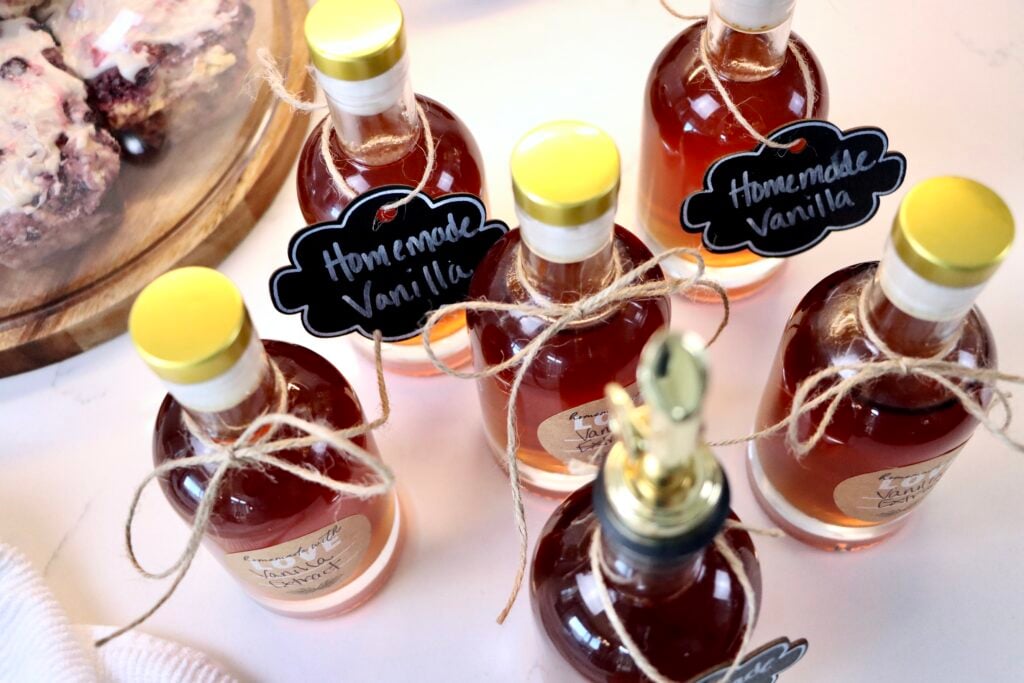
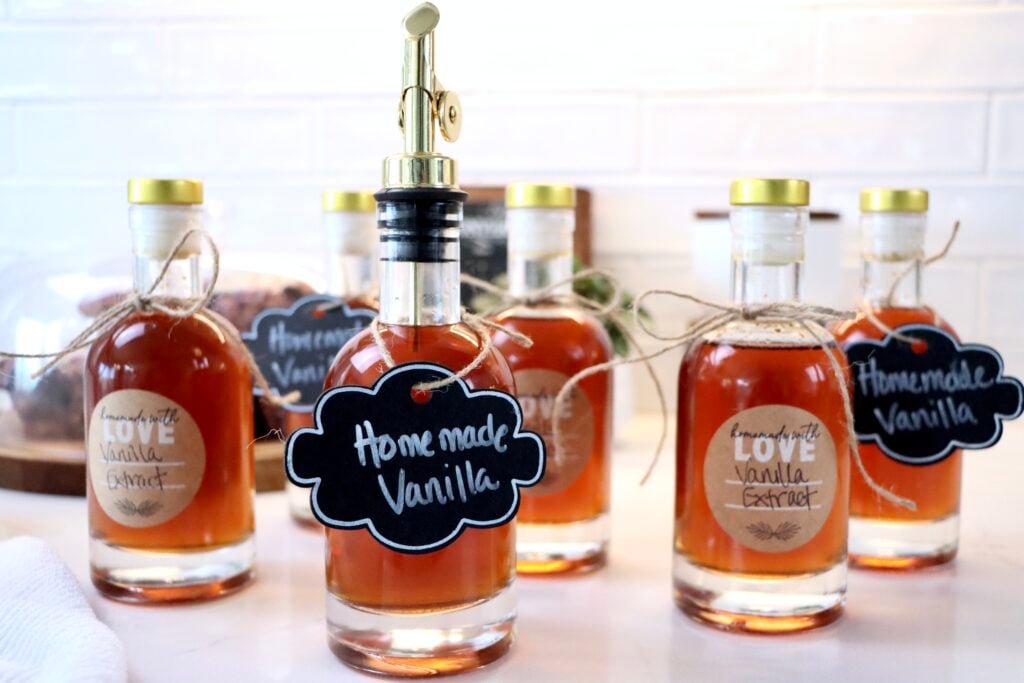
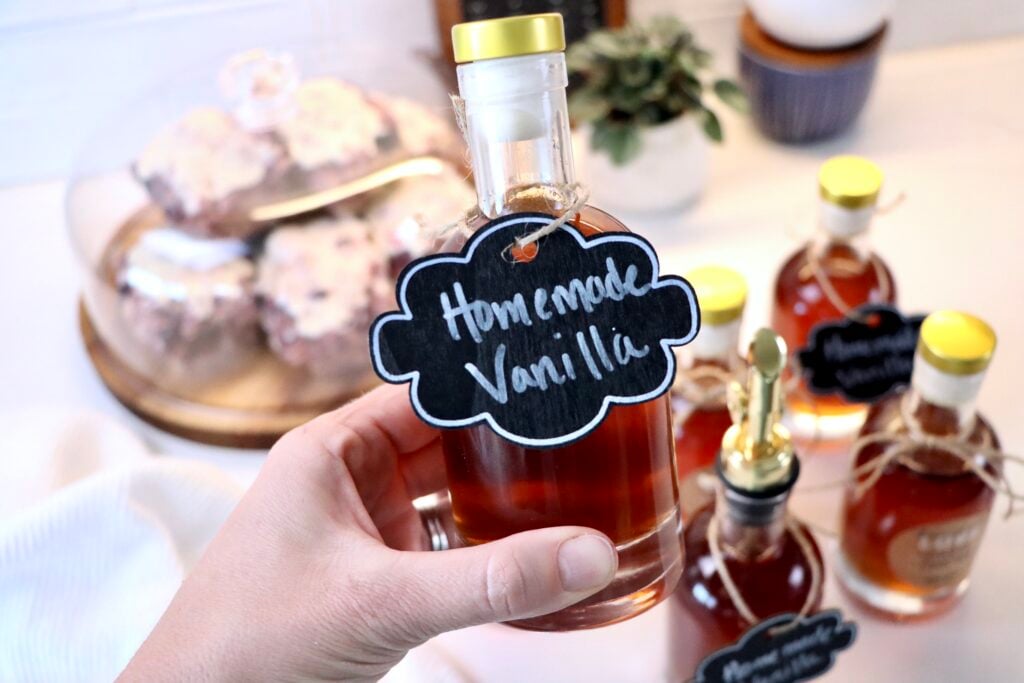
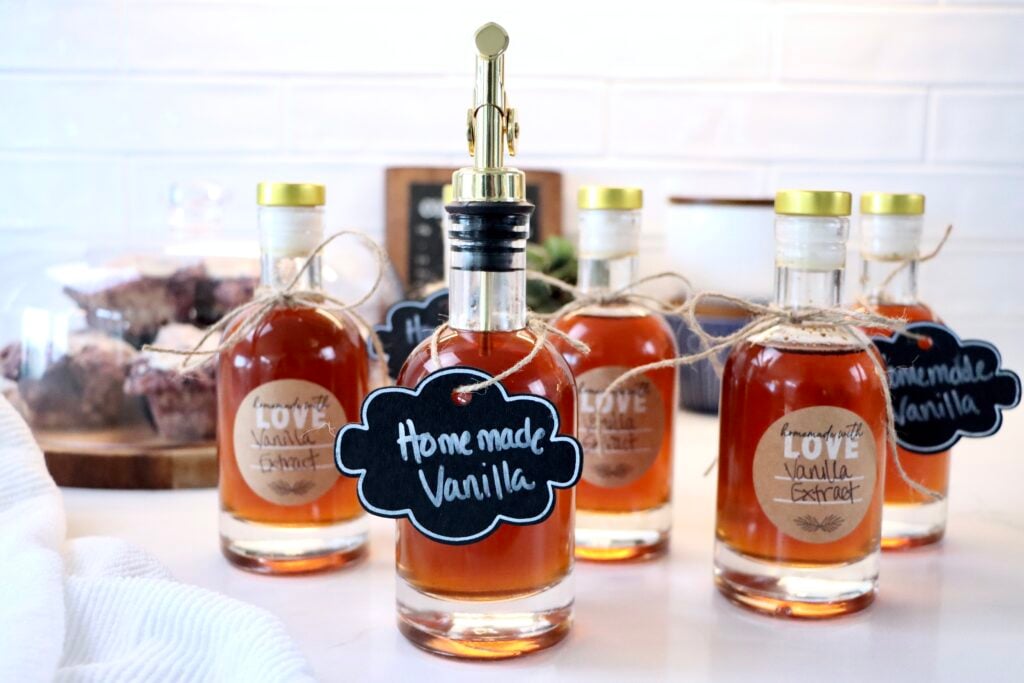
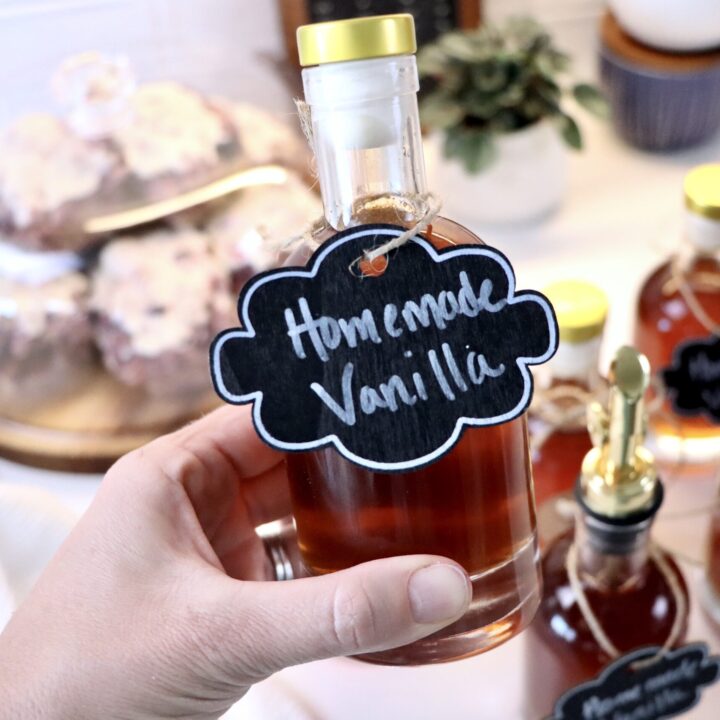
Homemade Vanilla Makes the Best Gifts
This is one of my favorite from-scratch gift ideas.
Simply:
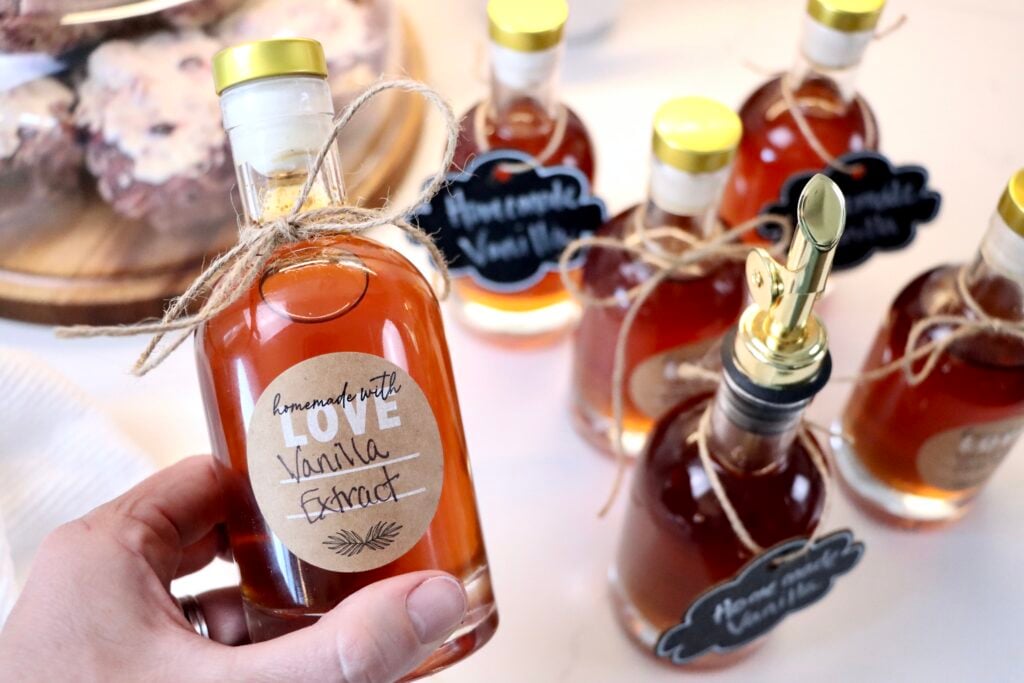
- Pour into smaller glass bottles
- Add a simple label or tag
- Pair with a favorite recipe
Perfect for:
- Christmas gifts
- Teacher gifts
- Hostess gifts
👉 I also keep a list of the small bottles, labels, and packaging I use in my Amazon Storefront if you want to recreate this easily.
Frequently Asked Questions
Final Thoughts
Making your own homemade vanilla extract is one of those small shifts that makes a big difference in your kitchen.
It takes just a few minutes to start, saves money over time, and gives you a richer, more flavorful result in everything you bake.
Start a batch today, tuck it away in your pantry, and in a few months—you’ll be so glad you did.
Save This for Later
If you’re not ready to start today, be sure to pin this for later so you have it when you need it.
And if you do make it, I’d love to hear how it turns out!
Don’t forget to pin this for later!

Homemade Vanilla Extract
Learn how to make homemade vanilla extract with just vodka and vanilla beans. This easy, from-scratch recipe is budget-friendly, rich in flavor, and perfect for baking or gifting.
Ingredients
- 1.75 L vodka (mid-range works perfectly)
- ~50 whole vanilla beans
Instructions
1: Make Room in the Bottle
Pour out a small amount of vodka to create space in the bottle.
Or… turn it into a quick treat and make a cocktail (I personally like to mix up my Lemon Drop Martini 🍋).
2: Prep the Vanilla Beans
Chop or split each vanilla bean in half.
This exposes the inside of the bean and allows the flavor to infuse more effectively into the vodka.
3: Add Beans to the Bottle
Place all of the prepared vanilla beans directly into the vodka bottle.
Make sure they are fully submerged.
4: Seal and Label
Secure the lid tightly and label the bottle with the date.
This step is simple but important—you’ll want to track how long it’s been infusing.
5: Store and Wait
Place the bottle in a cool, dark pantry or cupboard.
- Let it sit for at least 6 months
- Shake occasionally (whenever you remember—no pressure here)
Then… go enjoy that cocktail you made earlier. You’ve officially started your homemade vanilla.
Notes
- You don’t need expensive vodka. A mid-range option works perfectly since the flavor develops from the vanilla beans over time.
- The type of vanilla beans matters more than the alcohol. Madagascar beans give a classic vanilla flavor, while Tahitian or Mexican beans can add slightly different notes.
- Split or chop the beans for best results. This exposes the inside of the bean and helps the flavor infuse more quickly.
- Make sure all beans stay submerged. If needed, top off with a little extra vodka to keep them covered.
- Be patient—it’s worth it. While you’ll see color change early, the best flavor develops after at least 6 months.
- Shake occasionally. No strict schedule—just give it a shake whenever you remember.
- You can reuse the beans. Once your extract is running low, add more vodka to the same beans for a second batch (flavor will be slightly lighter).
- Store in a cool, dark place. A pantry or cupboard works perfectly—no refrigeration needed.
- It lasts indefinitely. As long as the beans remain submerged and it’s stored properly, your vanilla extract will keep for years.
- Great for gifting. Pour into small bottles, add a label, and you have a thoughtful homemade gift (especially around the holidays).
Nutrition Information:
Yield: 355 Serving Size: 1 tspAmount Per Serving: Calories: 0
Nutrition facts are calculated automatically and are approximate.