How to Make Perfect Stabilized Whipped Cream (No Watery Mess!)
Learn how to make perfect stabilized whipped cream that stays fluffy and doesn’t turn watery! This easy recipe with cream cheese, powdered sugar, and vanilla is perfect on its own or for cakes, pies, and desserts.
This post may contain affiliate links. As an amazon associate I earn from qualifying purchases at no additional cost to you.
Have you ever made whipped cream, put it in the fridge to use even a hour or so later, and when you pull it out it is a little deflated, runny, and even watery? I know I have! Hence the need for stabilized whipped cream. This recipe is a game-changer for desserts as it stays nice and fluffy for days (gasp)!
Why Stabilized Whipped Cream?
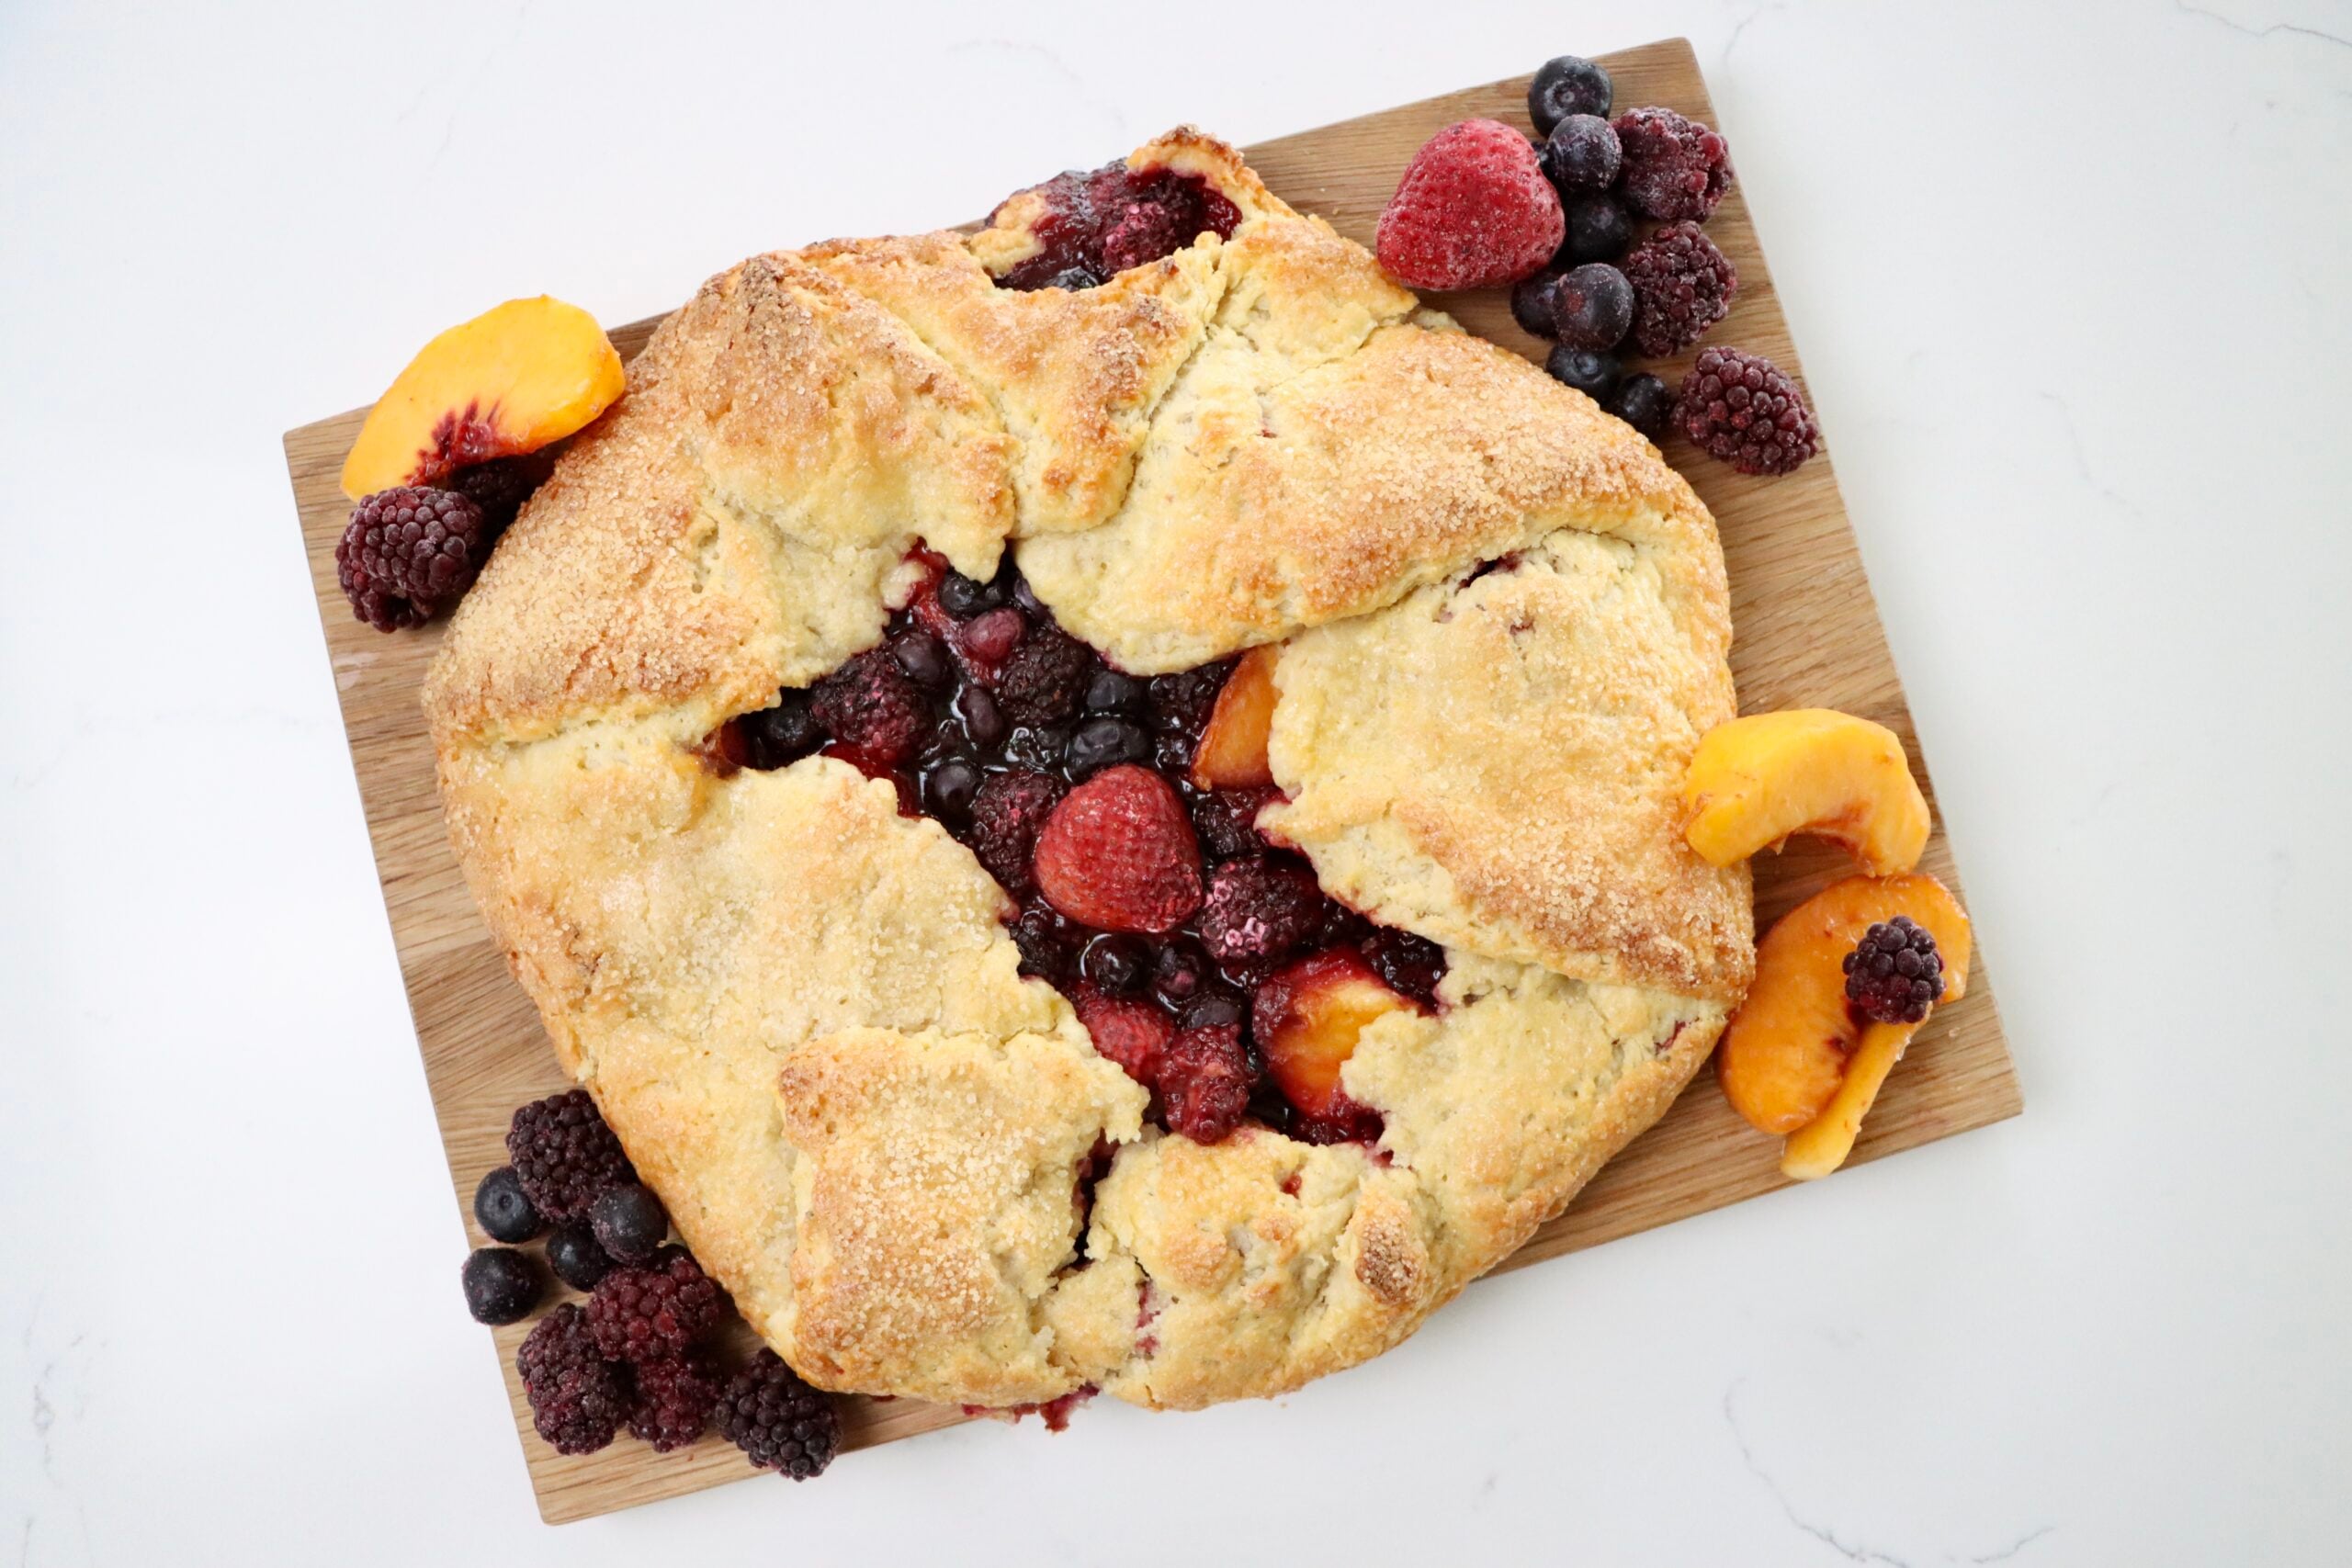
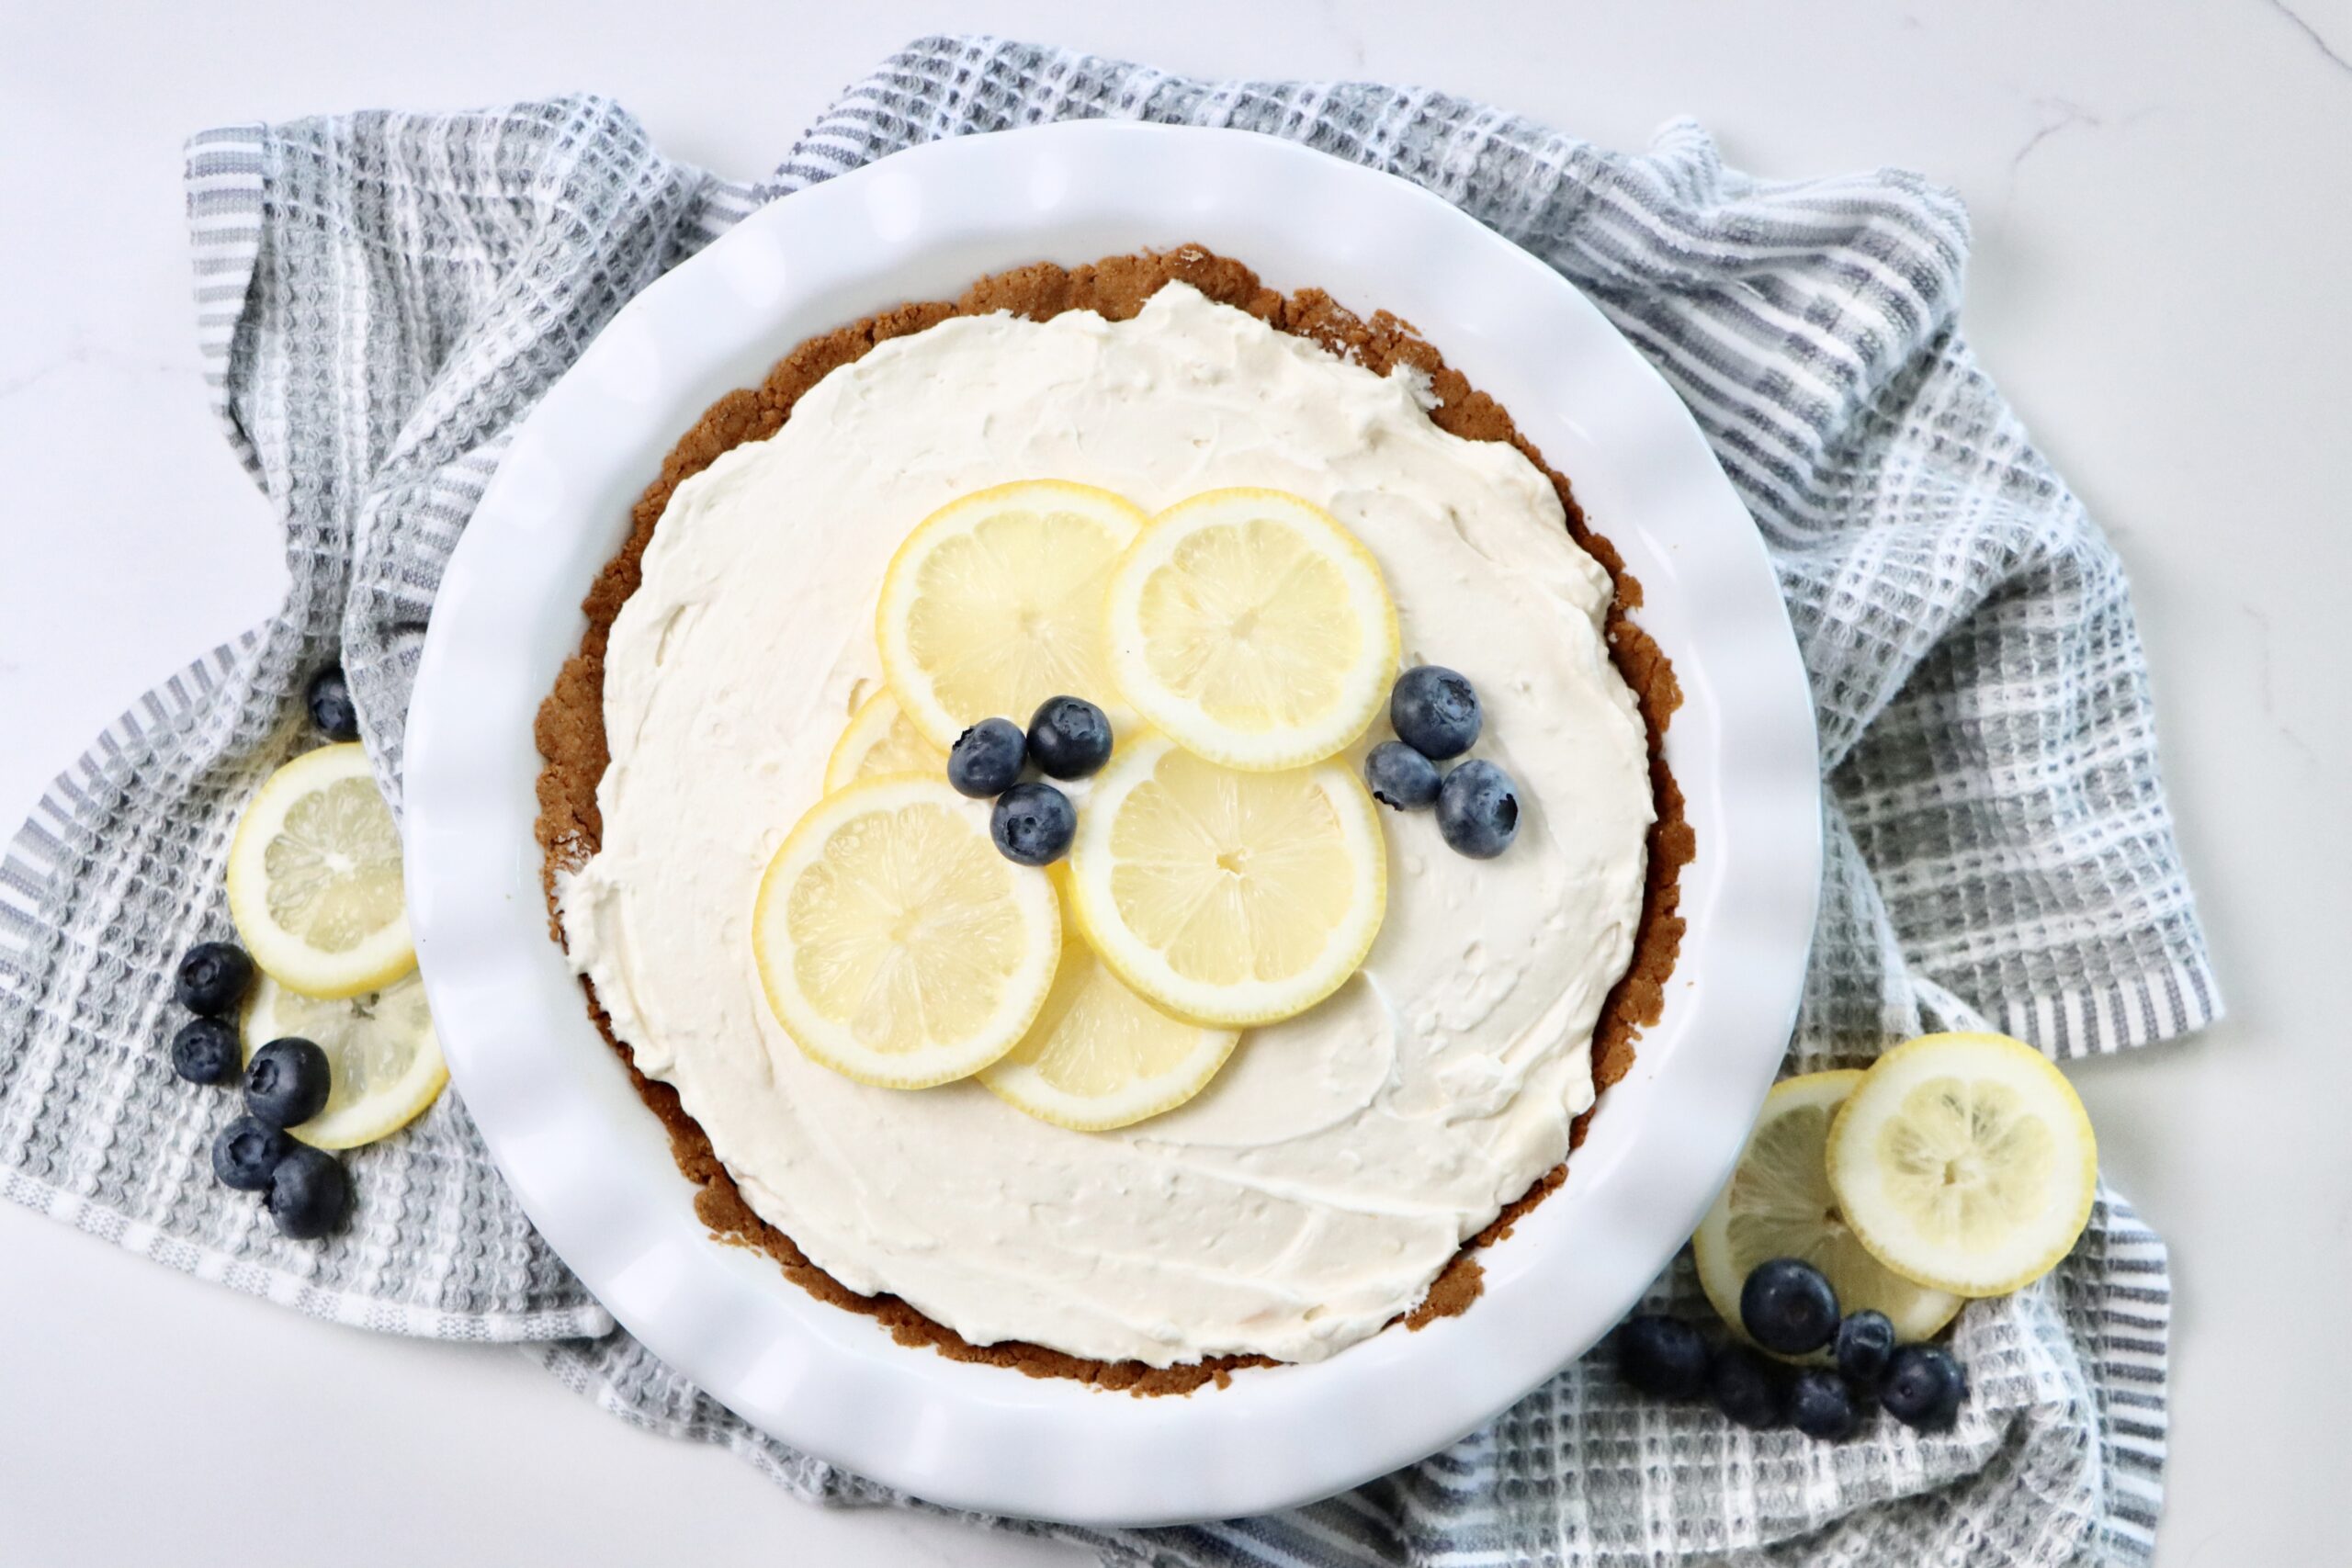
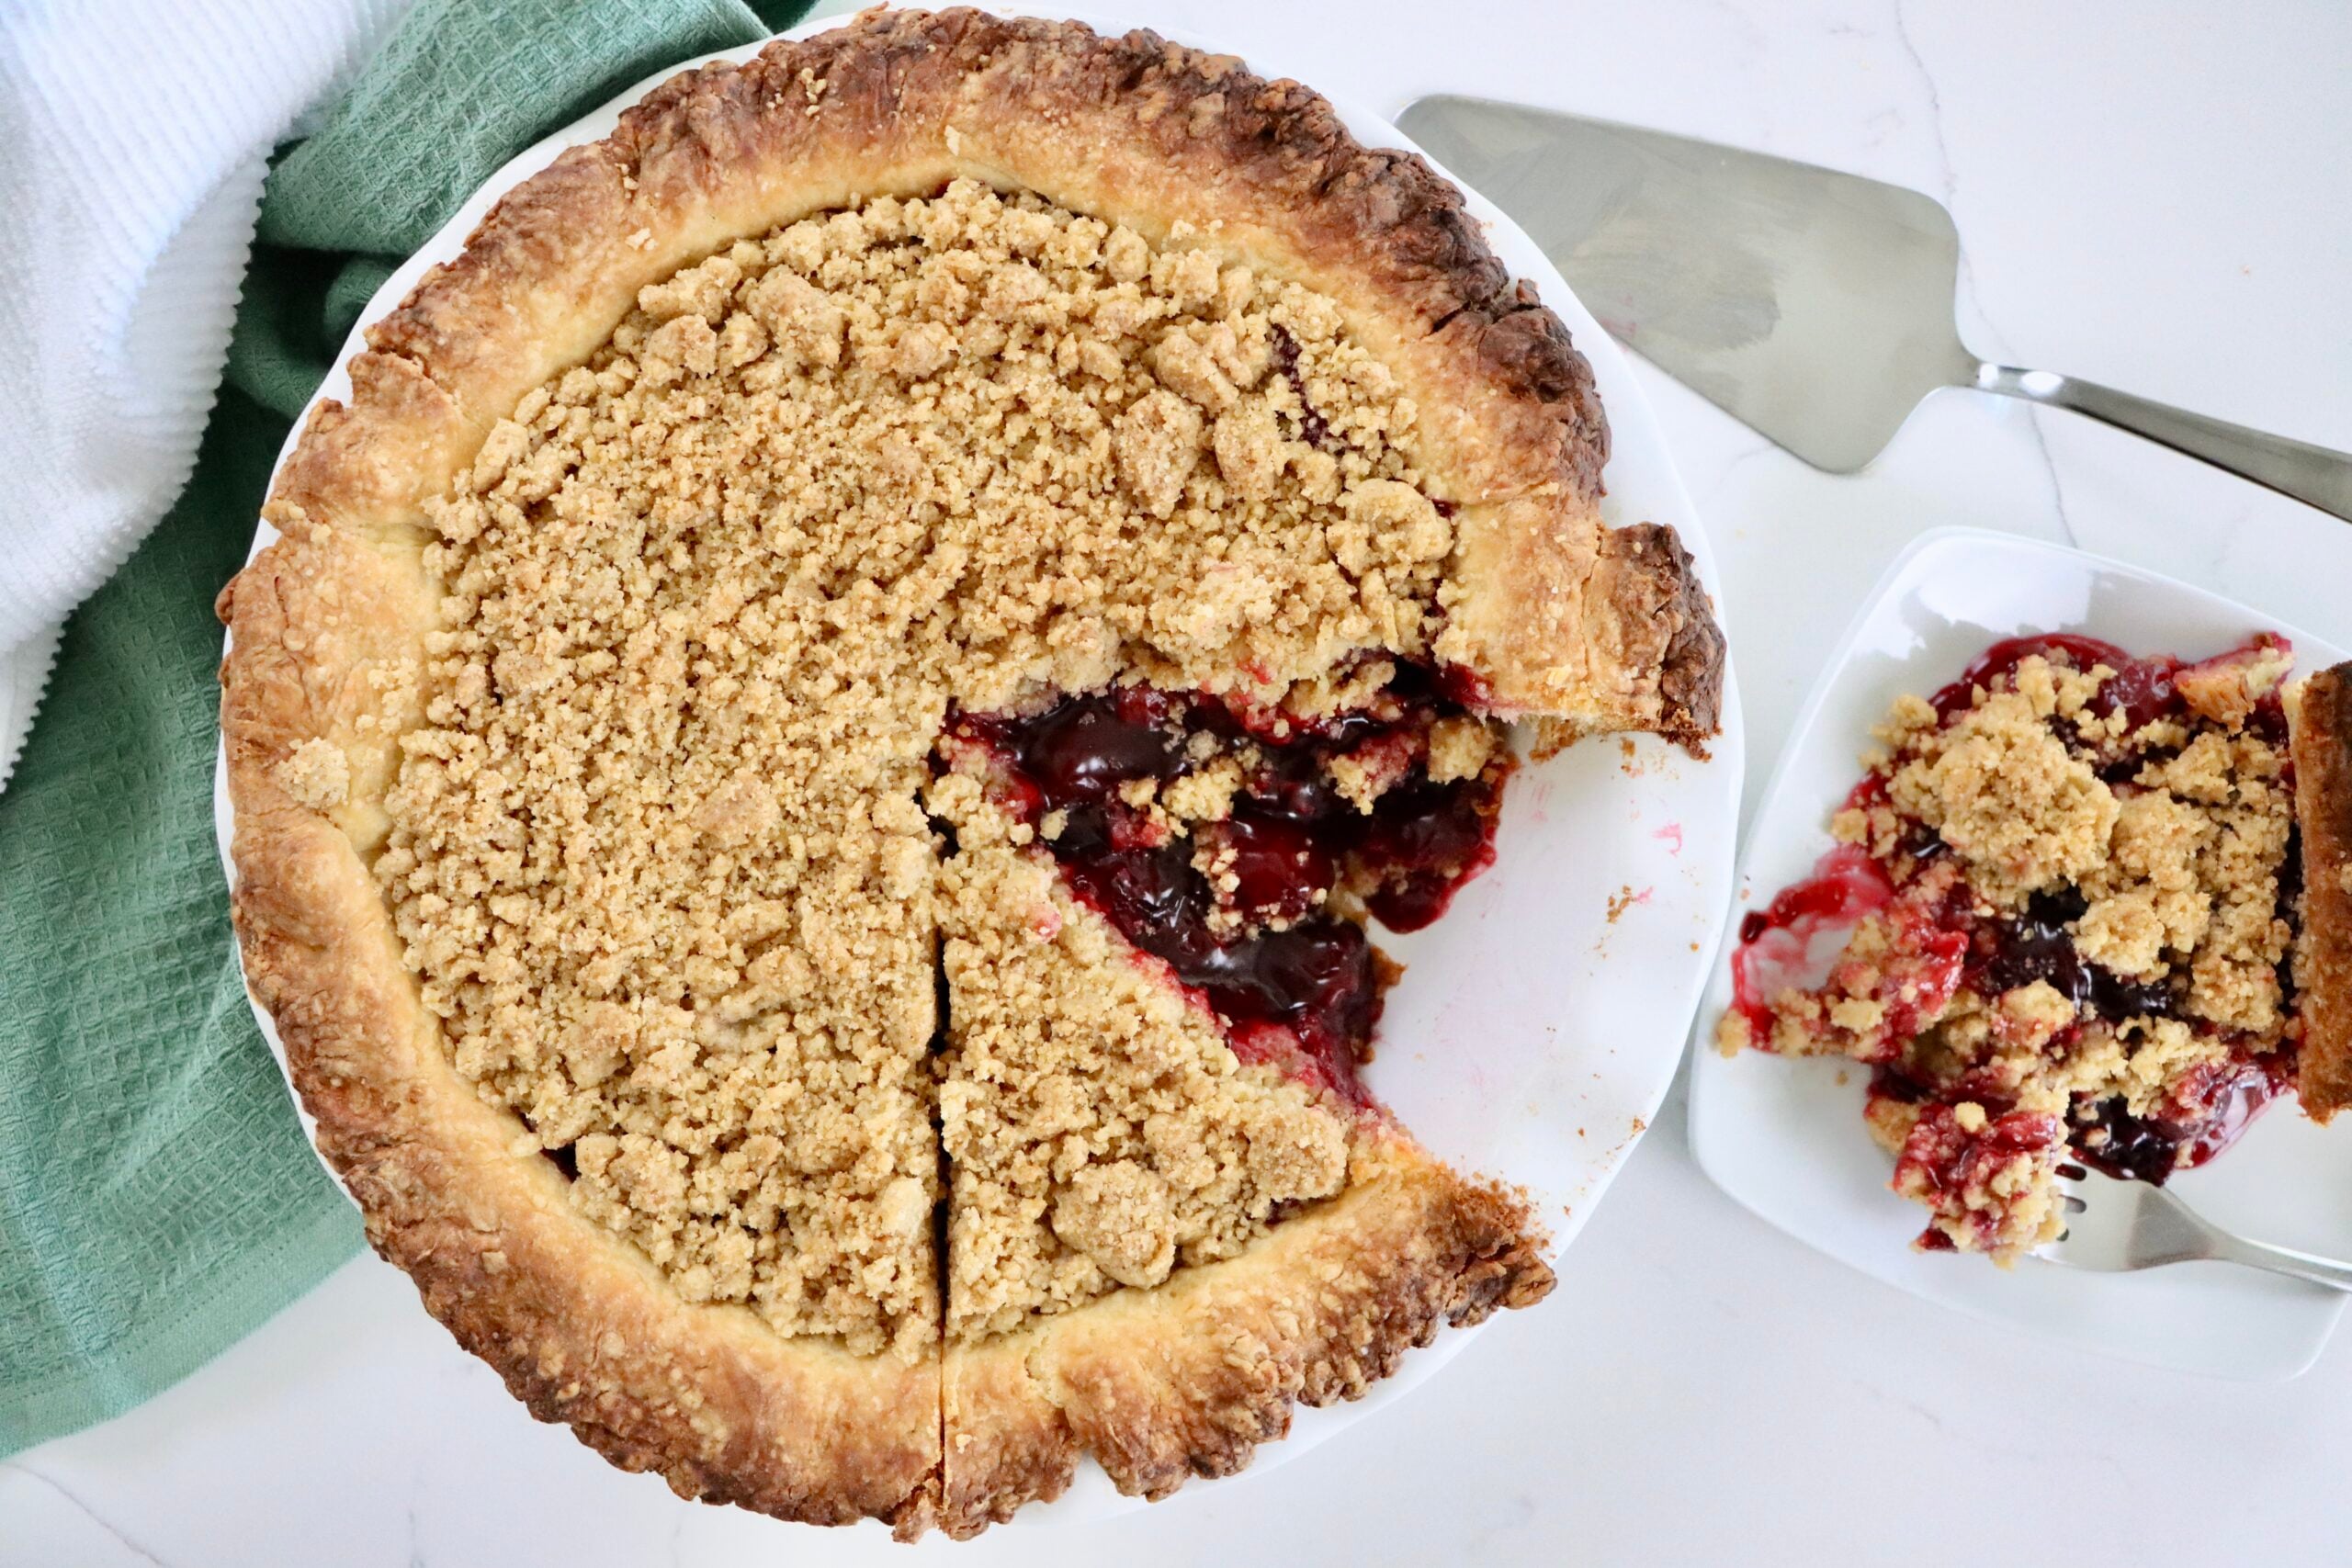
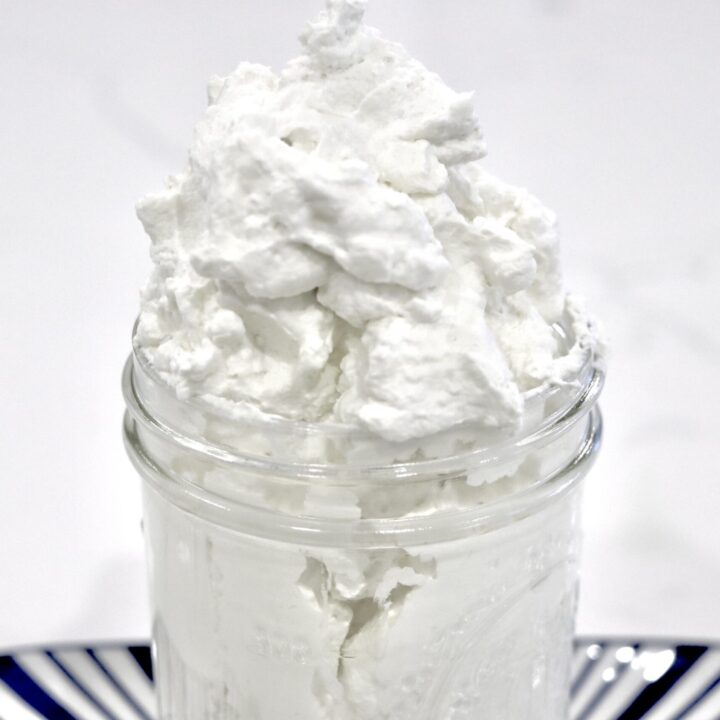
Stabilized whipped cream is exactly what it sounds like. Whipped cream that is stable and doesn’t deflate, turn to water and sadness hours or minutes after it is made. It out preforms any store boughten cream in all areas including taste, texture, uses and ingredients. This whipped cream shines for things like frosting cakes, topping pies, piping decorations, etc.
Ingredients You’ll Need
Step-by-Step Instructions
- Soften cream cheese and beat using a stand mixer with the paddle attachment or a hand held mixer until smooth.
- Add powdered sugar and vanilla, and mix until combined.
- Slowly add heavy cream while beating, then increase speed until stiff peaks form.
If you don’t already have a favorite mixer, here are some options:
1. KitchenAid Stand Mixer
2. Pampered Chef Stand Mixer
3. KitchenAid Hand Mixer
Pro Tips for Success
- Soften your cream cheese ahead of time to make it easier to whip. To do this I would let it sit on the counter for an hour or so before whipping.
- Use cold heavy cream for a better result.
- Chill your mixing bowl and beaters for optimal texture. I don’t always do this…but you can.
- Avoid over beating to prevent curdling. This one is always the most stressful, as the question always asked is “what does that mean…how much is too much? Can’t you just tell me a time?!” And for that my answer is probably not the most helpful as there are so many factors that can go into it, but truly, no, there isn’t a specific time, you have to watch it. Typically it is a few minutes, but it depends how cold your cream is, the brand, your altitude, your mixer etc. etc. So the best answer besides watching it is that you want it to stand up on its own and not be deflated. Go ahead (when the mixer is off) dip your finger in there and if it stays on your finger well I am sure it is done!
Storage Tips
After the stabilized whipped cream is made you can store it in the fridge in a glass container for 2-3 days. No more throwing it away after a one time use.

Recipe Variations and FAQs
- This whipped cream recipe is easy to customize, feel free to experiment adding things like cocoa powder, almond extract, or food coloring.
- Some common questions:
- Can this recipe be doubled or halved?
- Yes! Make as much as you need or want, the leftovers are fantastic!
- Is this whipped cream suitable for piping?
- Absolutely! I find it easier than any other whipped cream I have ever made as it holds it shape so well.
- How do I know when it is done?
- See my above answer in the Pro Tips for Success section.
- Can this recipe be doubled or halved?
If you try this recipe and love it, I would love it if you could come back and give it 5 stars! Tag me on instagram @my.colorado.kitchen
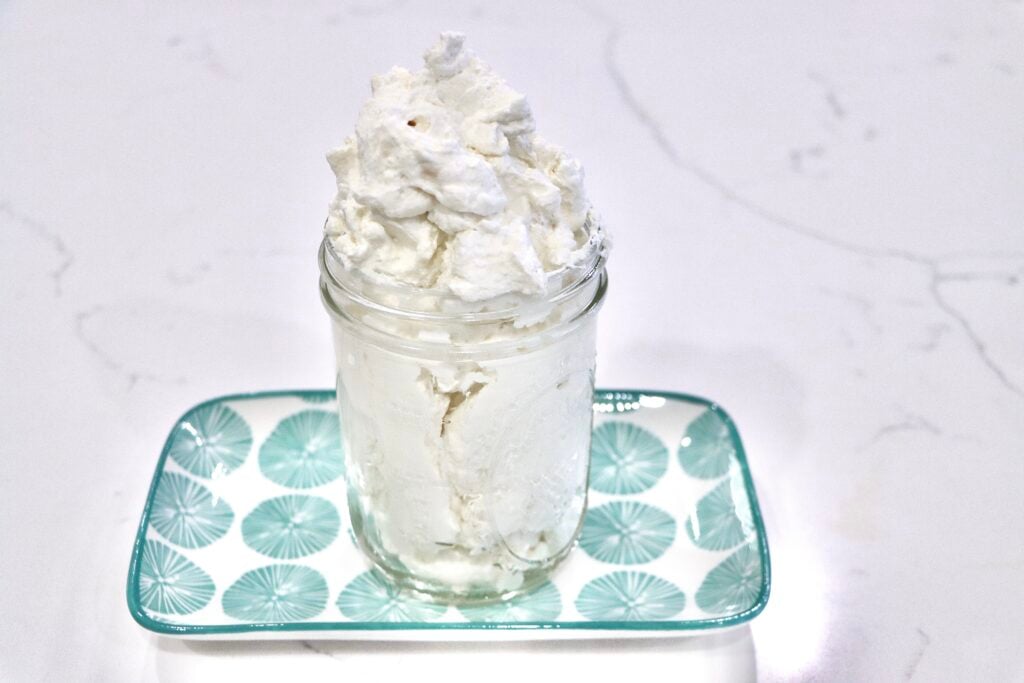
Stabilized Whipped Cream
Learn how to make perfect stabilized whipped cream that stays fluffy and doesn’t turn watery!
Ingredients
- 2oz Cream Cheese
- 1/4 plus 1/8 cup Organic Powdered Sugar
- 1 tsp Vanilla
- 1 cup Heavy Whipping Cream
Instructions
- Soften cream cheese and beat using a stand mixer with the paddle attachment or a hand held mixer until smooth.
- Add powdered sugar and vanilla, and mix until combined.
- Slowly add heavy cream while beating, then increase speed until stiff peaks form.
Notes
- Soften your cream cheese ahead of time to make it easier to whip. To do this I would let it sit on the counter for an hour or so before whipping.
- Use cold heavy cream for a better result.
- Avoid over beating to prevent curdling. This one is always the most stressful, as the question always asked is "what does that mean...how much is too much? Can't you just tell me a time?!" And for that my answer is probably not the most helpful as there are so many factors that can go into it, but truly, no, there isn't a specific time, you have to watch it. Typically it is a few minutes, but it depends how cold your cream is, the brand, your altitude, your mixer etc. etc. So the best answer besides watching it is that you want it to stand up on its own and not be deflated. Go ahead (when the mixer is off) dip your finger in there and if it stays on your finger well I am sure it is done!
- Stabilized Whipped Cream can be stored in a glass container in the fridge for 2-3 days.
Nutrition Information:
Yield: 4 Serving Size: 1Amount Per Serving: Calories: 258Total Fat: 26gSaturated Fat: 17gTrans Fat: 1gUnsaturated Fat: 8gCholesterol: 82mgSodium: 61mgCarbohydrates: 3gFiber: 0gSugar: 3gProtein: 3g