Easter Lily Dessert Recipe: A Beautiful Homemade Treat for Your Spring Gatherings
Create a stunning Easter dessert with this Easter Lily Dessert Recipe! Made with simple, whole ingredients and filled with homemade whipped cream, this springtime treat is perfect for your Springtime celebrations. Learn how to shape and fill these delicate, beautiful desserts!
This post may contain affiliate links. As an amazon associate I earn from qualifying purchases at no additional cost to you.
Easter Lilies help define Spring and usher in Easter. At our church Easter services, and usually for the whole month of March and April, Easter lilies were lining the stage symbolizing the purity, hope, and resurrection of Jesus Christ. While this recipe is not an actual flower it is a special way to celebrate with a delicious dessert for your Easter celebrations and the perfect springtime treat.
Recipe Snapshot
EASE: Easier to make than you might think.
PROS: It’s delicious, just the perfect amount of sweetness, and uses whole real ingredients.
CONS: Absolutely none.
WOULD I MAKE THIS AGAIN? Absolutely. In fact, just like your favorite Christmas time treat, this will be something you make year after year.
Ingredients Needed
- Eggs – I use pasture raised organic eggs – love the taste and the better nutrients
- Flour – The organic all purpose flour from Costco works great. With flour – when possible it is best to buy organic as the wheat won’t have been sprayed with glyphosate
- Sugar – I like organic cane sugar – typically I buy it in bulk from Costco
- Baking powder – Use one with no added aluminum (I like this one)
- Vanilla – look for pure vanilla extract, not vanilla flavor
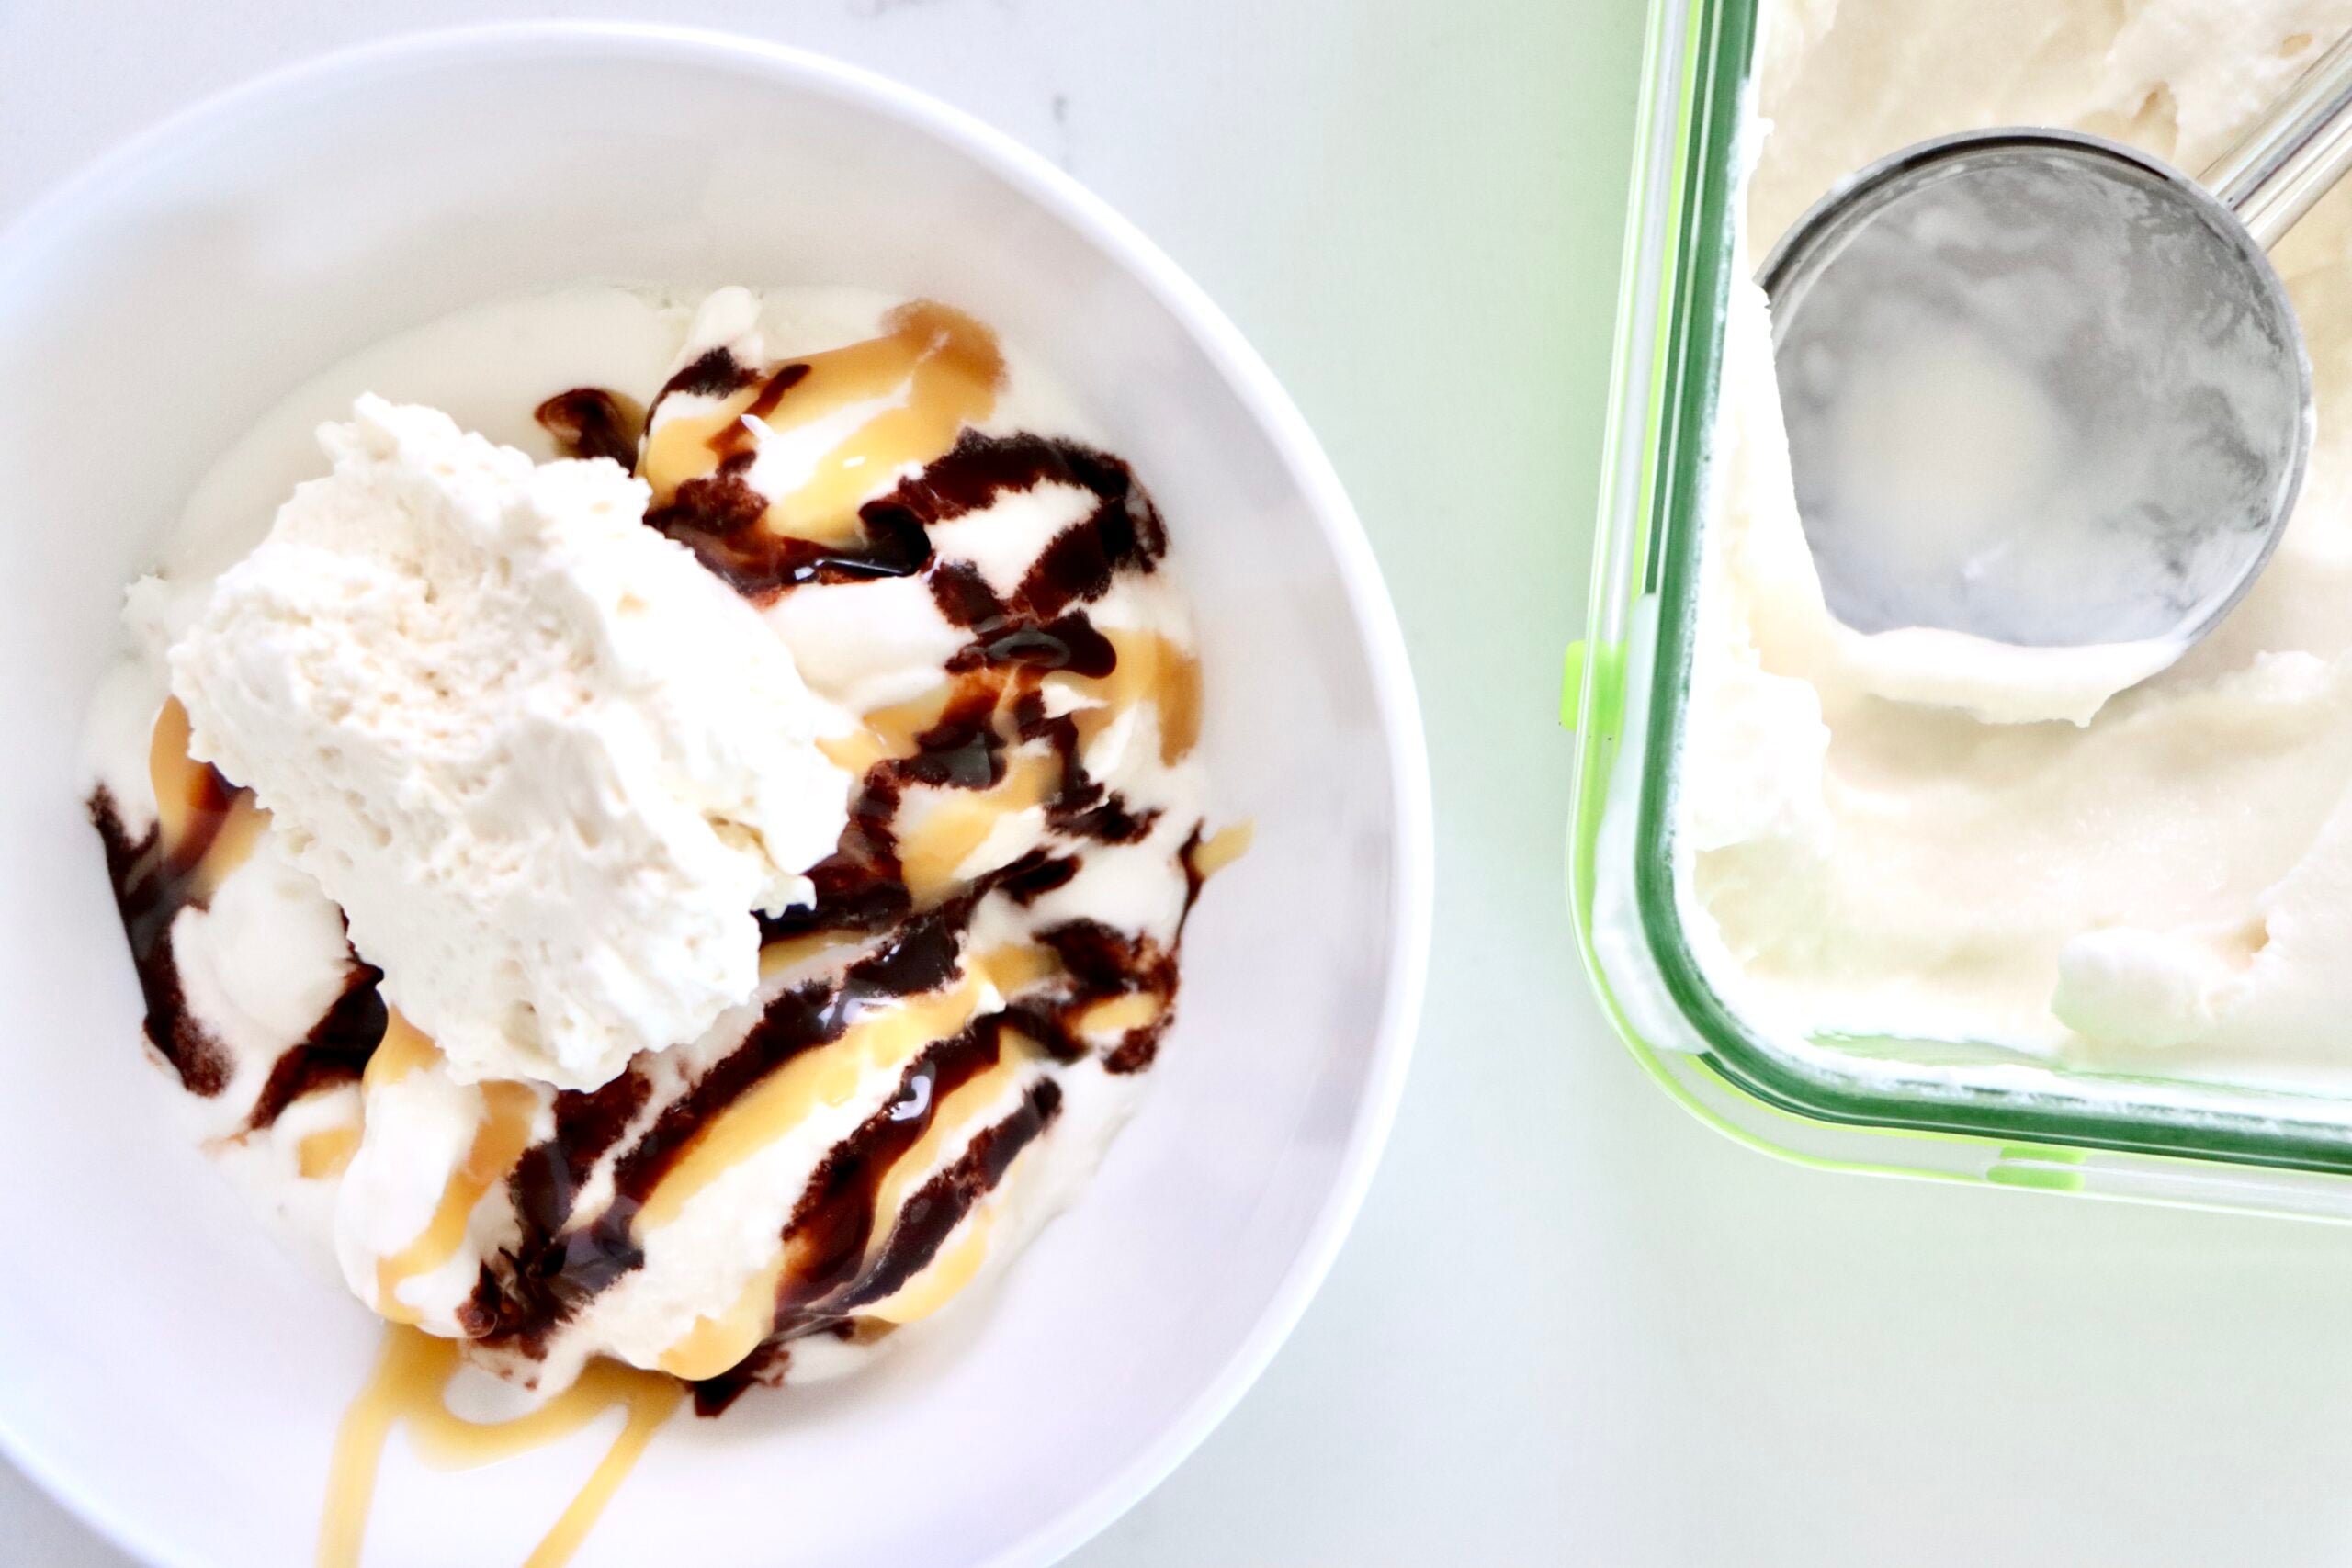
- Homemade whipped cream – The BEST Stabilized Whipped Cream Recipe
Step-by-Step Instructions
- Preheat your oven to 350 degrees.
- Using a whisk, beat the eggs and vanilla until smooth.
- Add the flour, sugar, and baking powder. Using a spatula, mix well. This is my favorite spatula it is deeper and more heavy duty than a regular spatula.
- Line your baking sheet with parchment paper and using a cookie scoop place 2 tablespoons of batter approximately 3 inches apart on your cookie sheet.
- Bake for 14-16 minutes until golden brown.
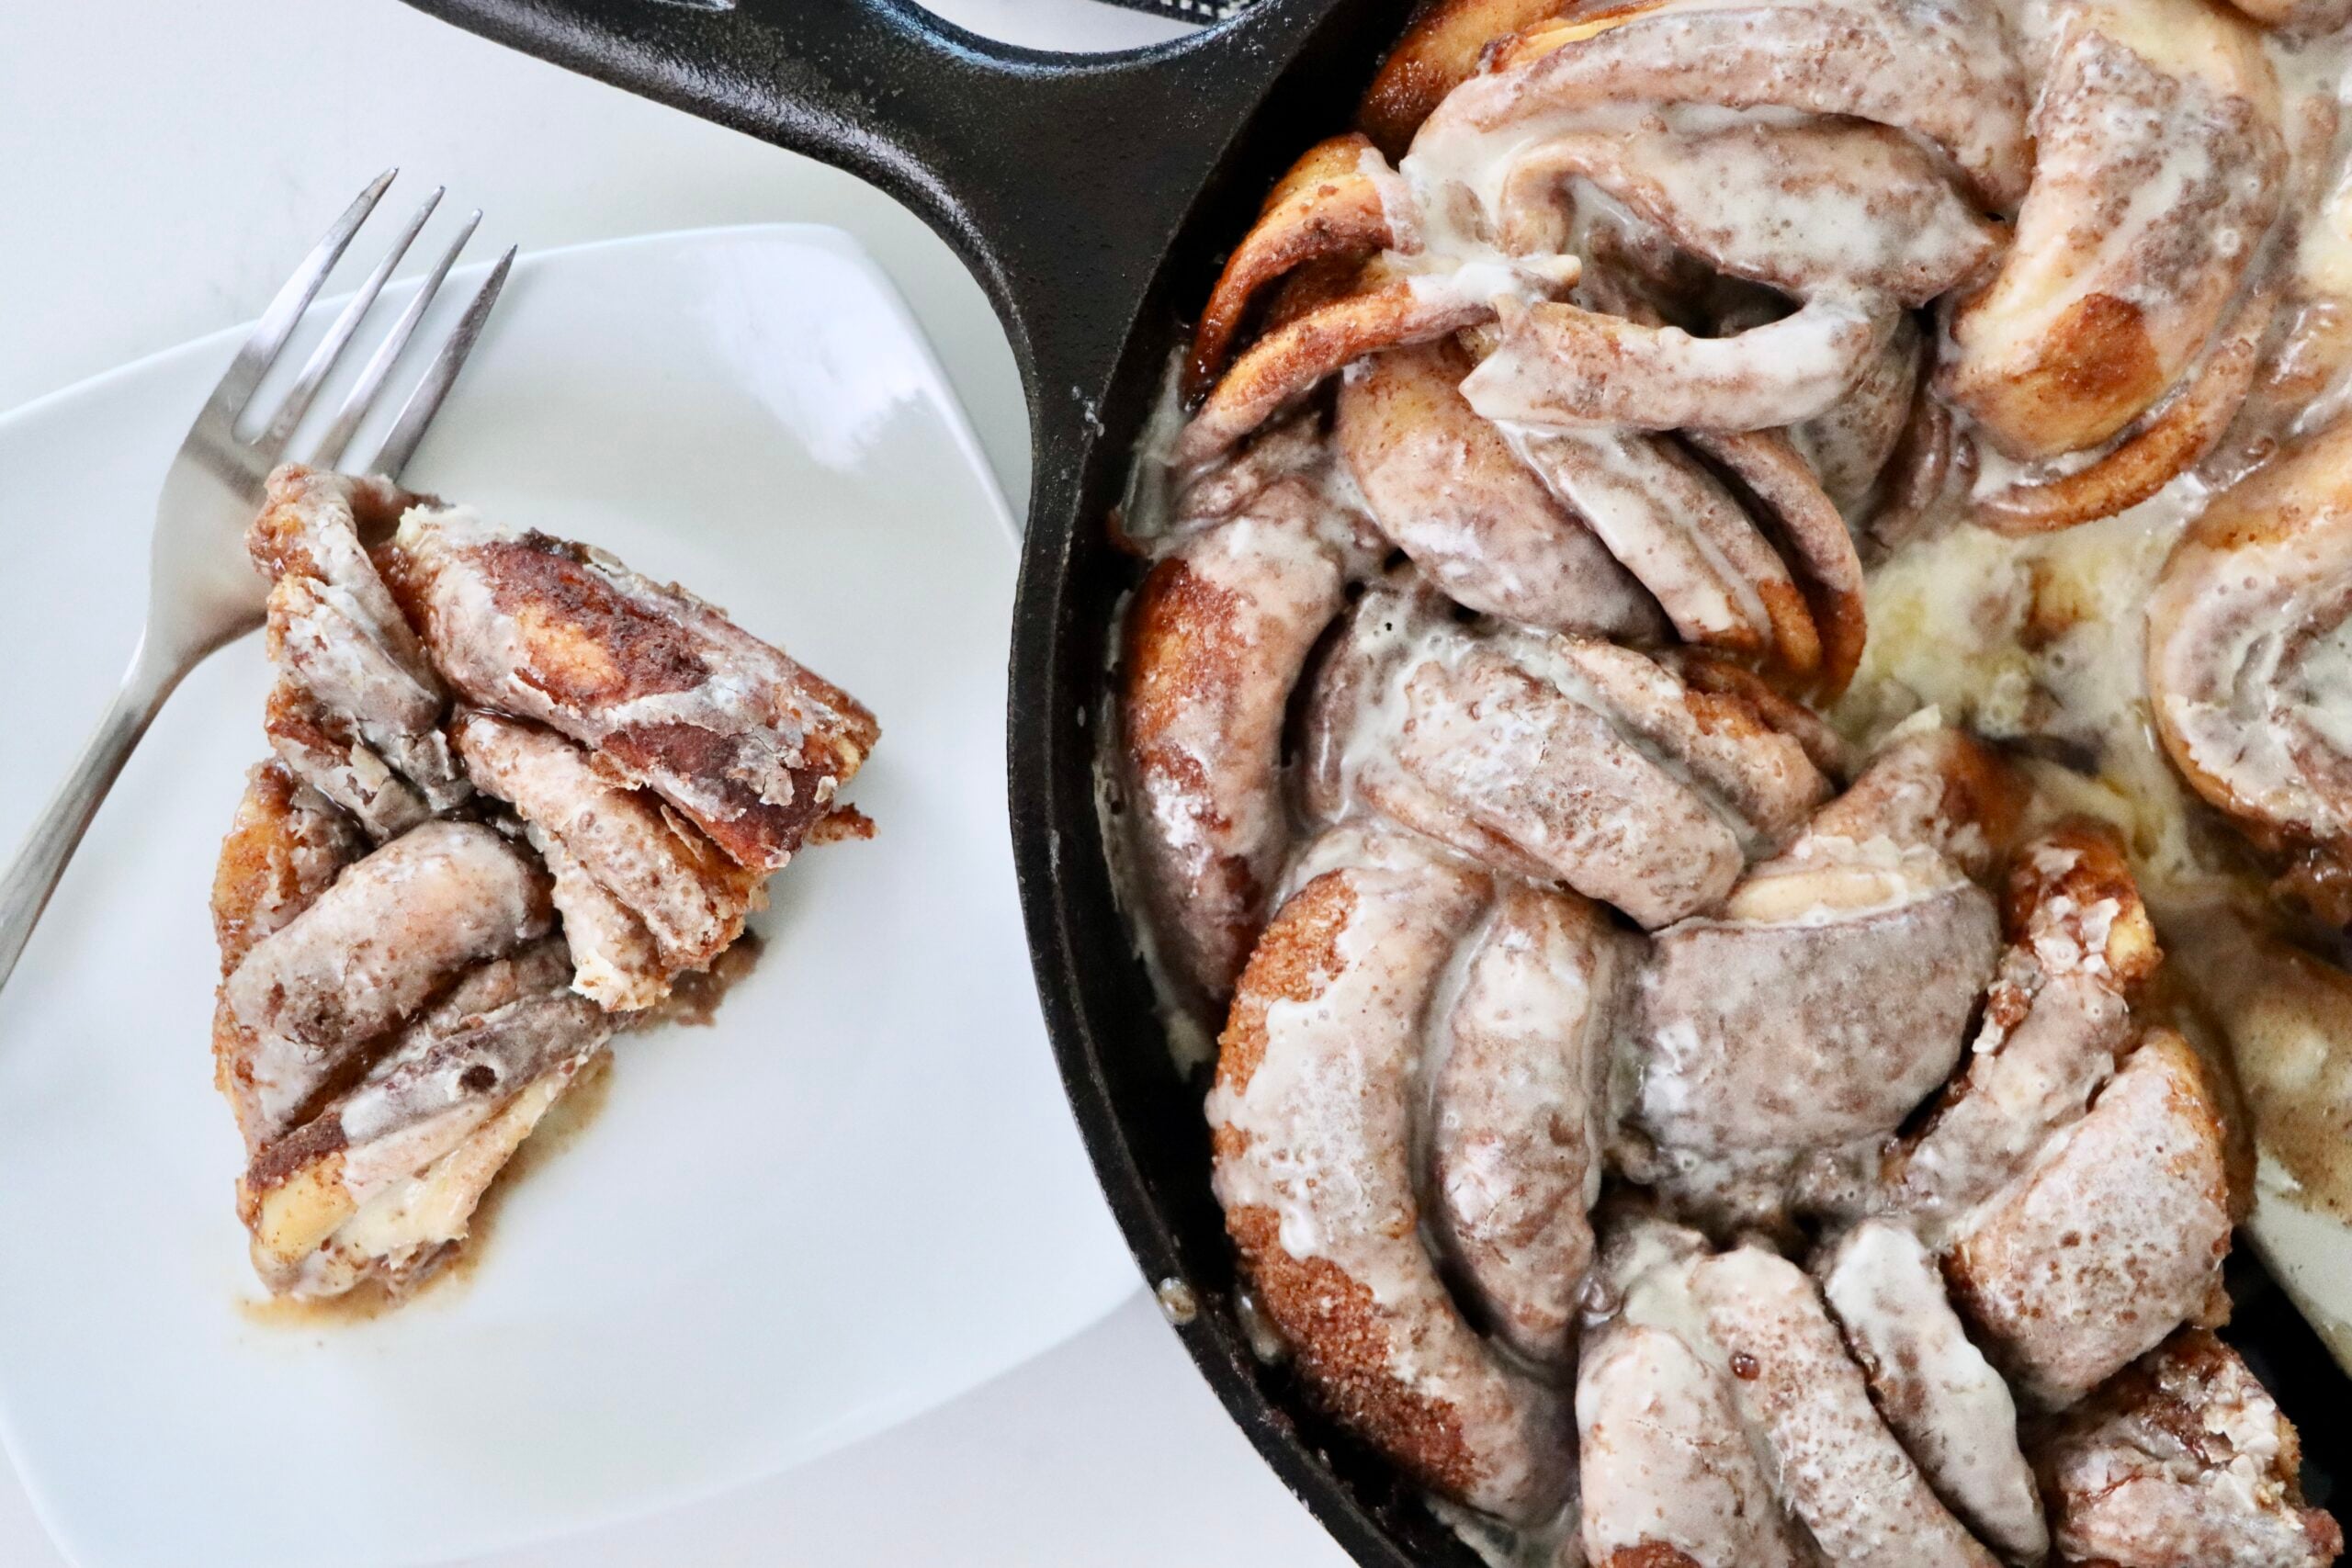
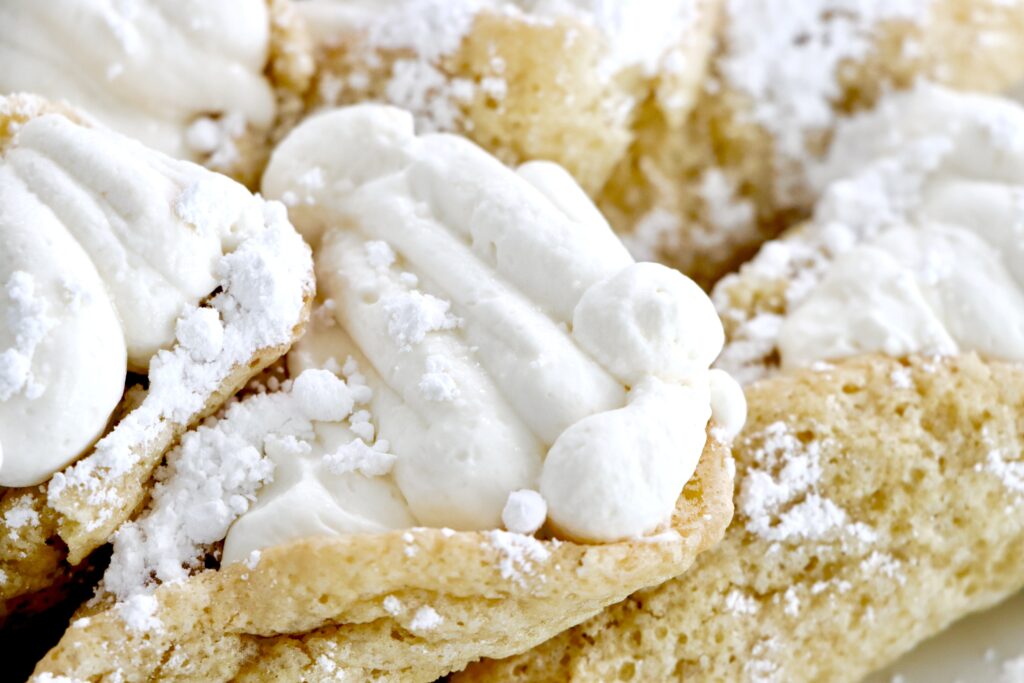
- Immediately after baking roll into an Easter Lily shape.
- Once cool fill the lilies with homemade whipped cream. Recipe HERE
- Serve Immediately or place in the fridge for up to 3 days.
Tips for Success
- Make sure the Easter lilies are golden brown before removing from the oven. If they are underdone, they will be impossible to shape.
- Parchment paper is a must as these can be tricky to remove and keep their shape without it.
- To avoid cracking shape them when warm.
- The easiest way to get the whipped cream inside the lilies is to use a piping bag.
- If you eat these immediately (or shortly after) they will be a little crunchy like a soft waffle cone. Putting them in the fridge (stuffed with the whipped cream) to eat later softens them. Both are amazing!!

Serving Suggestions
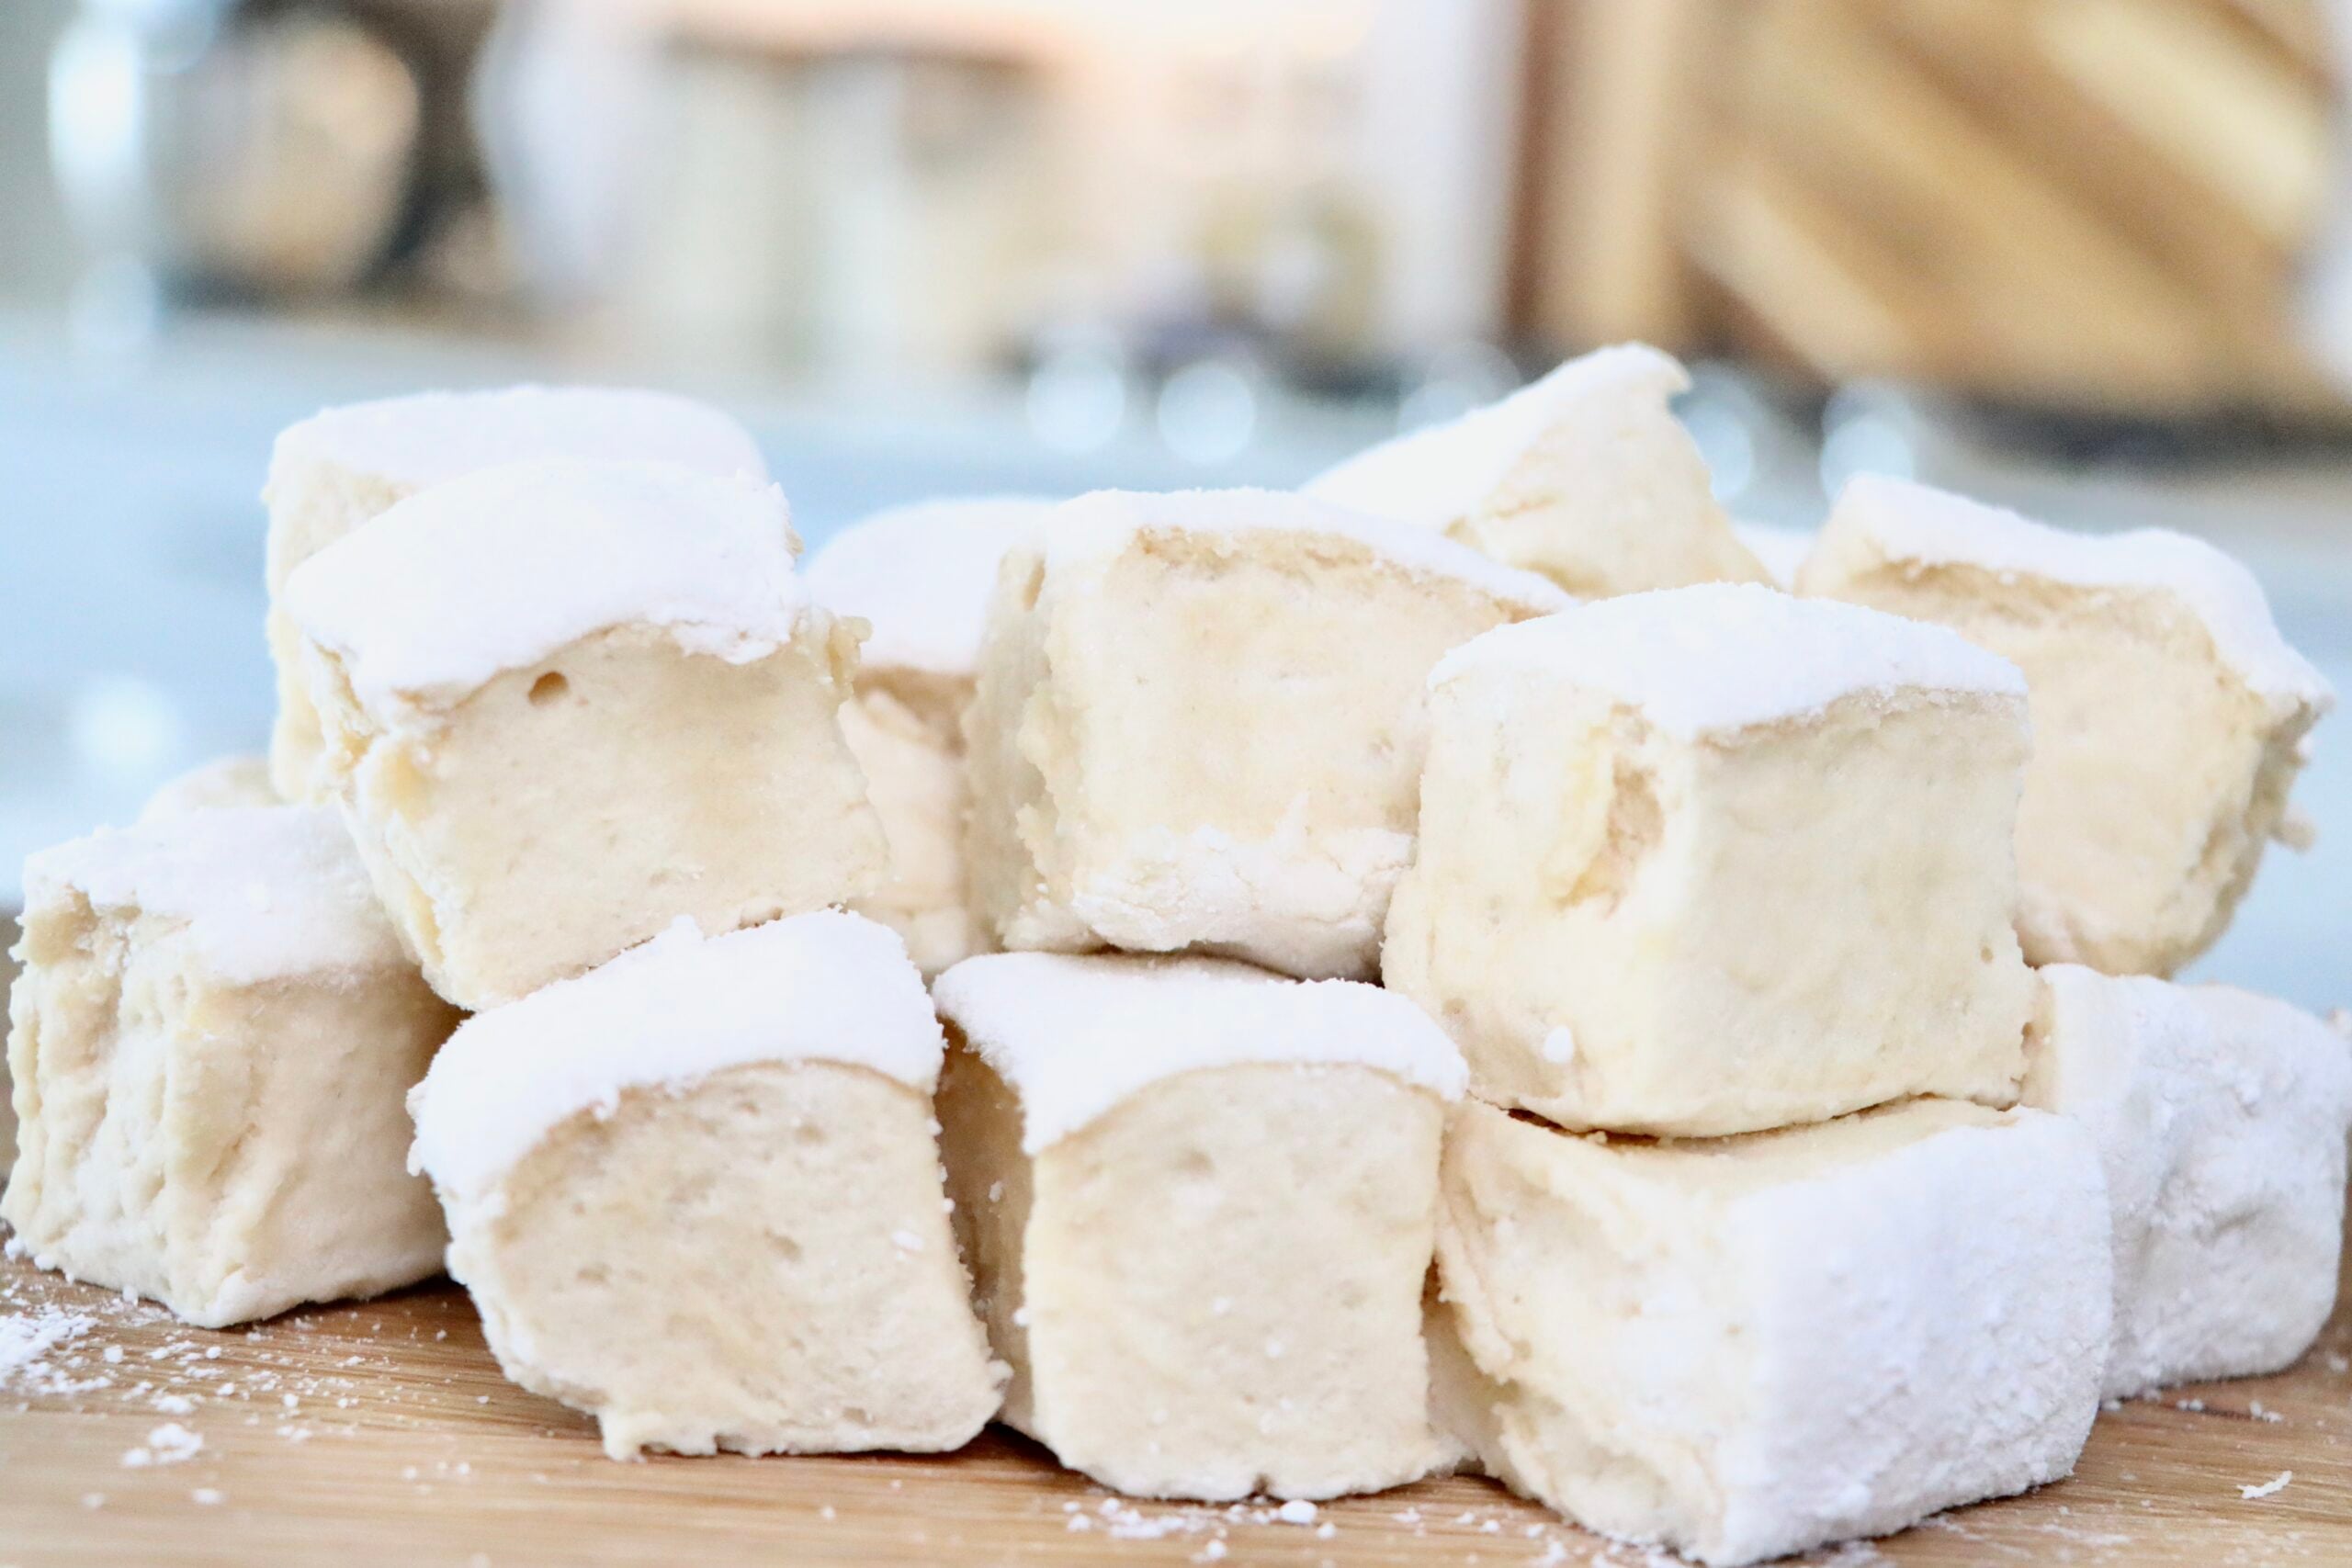
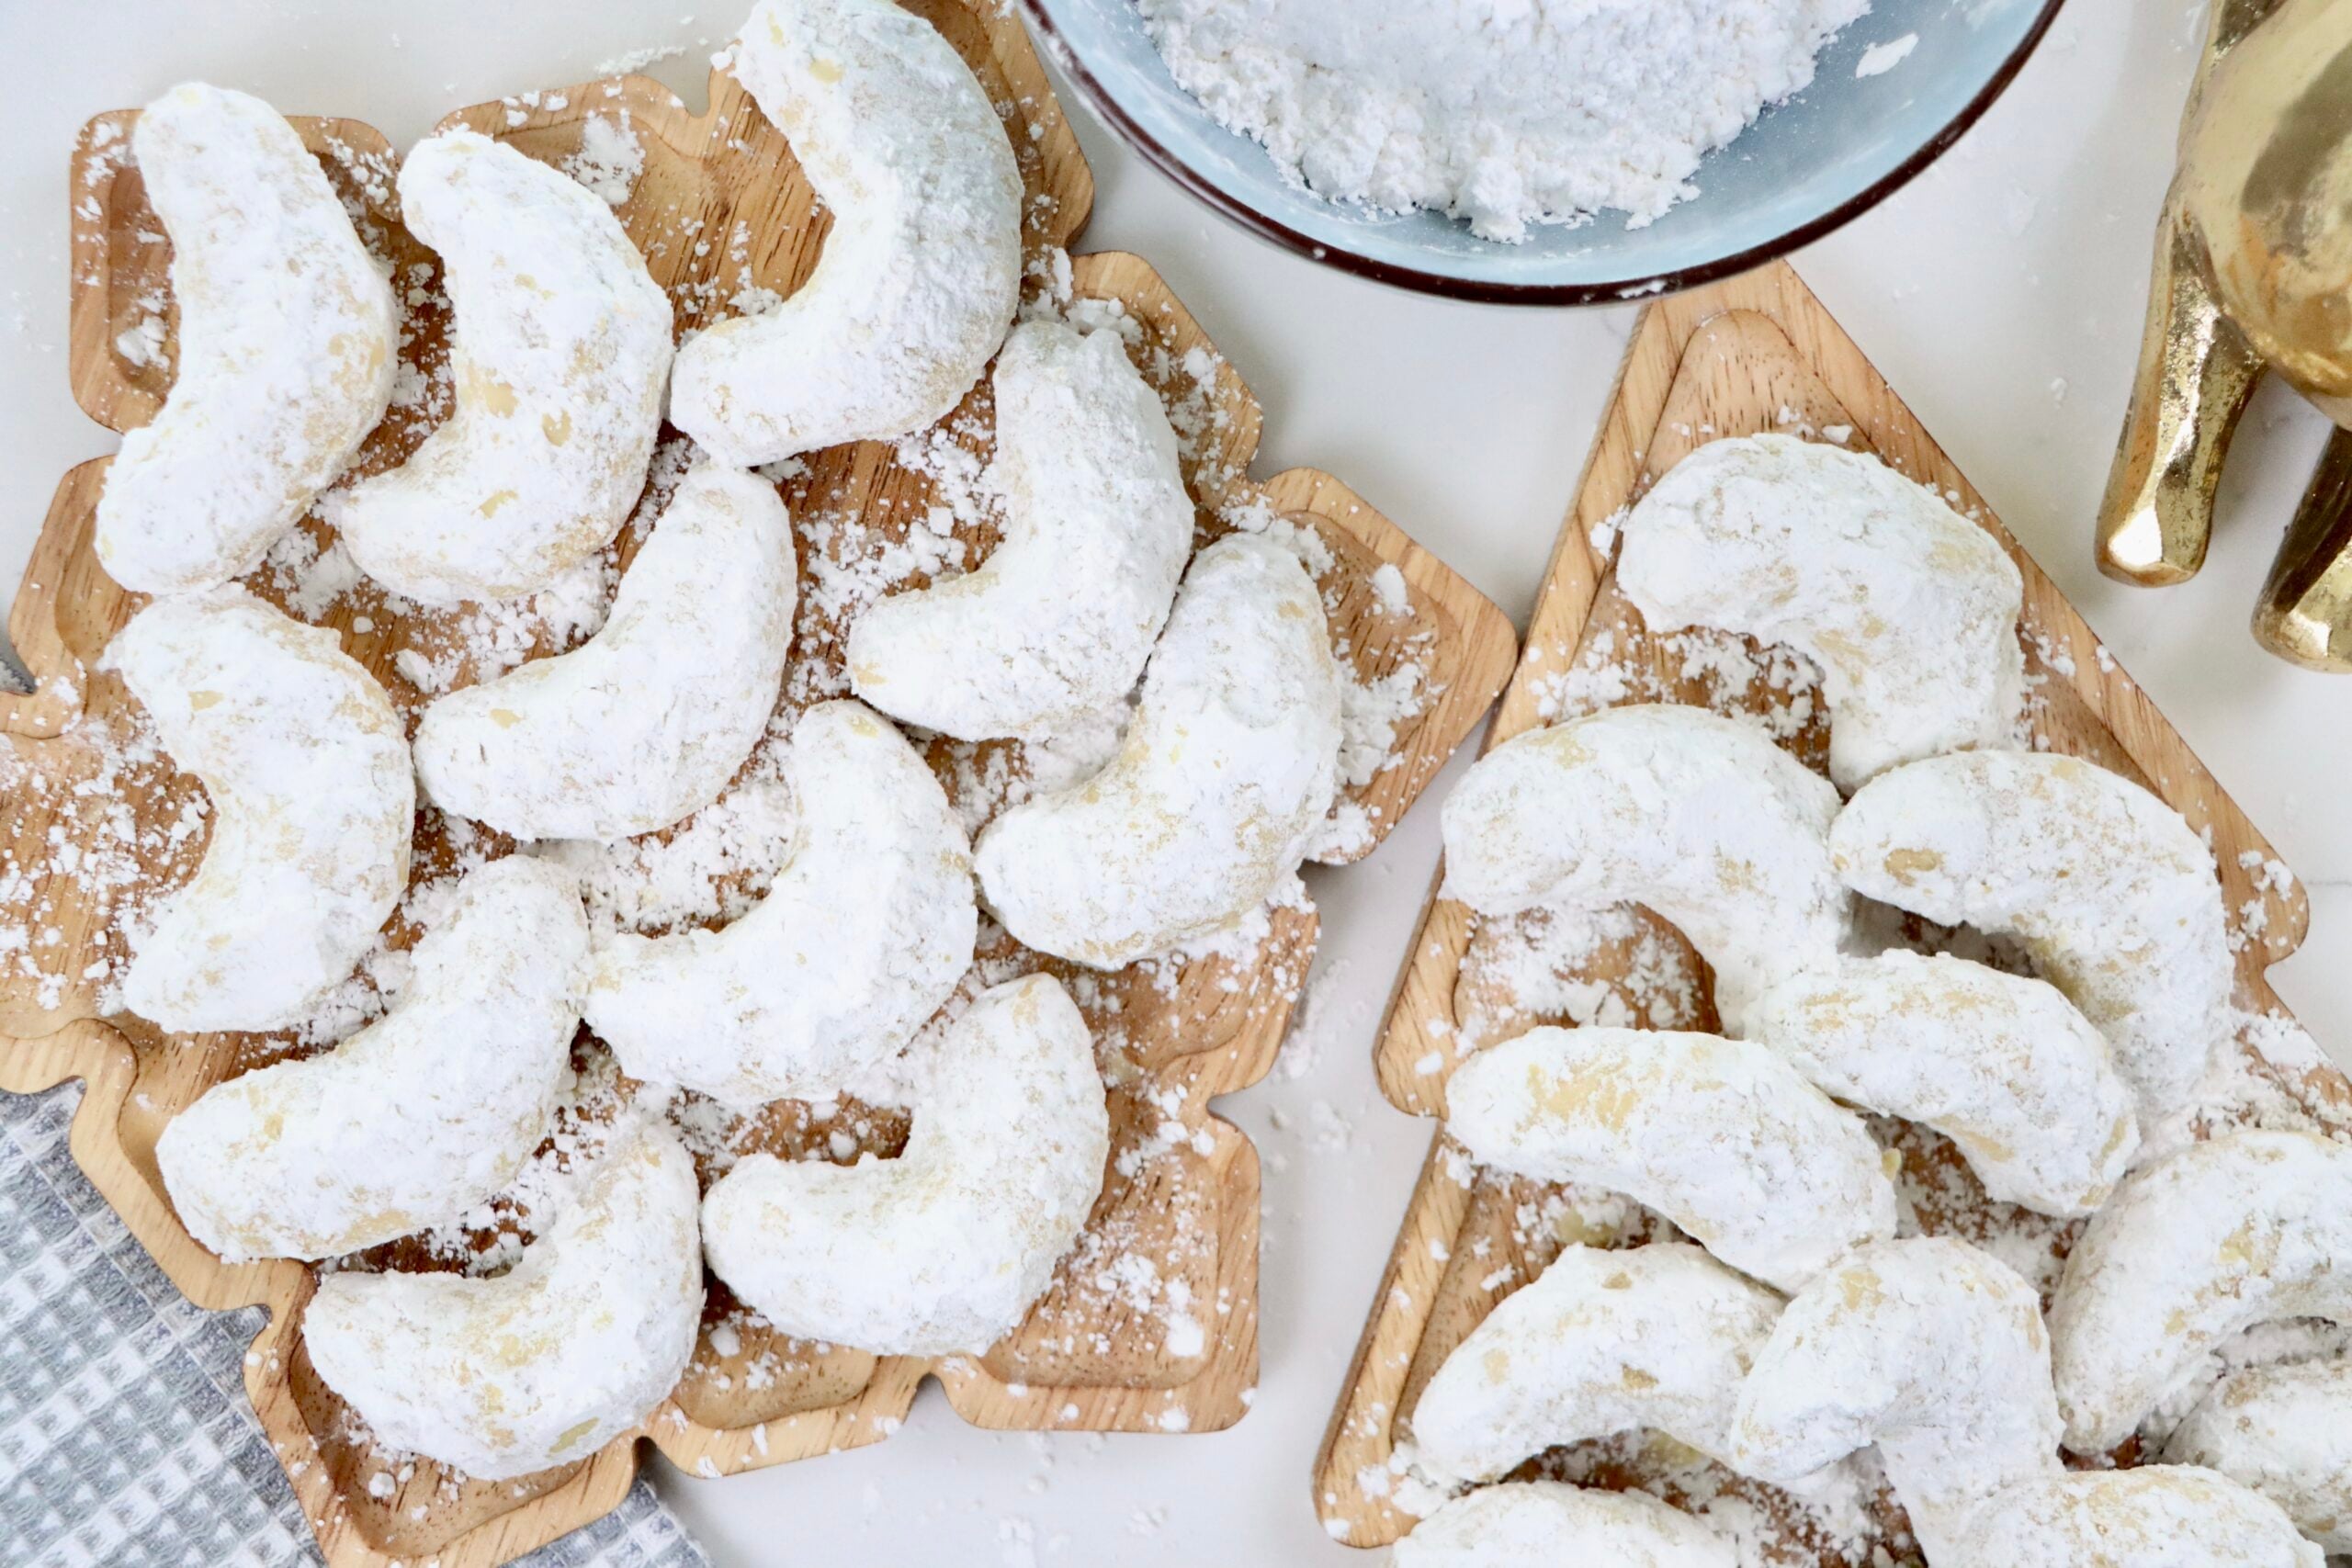
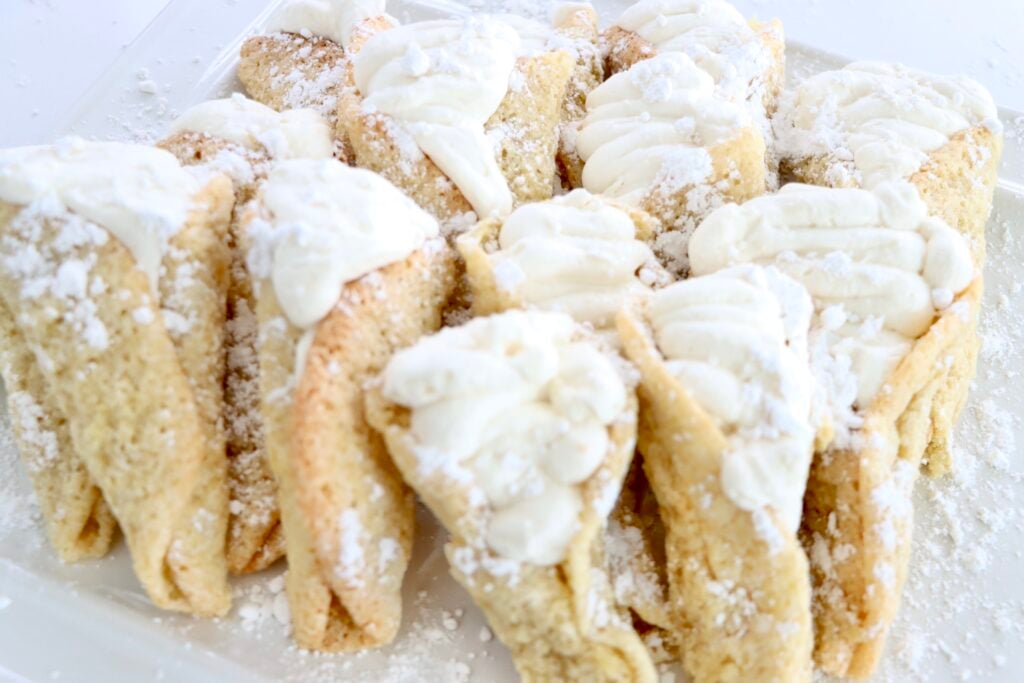
To serve, use your favorite Spring or Easter plate, stack them in a circle or a pyramid shape and garnish with powdered sugar or edible flowers and enjoy! Have fun, get creative! These won’t last long, they are so good!
Frequently Asked Questions (FAQs)
If you try this recipe and love it, I would love it if you could come back and give it 5 stars! Tag me on instagram @my.colorado.kitchen

Easter Lilies
Create a stunning Easter dessert with this Easter Lily Recipe! Made with simple, whole ingredients and filled with homemade whipped cream, this springtime treat is perfect for your Springtime celebrations.
Ingredients
- 4 Eggs
- 1 tsp Vanilla
- 1 cup All-Purpose Flour
- 1 cup Sugar
- 1/2 tsp Baking Powder
Instructions
- Preheat your oven to 350 degrees.
- Using a whisk, beat the eggs and vanilla until smooth.
- Add the flour, sugar, and baking powder. Using a spatula, mix well. This is my favorite spatula it is deeper and more heavy duty than a regular spatula.
- Line your baking sheet with parchment paper and using a cookie scoop place 2 tablespoons of batter approximately 3 inches apart on your cookie sheet.
- Bake for 14-16 minutes until golden brown.
- Immediately after baking roll into an Easter Lily shape.
- Once cool fill the lilies with homemade whipped cream. Recipe HERE
- Serve Immediately or place in the fridge for up to 3 days.
Notes
Nutrition Information:
Yield: 14 Serving Size: 1Amount Per Serving: Calories: 156Total Fat: 2gSaturated Fat: 0gUnsaturated Fat: 1gCholesterol: 53mgSodium: 42mgCarbohydrates: 32gFiber: 0gSugar: 18gProtein: 4g
Nutrition facts are calculated automatically and are approximate.