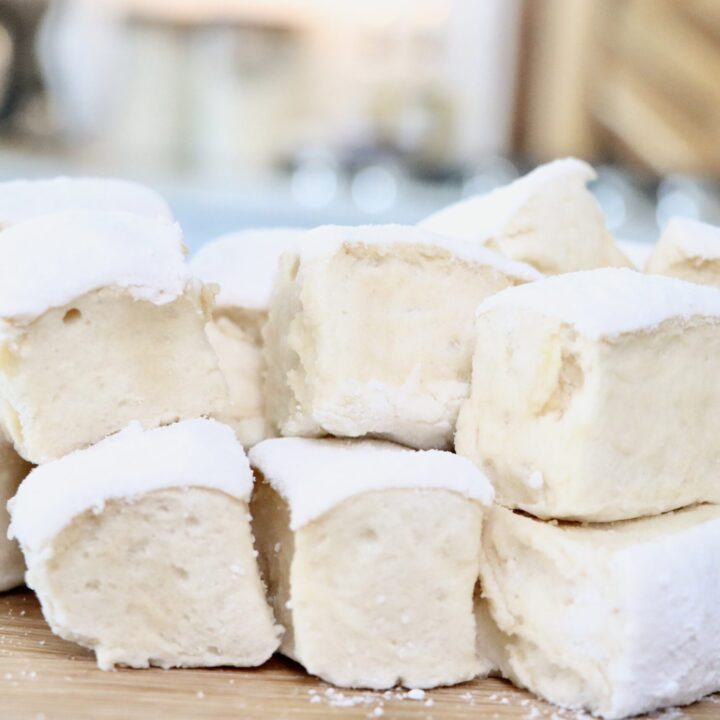
Homemade Honey Maple Marshmallows (No Corn Syrup!)
Make soft, fluffy homemade honey maple marshmallows with just a few simple ingredients—no corn syrup required! This natural marshmallow recipe uses real honey, maple syrup, and grass-fed gelatin for a delicious from-scratch treat.
This post may contain affiliate links. As an amazon associate I earn from qualifying purchases at no additional cost to you.
Once you make homemade marshmallows, you’ll never go back to store-bought! They’re simple to make, full of flavor, and perfect for everything from s’mores to melting into your morning coffee. Sure, they still contain sugar from honey and maple syrup, but it’s a natural sweetness—and the grass-fed gelatin adds a boost of protein and gut-friendly benefits.
What makes these marshmallows different? They’re made without corn syrup or artificial ingredients—just real honey, pure maple syrup, and grass-fed gelatin. Clean, simple, and absolutely delicious.
Use these anywhere you’d use a traditional marshmallow and enjoy the clean, real ingredients. This is where real ingredients meet everyday cooking.
Why You’ll Love This Recipe
- Made with real, whole-food ingredients (honey, maple syrup, grass-fed gelatin).
- No corn syrup or processed sweeteners.
- Easy to make with just a stand mixer and a few pantry staples.
- Naturally flavored with honey + maple for a rich, unique taste.
Ingredients You’ll Need
Here’s what makes these marshmallows so special:
- 1 cup cold water – Divided, to bloom the gelatin and mix into the syrup. Make sure it is cold, warm or hot water won’t allow the gelatin to bloom it will try to dissolve (but likely won’t as the water won’t be hot enough).
- 3 tablespoons grass-fed gelatin – This is what gives your marshmallows their signature bouncy, fluffy texture. A good quality gelatin is important here. This is what I use!
- ½ cup honey – Adds natural sweetness and a subtle floral flavor.
- ½ cup maple syrup – Provides rich, deep sweetness that pairs beautifully with honey.
- ¼ teaspoon salt – Balances the sweetness.
- ½ tablespoon vanilla extract – Adds warmth and depth of flavor.
- ⅓ cup arrowroot powder + ⅓ cup powdered sugar – Mixed together for dusting the pan and marshmallows so they don’t stick.
Ingredient Tip: Want to switch up the flavor? Add a touch of almond extract, peppermint extract, or even a little cinnamon for a seasonal twist.
Why grass-fed gelatin? It not only helps give these marshmallows their fluffy, bouncy texture, but it also supports joint health, digestion, and hair, skin, and nail strength. Talk about a sweet treat with perks!
Step-by-Step Instructions
Bloom the Gelatin
- In the bowl of a stand mixer fitted with the whisk attachment, combine 1 cup cold water and 3 tablespoons grass-fed gelatin.
- Let it sit while you prepare the syrup – this allows the gelatin to absorb the water and “bloom.”
Make the Honey-Maple Syrup
- In a medium saucepan, combine ½ cup honey, ½ cup maple syrup, and ¼ teaspoon salt.
- Bring the mixture to a boil over medium heat.
- Heat until it reaches 240°F (soft ball stage) using a candy thermometer, or boil for about 5-7 minutes if you don’t have one.
Whip It Into Fluff
- Remove the syrup from heat and stir in ½ tablespoon vanilla extract.
- Turn your stand mixer on low and slowly stream in the hot syrup.
- Once combined, increase the speed to high and whip for 8–12 minutes, until the mixture is thick, glossy, and cool to the touch.
Set the Marshmallows
- In a small bowl, mix together ⅓ cup arrowroot powder and ⅓ cup powdered sugar.
- Sprinkle half of the mixture into the bottom of a 9×13 pan.
- Spread the marshmallow mixture evenly into the pan using a spatula.
- Sprinkle the remaining arrowroot-powdered sugar mix over the top.
Let Them Set
- Allow the marshmallows to rest at room temperature for 4–6 hours (or overnight) until fully set.
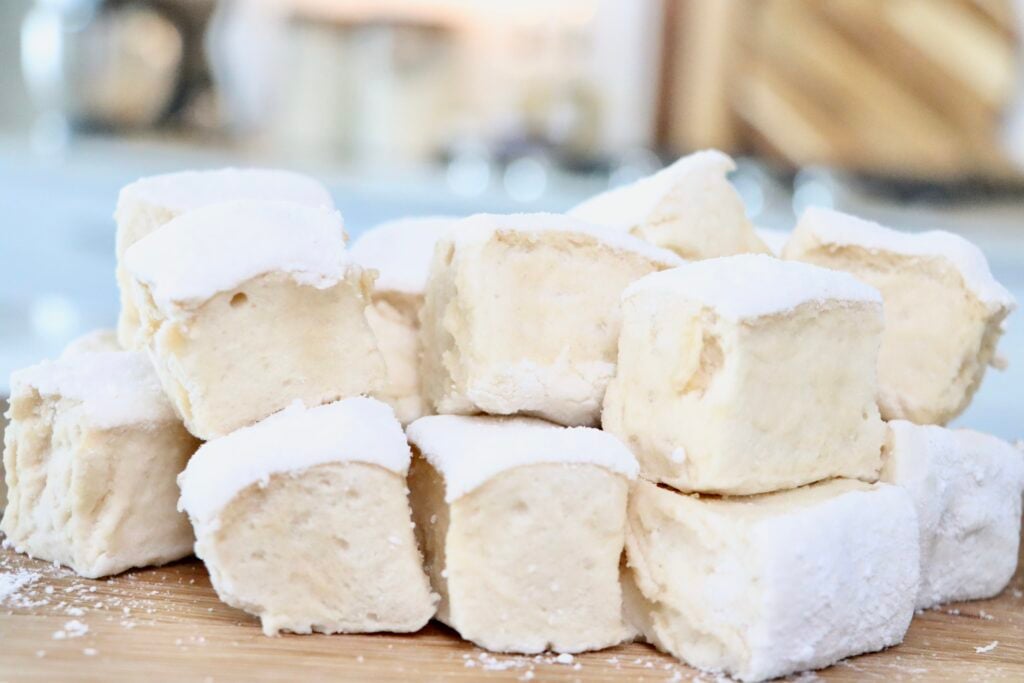
Slice & Enjoy
- Use a sharp knife dusted with arrowroot powder to cut the marshmallows into squares.
- Toss each piece lightly in the extra coating to prevent sticking.
Tips for Success
- Use a thermometer: For the fluffiest marshmallows, aim for the soft ball stage (240°F).
- Don’t overwhip: Stop mixing once the marshmallow is thick, white, and holds its shape. Usually that is right around the 10 minute mark for me.
- Grease your tools: Lightly oil your spatula and knife for easier spreading and cutting.
- Customize the flavor: Try adding a pinch of cinnamon, peppermint extract, or even a splash of bourbon for grown-up marshmallows.
Serving Ideas
Homemade marshmallows are delicious on their own, but here are some favorite ways to enjoy them:
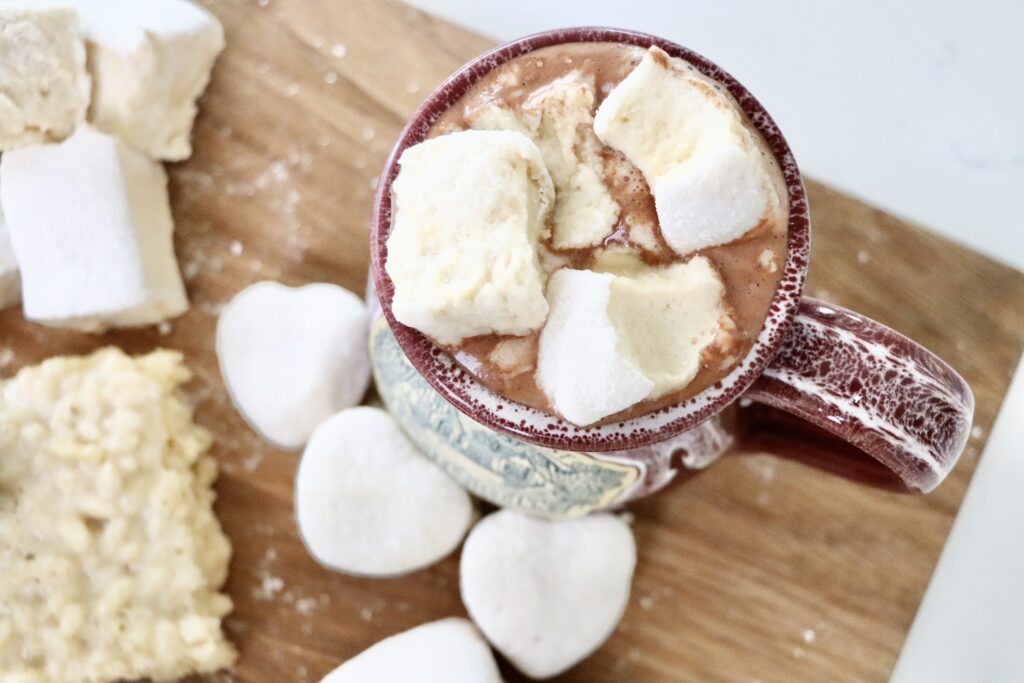
- Hot Chocolate & Coffee – Drop one (or two!) into a steaming mug of homemade cocoa or your morning coffee instead of your normal sweetener.
- S’mores – Take your campfire treat to the next level with honey-maple marshmallows.
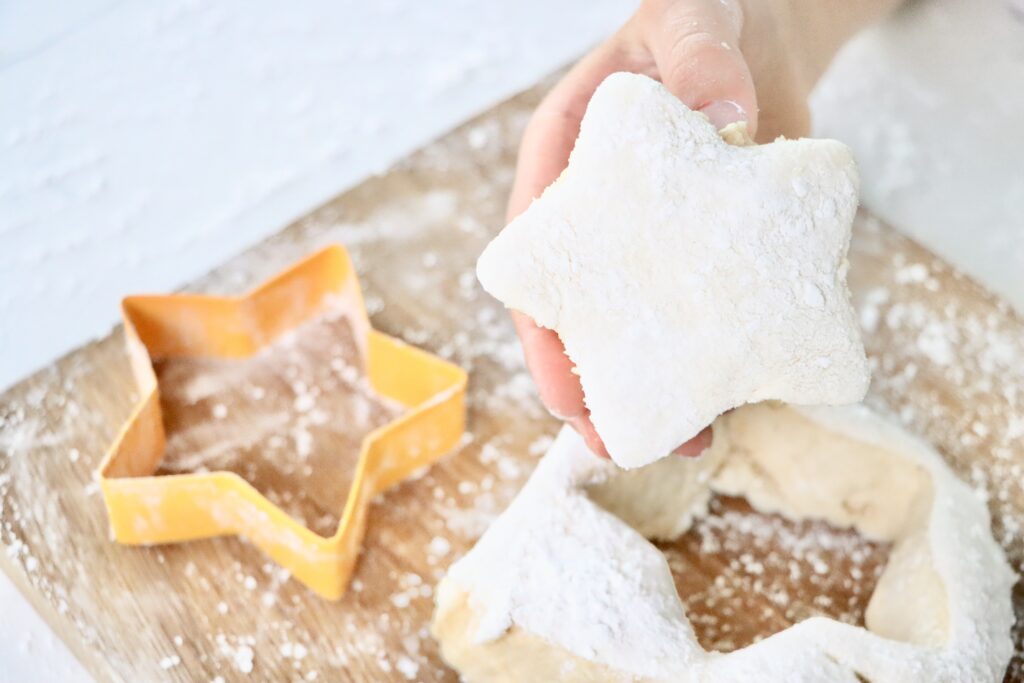
- Holiday Treats – Cut into fun shapes with cookie cutters for festive gifts.
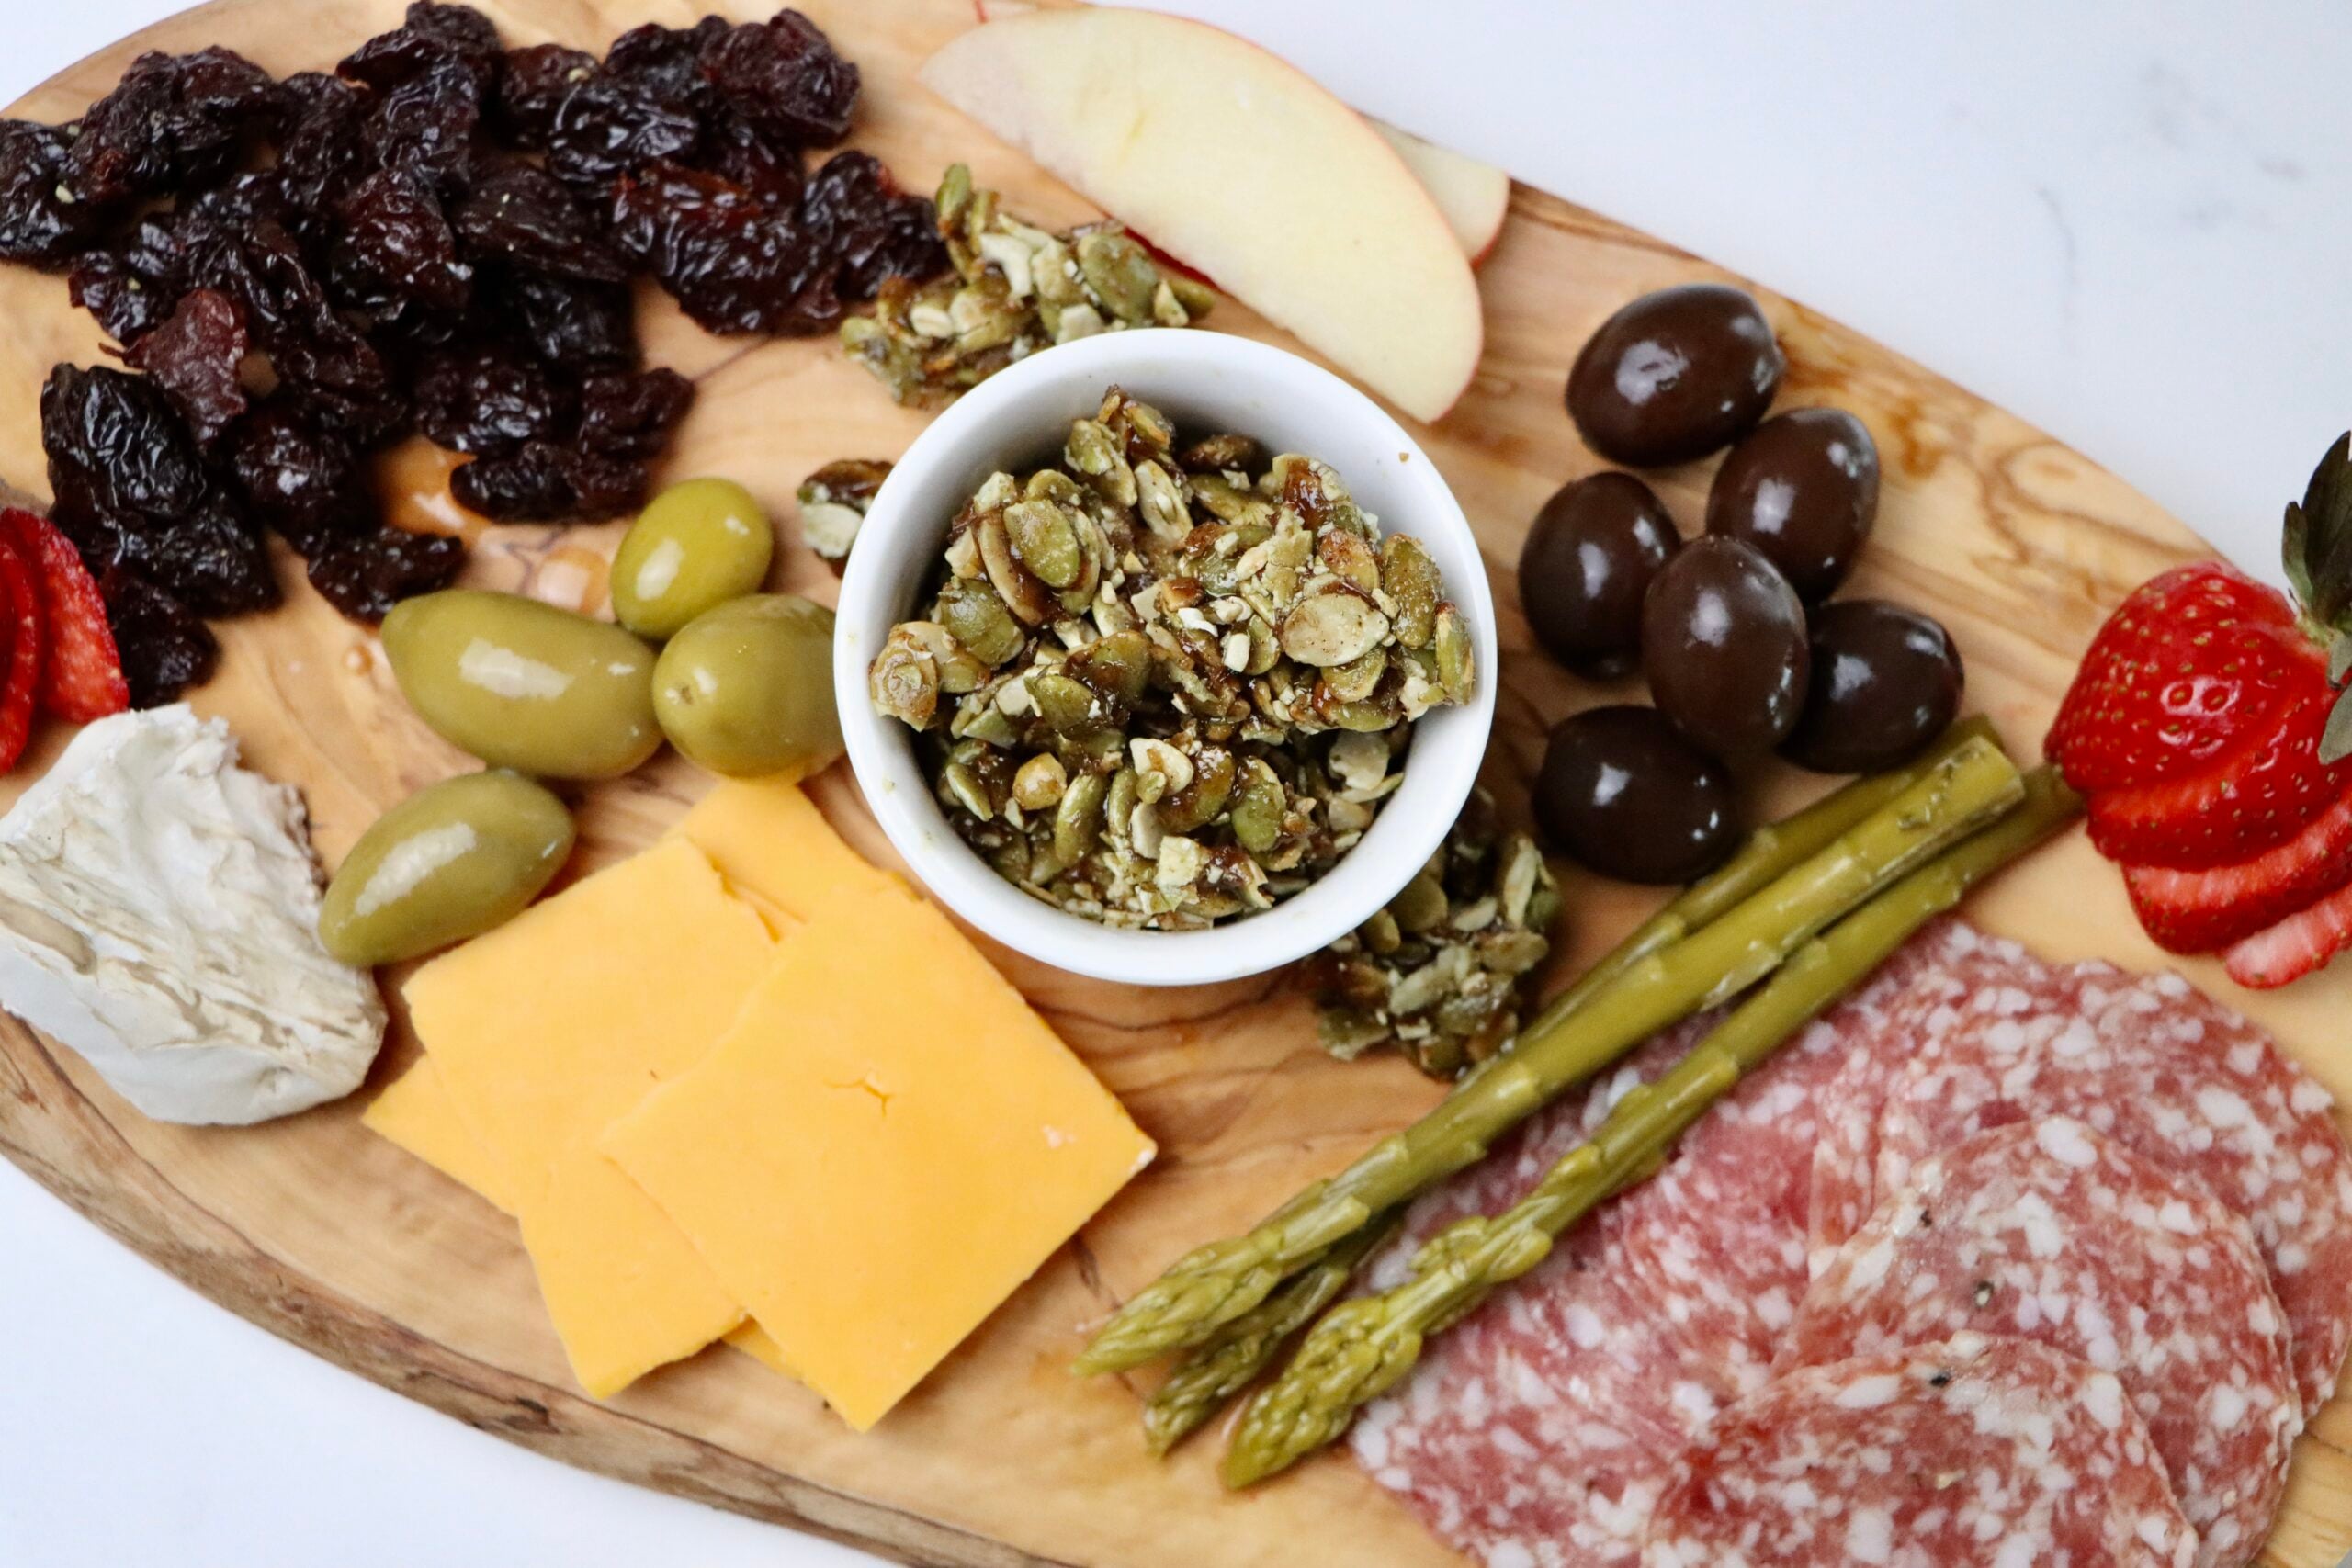
- Dessert Topping – Use as a topping for brownies, sweet potato casserole, or ice cream sundaes.
Storage & Shelf Life
- Store marshmallows in an airtight container at room temperature for up to 2 weeks.
- Avoid refrigeration – it can make them sticky.
- If they stick together, toss them in a little extra arrowroot/powdered sugar mix to keep them separated.
Let Me Know If You Try It!
I’d love to hear what you think of these Homemade Honey Maple Marshmallows. Better than store bought? Did you eat them plain or put them in something? Leave a comment below, a 5 star rating, or Tag me on instagram @my.colorado.kitchen so I can see your delicious creations!
Other Favorite
Snacks and Desserts
Honey Maple Marshmallows
Make soft, fluffy homemade honey maple marshmallows with just a few simple ingredients—no corn syrup required! This natural marshmallow recipe uses real honey, maple syrup, and grass-fed gelatin for a delicious from-scratch treat.
Ingredients
- 1 cup cold water
- 3 tablespoons grass-fed gelatin
- ½ cup honey
- ½ cup maple syrup
- ¼ teaspoon salt
- ½ tablespoon vanilla extract
- ⅓ cup arrowroot powder
- ⅓ cup powdered sugar
Instructions
Bloom the Gelatin
- In the bowl of a stand mixer fitted with the whisk attachment, combine 1 cup cold water and 3 tablespoons grass-fed gelatin.
- Let it sit while you prepare the syrup – this allows the gelatin to absorb the water and “bloom.”
Make the Honey-Maple Syrup
- In a medium saucepan, combine ½ cup honey, ½ cup maple syrup, and ¼ teaspoon salt.
- Bring the mixture to a boil over medium heat.
- Heat until it reaches 240°F (soft ball stage) using a candy thermometer, or boil for about 5-7 minutes if you don’t have one.
Whip It Into Fluff
- Remove the syrup from heat and stir in ½ tablespoon vanilla extract.
- Turn your stand mixer on low and slowly stream in the hot syrup.
- Once combined, increase the speed to high and whip for 8–12 minutes, until the mixture is thick, glossy, and cool to the touch.
Set the Marshmallows
- In a small bowl, mix together ⅓ cup arrowroot powder and ⅓ cup powdered sugar.
- Sprinkle half of the mixture into the bottom of a 9x13 pan.
- Spread the marshmallow mixture evenly into the pan using a spatula.
- Sprinkle the remaining arrowroot-powdered sugar mix over the top.
Let Them Set
- Allow the marshmallows to rest at room temperature for 4–6 hours (or overnight) until fully set.
Slice & Enjoy
- Use a sharp knife dusted with arrowroot powder to cut the marshmallows into squares.
- Toss each piece lightly in the extra coating to prevent sticking.
Notes
Tips for Success
- Use a thermometer: For the fluffiest marshmallows, aim for the soft ball stage (240°F).
- Don’t overwhip: Stop mixing once the marshmallow is thick, white, and holds its shape. Usually that is right around the 10 minute mark for me.
- Grease your tools: Lightly oil your spatula and knife for easier spreading and cutting.
- Customize the flavor: Try adding a pinch of cinnamon, peppermint extract, or even a splash of bourbon for grown-up marshmallows.
Storage & Shelf Life
- Store marshmallows in an airtight container at room temperature for up to 2 weeks.
- Avoid refrigeration – it can make them sticky.
- If they stick together, toss them in a little extra arrowroot/powdered sugar mix to keep them separated.
Nutrition Information:
Yield: 48 Serving Size: 1 (1.5"x1.5") MarshmallowAmount Per Serving: Calories: 25Total Fat: 0gSaturated Fat: 0gTrans Fat: 0gUnsaturated Fat: 0gCholesterol: 0mgSodium: 13mgCarbohydrates: 6gFiber: 0gSugar: 6gProtein: 0g
Nutrition facts are calculated automatically and are approximate.