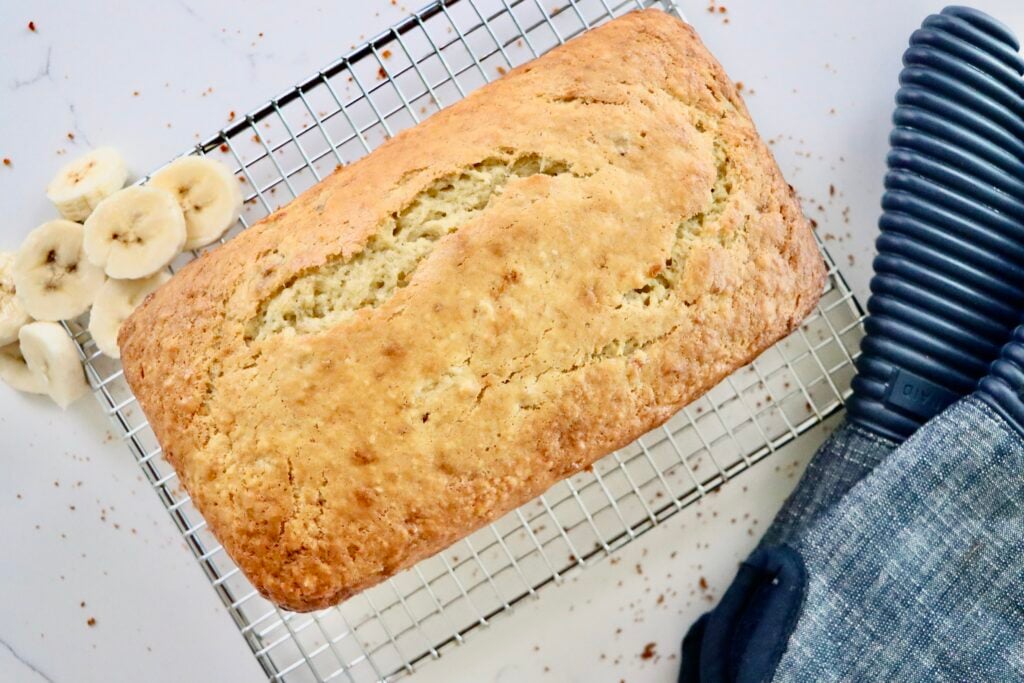
Easy Banana Bread Made from Scratch (Super Moist & Delicious)
This moist and easy banana bread is made from scratch with real ingredients like ripe bananas, sour milk, and melted butter. A no-fuss, one-bowl recipe perfect for everyday baking!

This post may contain affiliate links. As an amazon associate I earn from qualifying purchases at no additional cost to you.
I’ve always loved banana bread. Growing up, there was often a loaf baking in the oven — that warm, cozy smell filling the kitchen. Truth be told, I think my brother and I intentionally let the bananas get too ripe just so my mom would make it.
Over the years, I’ve tried countless banana bread recipes, but I always come back to this one. It’s my Grandma’s recipe — simple, reliable, and made with real ingredients you likely already have in your kitchen. It comes together in one bowl, bakes up perfectly moist (because no one likes dry banana bread!), and it’s so delicious you’ll want to make it again and again.
If you’ve been looking for an easy, from-scratch banana bread recipe that fits into everyday life, this one is for you.
Ingredients You’ll Need
This banana bread keeps it simple and wholesome with pantry staples you probably already have on hand. Here’s a quick look at what you’ll need:
- ¼ cup butter, melted
Butter adds richness and that classic banana bread flavor. Melted butter keeps the texture tender and easy to mix. - 2 eggs
Eggs help bind everything together and give the bread structure and lightness. - 2 large bananas or 3 small, mashed
The riper, the better! Overripe bananas add natural sweetness and moisture. Don’t be afraid of brown spots. - ¾ cup sugar
Just the right amount to enhance the banana flavor without making it overly sweet. - ½ cup sour milk (½ cup milk + 1 tablespoon lemon juice)
A quick homemade substitute for buttermilk that gives the bread a soft crumb and slight tang. Let it sit for 5 minutes to curdle before using. - ½ teaspoon vanilla extract
Adds warmth and rounds out the flavor. - Pinch of salt
A small pinch makes a big difference — it balances the sweetness and enhances every other ingredient. - ½ teaspoon baking soda
Helps the loaf rise and creates a tender, moist texture. - 2 cups all-purpose flour
The perfect base for a classic, soft banana bread loaf.
What is Sour Milk & Why Use It in Banana Bread?
Sour milk might sound strange, but it’s a simple kitchen trick that makes a big difference in baking. It’s just regular milk that’s been slightly acidified — usually by adding a tablespoon of lemon juice or vinegar to it and letting it sit for a few minutes. This mimics the tang and acidity of buttermilk.
Why use it? That acidity reacts with baking soda to help your banana bread rise and stay incredibly tender and moist. It also adds a subtle tang that enhances the overall flavor. If you don’t have buttermilk on hand, sour milk is a quick and easy substitute that works just as well — no trip to the store needed!
How to Make Banana Bread (Step-by-Step Instructions)
This is one of those no-fuss, one-bowl recipes that comes together in minutes. Here’s how to make it:
- Preheat your oven to 350°F.
Grease a 9×5-inch loaf pan or line it with parchment paper for easy removal. I use my STONEWARE LOAF PAN so the bread won’t stick! - Make your sour milk.
In a small bowl or measuring cup, stir 1 tablespoon of lemon juice into ½ cup of milk. Let it sit for about 5 minutes while you prep the rest. - Mash the bananas.
In a large mixing bowl or a large plate, mash your bananas until mostly smooth — a few small lumps are okay! - Add the wet ingredients.
Whisk in the eggs, melted butter, sugar, sour milk, and vanilla until well combined. - Add dry ingredients.
Sprinkle in the salt and baking soda, then add the flour. Stir just until the batter comes together — don’t overmix. I like to use my dough whisk for this. - Pour into your prepared pan.
Smooth out the top with a spatula and give the pan a gentle tap to release any air bubbles. - Bake for 1 hour.
Check for doneness by inserting a toothpick into the center — it should come out clean or with a few moist crumbs. You want to make sure it is done in the middle as no one likes a soggy bread! - Cool before slicing.
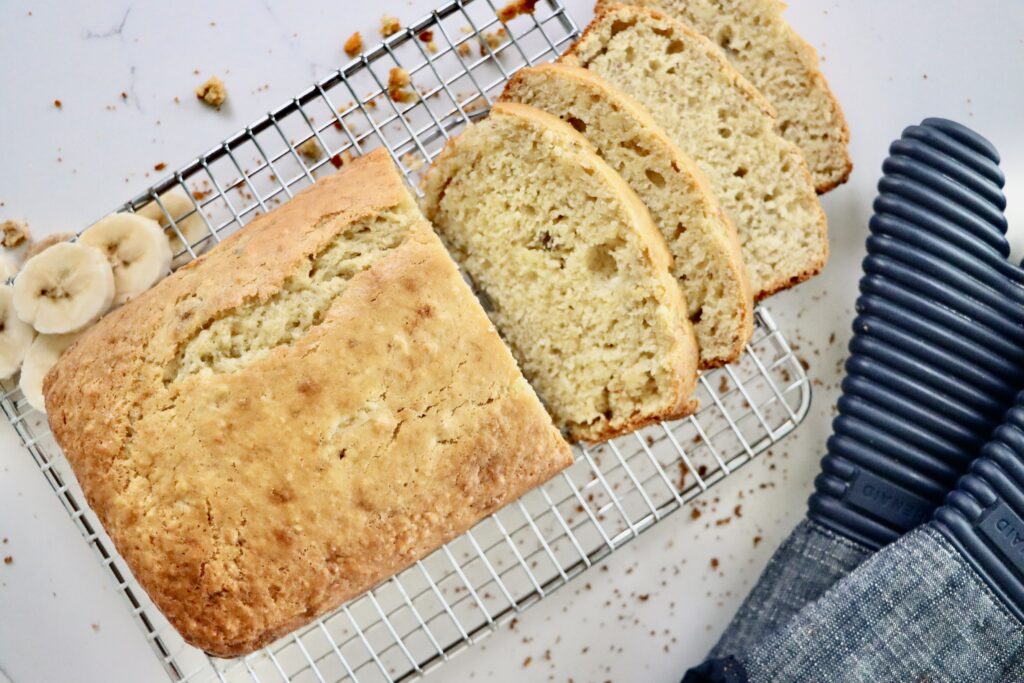
Let the loaf cool in the pan for 10–15 minutes, then transfer to a wire rack. Slice once it’s fully cooled for clean, even pieces.
Tips for the Best Banana Bread
Want your banana bread to turn out moist, tender, and full of flavor every time? Here are a few tried-and-true tips:
- Use very ripe bananas.
The darker the peel, the better. Overripe bananas are naturally sweeter and give the bread its signature flavor and moist texture. - Don’t overmix the batter.
Mix just until the flour disappears. Overmixing can make the bread dense and tough. - Don’t skip the sour milk.
Just stir 1 tablespoon of lemon juice or vinegar into ½ cup of milk. Let it sit for 5 minutes — it’ll curdle slightly, and that’s exactly what you want. - Grease/Butter your loaf pan well.
Or use this STONEWARE PAN (PUFA free and breads don’t stick!). You could also line your nonstick pan with parchment paper for easy removal and no sticking. - Let it cool before slicing.
It’s tempting to dig in right away, but cooling helps the bread set and slice cleanly.
Substitutions & Add-Ins
This banana bread is delicious as-is, but it’s also a great base for customizing! Here are some ideas if you want to switch things up:
- Need it less sweet? Reduce the sugar to ½ cup or swap in coconut sugar or maple syrup for a refined sugar-free option.
- Add some texture: Stir in ½ cup chopped walnuts, pecans, or shredded coconut.
- Craving chocolate? Fold in a handful of dark or semisweet chocolate chips or chunks.
- Want a cozy flavor boost? Add 1 teaspoon of ground cinnamon or a pinch of nutmeg to the batter.
- Try a flour variation: Sub half the all-purpose flour for whole wheat flour for a heartier texture.
Storage & Freezing Instructions
Homemade banana bread keeps beautifully — and it tastes even better the next day! Here’s how to store it:
- At room temperature:
Wrap the cooled loaf tightly in plastic wrap or I prefer this BEESWAX WRAP or store it in an airtight container. It will stay fresh for up to 3 days. - In the refrigerator:
For longer storage, refrigerate the loaf for up to a week. Just warm up slices before serving for that fresh-baked feel. - To freeze:
Wrap individual slices or the whole loaf tightly in plastic wrap and then foil, or place in a freezer-safe bag. Freeze for up to 3 months. Thaw overnight in the fridge for a quick snack.
More
Dessert Recipes
If you try this recipe and love it, I would love it if you could come back and give it 5 stars! Tag me on instagram @my.colorado.kitchen
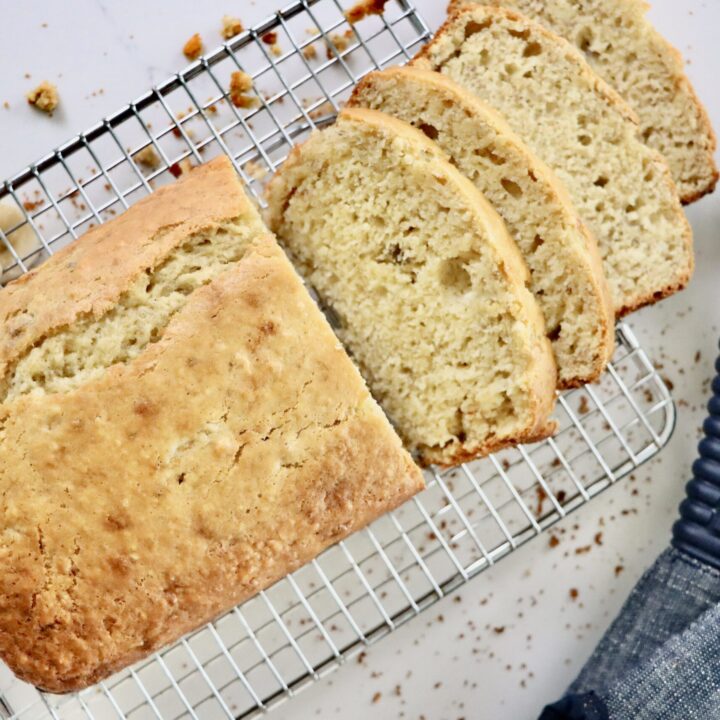
Banana Bread
This moist and easy banana bread is made from scratch with real ingredients like ripe bananas, sour milk, and melted butter. A no-fuss, one-bowl recipe perfect for everyday baking!
Ingredients
- ¼ cup butter, melted
- 2 eggs
- 2 large bananas or 3 small, mashed
- ¾ cup sugar (preferably organic cane sugar)
- ½ cup sour milk (½ cup milk + 1 tablespoon lemon juice)
- ½ teaspoon vanilla extract
- Pinch of salt
- ½ teaspoon baking soda
- 2 cups all-purpose flour (preferably organic, un-bleached)
Instructions
- Preheat your oven to 350°F. Grease a 9x5-inch loaf pan or line it with parchment paper for easy removal. I use my STONEWARE LOAF PAN so the bread won't stick!
- Make your sour milk. In a small bowl or measuring cup, stir 1 tablespoon of lemon juice into ½ cup of milk. Let it sit for about 5 minutes while you prep the rest.
- Mash the bananas. In a large mixing bowl or a large plate, mash your bananas until mostly smooth — a few small lumps are okay!
- Add the wet ingredients. Whisk in the eggs, melted butter, sugar, sour milk, and vanilla until well combined.
- Add dry ingredients. Sprinkle in the salt and baking soda, then add the flour. Stir just until the batter comes together — don’t overmix. I like to use my dough whisk for this.
- Pour into your prepared pan. Smooth out the top with a spatula and give the pan a gentle tap to release any air bubbles.
- Bake for 1 hour. Check for doneness by inserting a toothpick into the center — it should come out clean or with a few moist crumbs. You want to make sure it is done in the middle as no one likes a soggy bread!
- Cool before slicing. Let the loaf cool in the pan for 10–15 minutes, then transfer to a wire rack. Slice once it’s fully cooled for clean, even pieces.
Notes
- Use very ripe bananas. The darker the peel, the better. Overripe bananas are naturally sweeter and give the bread its signature flavor and moist texture.
- Don’t overmix the batter. Mix just until the flour disappears. Overmixing can make the bread dense and tough.
- Don't skip the sour milk. Just stir 1 tablespoon of lemon juice or vinegar into ½ cup of milk. Let it sit for 5 minutes — it’ll curdle slightly, and that’s exactly what you want.
- Grease/Butter your loaf pan well. Or use this STONEWARE PAN (PUFA free and breads don't stick!). You could also line your nonstick pan with parchment paper for easy removal and no sticking.
- Let it cool before slicing. It’s tempting to dig in right away, but cooling helps the bread set and slice cleanly.
Nutrition Information:
Yield: 12 Serving Size: 1 SliceAmount Per Serving: Calories: 196Total Fat: 5gSaturated Fat: 3gTrans Fat: 0gUnsaturated Fat: 2gCholesterol: 42mgSodium: 111mgCarbohydrates: 34gFiber: 1gSugar: 16gProtein: 4g
Nutrition facts are calculated automatically and are approximate.