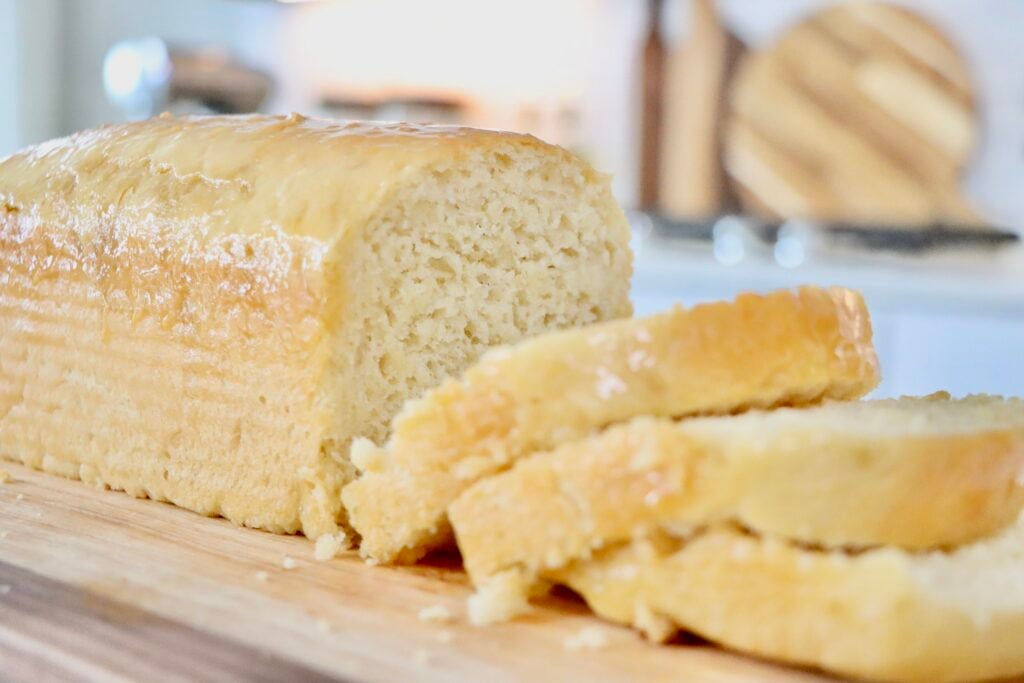
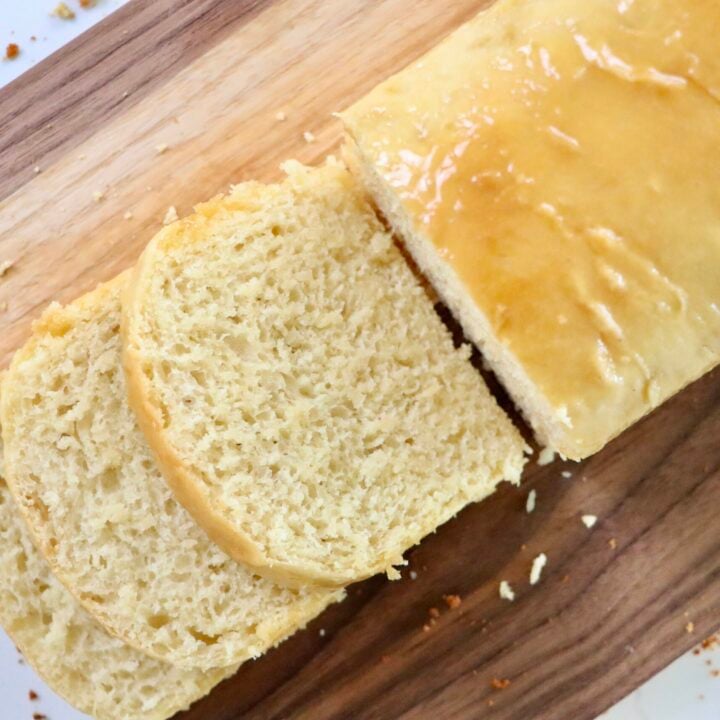
Fluffy Sourdough Hawaiian Bread (Naturally Sweetened with Pineapple & Honey)
Make soft, fluffy Sourdough Hawaiian Bread from scratch using pineapple juice, honey, and real ingredients—no commercial yeast required! A tropical twist on classic sourdough, naturally sweetened and perfect for sandwiches, French toast, or snacking.

This post may contain affiliate links. As an amazon associate I earn from qualifying purchases at no additional cost to you.
New to Sourdough? Take the Stress Out of Sourdough with My Free Starter Guide
I love Hawaiian bread. The flavor is sweet, soft, and just a little tropical thanks to real pineapple juice and honey—it adds something extra to any sandwich or side dish. But most store-bought versions? Packed with additives, preservatives, and refined sugars that don’t align with the way we eat. So, I set out to create a version that’s made from scratch with whole, real ingredients—and bonus: it’s sourdough! That means no commercial yeast, just natural fermentation and incredible flavor.
After a few tests (okay, more than a few), this Sourdough Hawaiian Bread became a staple in our kitchen. It’s soft, fluffy, naturally sweet, and kid-approved.
Want to turn this into rolls instead of loaves? I’ve got a recipe for that too—click here for my Sourdough Hawaiian Rolls!
But First…Why Sourdough?
Sourdough is so beneficial for you because the natural fermentation process breaks down gluten and phytic acid, making it easier to digest and allowing your body to absorb more nutrients. The beneficial bacteria and wild yeast in sourdough help improve gut health, and the slow fermentation lowers the glycemic index, meaning it won’t spike blood sugar as much as regular bread. Plus, sourdough is free of preservatives and artificial additives, making it a wholesome, real food choice!
Why You’ll Love This Recipe
- Naturally sweetened (no refined sugar)
- No commercial yeast—only sourdough starter
- Uses real pineapple juice for tropical flavor
- Soft and fluffy texture with golden crust
- Easy, no-knead overnight fermentation
Ingredients You’ll Need
This recipe uses just a handful of real food ingredients you likely already have on hand. The key to flavor here is the pineapple juice—not from concentrate—for that classic Hawaiian bread sweetness, naturally.
- 1 cup active sourdough starter – bubbly and recently fed
- 1 cup pineapple juice – make sure it’s not from concentrate for best flavor
- ½ cup whole milk – adds richness and softness
- 3¾ cups all-purpose flour – preferably organic all-purpose flour
- ⅓ cup honey – natural sweetness with depth
- 2 tablespoons melted butter – for moisture and flavor
- ½ tablespoon salt – to balance and enhance all the sweet, tropical notes
Optional topping: Melted butter mixed with honey for brushing after baking (highly recommended!)
Step-by-Step Instructions
This sourdough Hawaiian bread is a breeze to make with an overnight ferment. All you need is a mixing bowl and two standard loaf pans.
Step 1: Mix and Ferment (Night Before)
- In a large bowl of a stand mixer (with the dough hook attachment), combine sourdough starter, pineapple juice, milk, flour, honey, melted butter, and salt.
- Knead until a shaggy dough forms. You don’t have to over knead this dough, and if you would rather not use a mixer you can do this all by hand.
- Cover the bowl with a damp towel or silicone lid and let ferment at room temperature for 8–12 hours, or until the dough has expanded and looks puffy.
Step 2: Shape and Second Rise (Morning)
- Lightly grease two loaf pans. These are my favorite pans – they are stoneware and do not require greasing.
- Turn the dough out onto a lightly floured surface and divide it evenly in half.
- Gently shape each portion into a log and place it seam-side down into the prepared loaf pans.
- Cover loosely and let rise for 1–2 hours, or until the dough has doubled in size.
Step 3: Bake the Bread
- Preheat oven to 375°F.
- Bake the loaves for 30 minutes, rotating halfway through if needed.
- The tops should be golden brown and the internal temperature should read 190–200°F.
- Remove from the oven and immediately brush with a mixture of melted butter and honey for a glossy, flavorful finish.
- Let cool in the pans for 10 minutes, then transfer to a wire rack to cool completely.
Tips for Success
- Use an active starter: Your sourdough starter should be at its peak (bubbly and active) before mixing.
- Let it ferment fully: You want the dough to be puffy and expanded before shaping.
- Keep it warm: A slightly warm kitchen (around 70–75°F) helps the dough rise well.
- Brush with honey butter: Don’t skip this step—it adds a glossy crust and enhances the sweetness.
Serving Suggestions
Sourdough Hawaiian bread is soft, fluffy, and lightly sweet, making it incredibly versatile:
- French toast: This bread soaks up egg mixture beautifully
- Grilled ham + Swiss sandwiches: That sweet-savory combo is perfection
- Toasted with butter or jam: A cozy breakfast or afternoon snack
- Side for dinner: Especially good with BBQ, pulled pork, or grilled chicken
- Peanut Butter & Jelly: My kids favorite with this bread

Storage & Freezing Tips
- Room temperature: Store cooled loaves in a bread wrap or airtight container for up to 4 days.
- Freezing: Wrap cooled loaves tightly in plastic wrap, then foil. Freeze for up to 2 months. Thaw at room temperature before slicing.
- To refresh: Lightly toast slices or warm a whole loaf in a 300°F oven for 10 minutes before serving.
FAQs Sourdough Hawaiian Bread
More Sourdough Recipes
- Sourdough Apple Dutch Baby
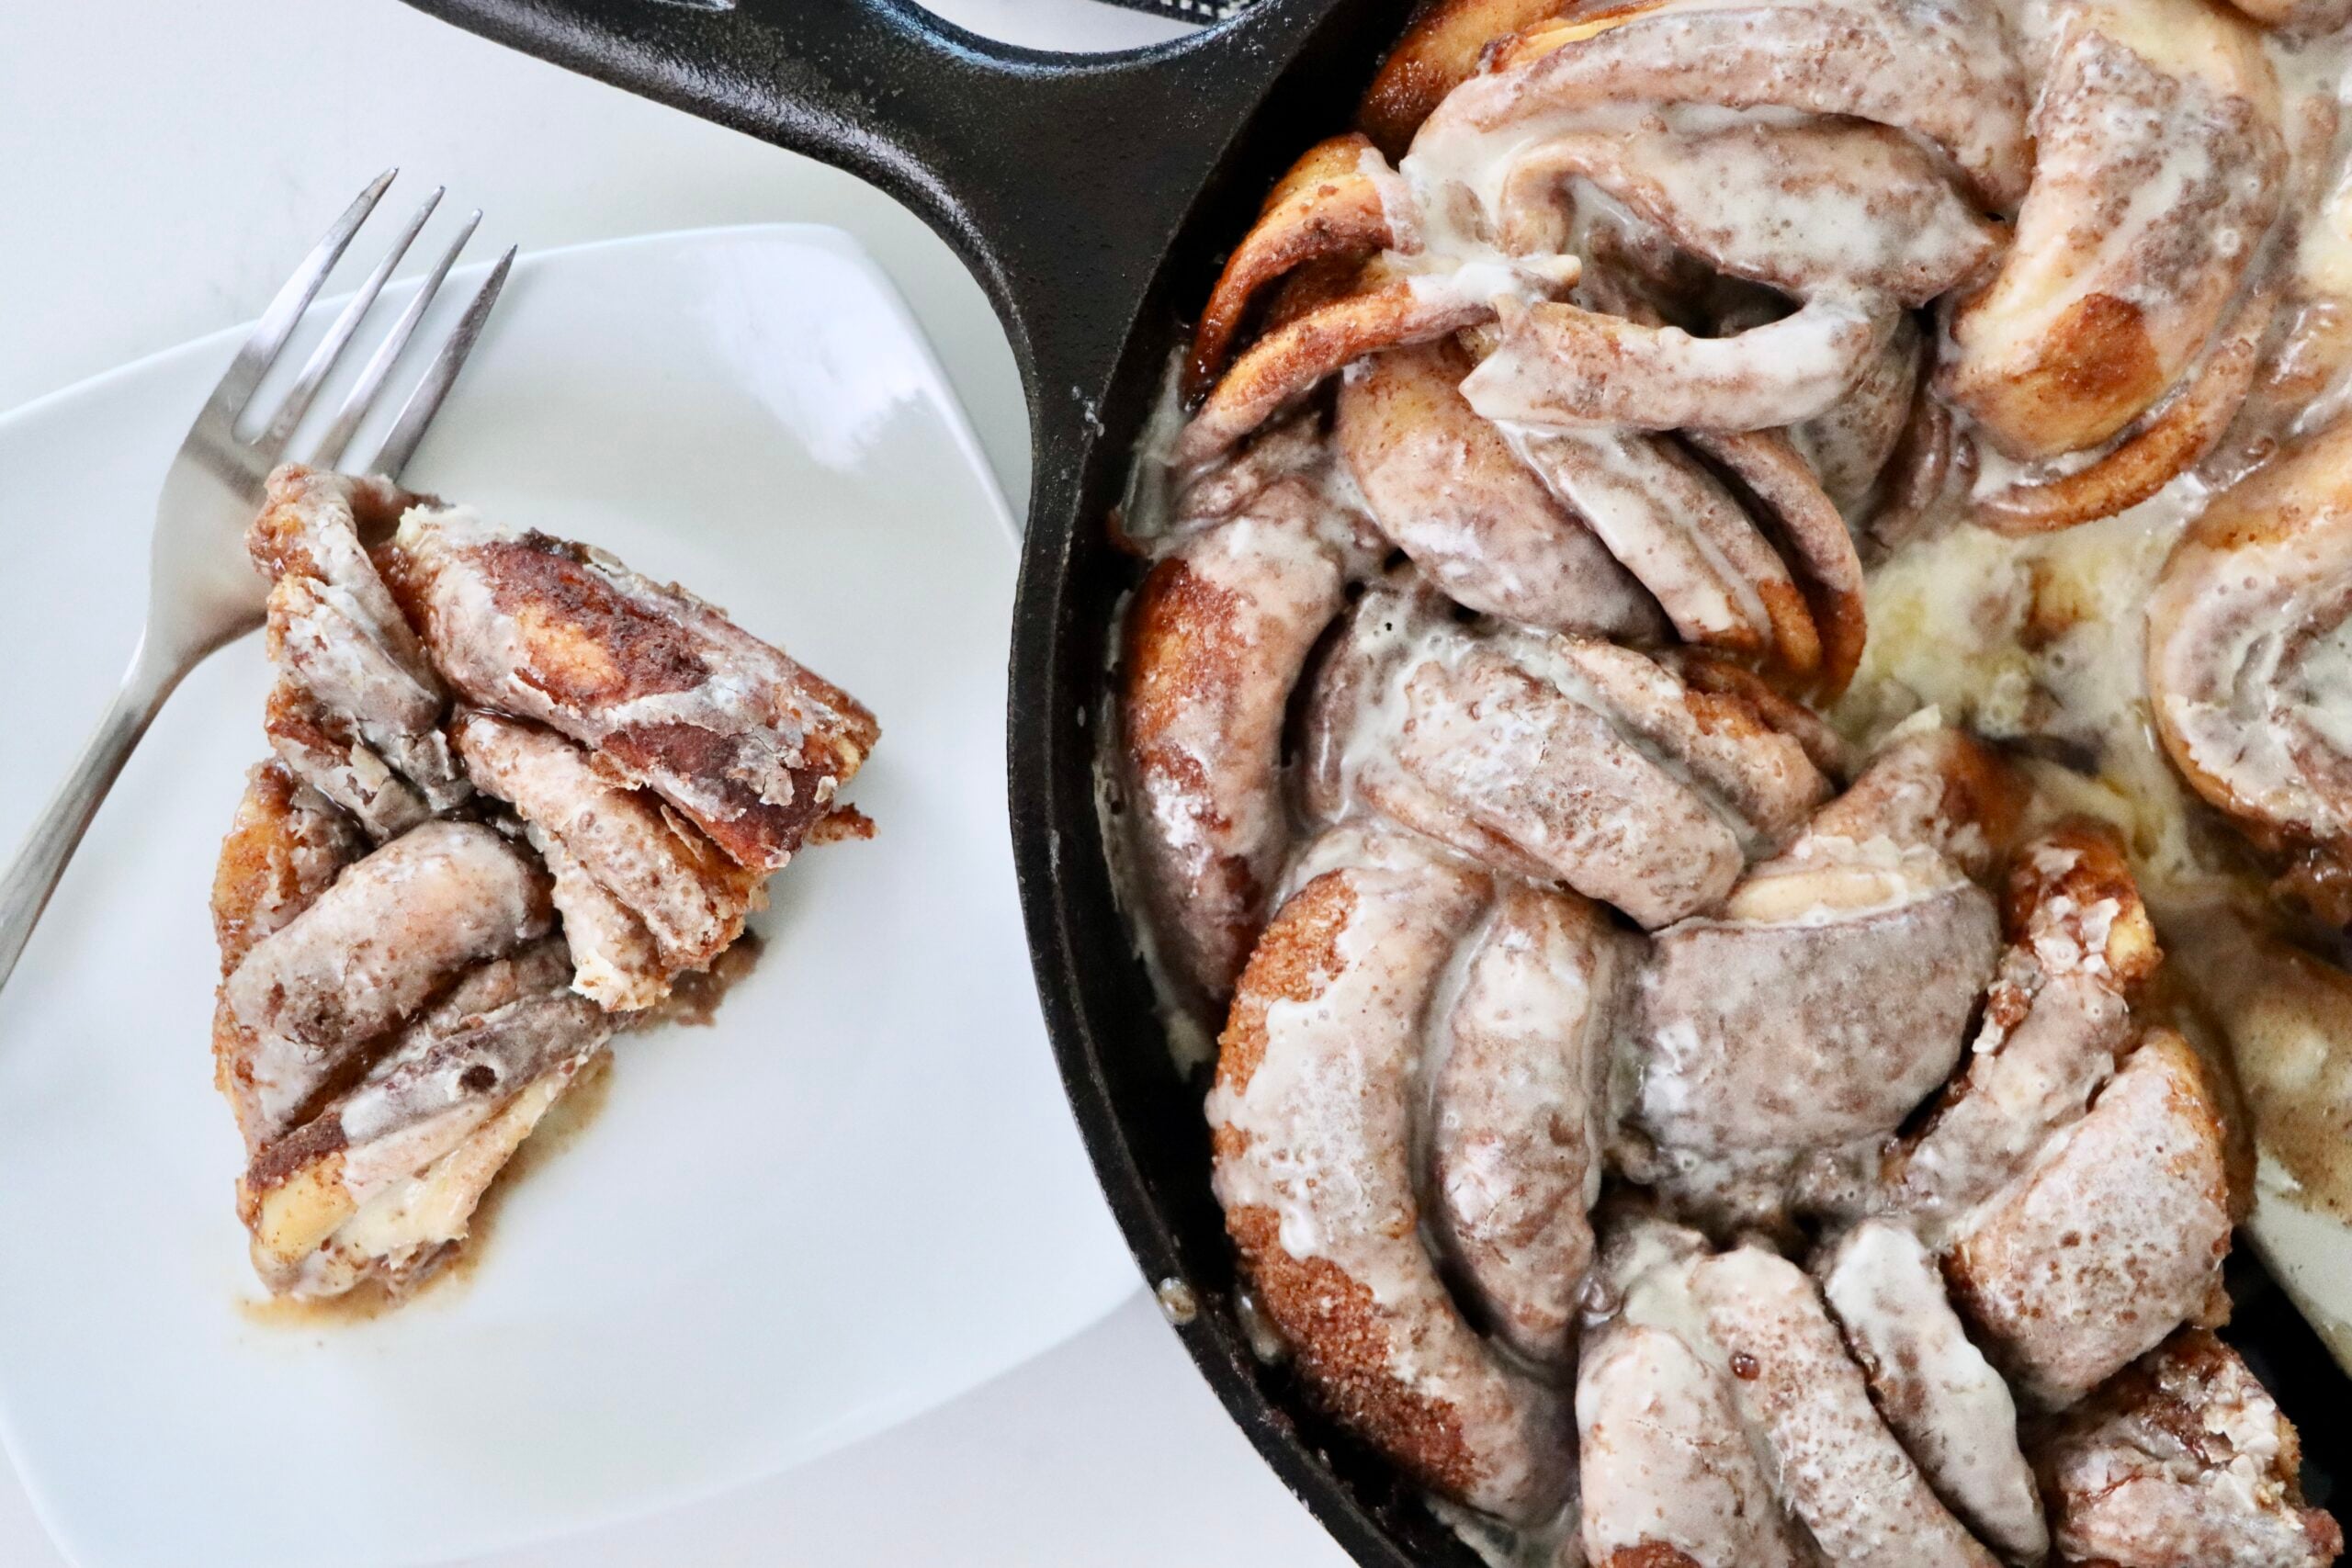
- Soft & Fluffy Sourdough Cinnamon Rolls
- Homemade Sourdough Tortillas
- Sourdough Bread
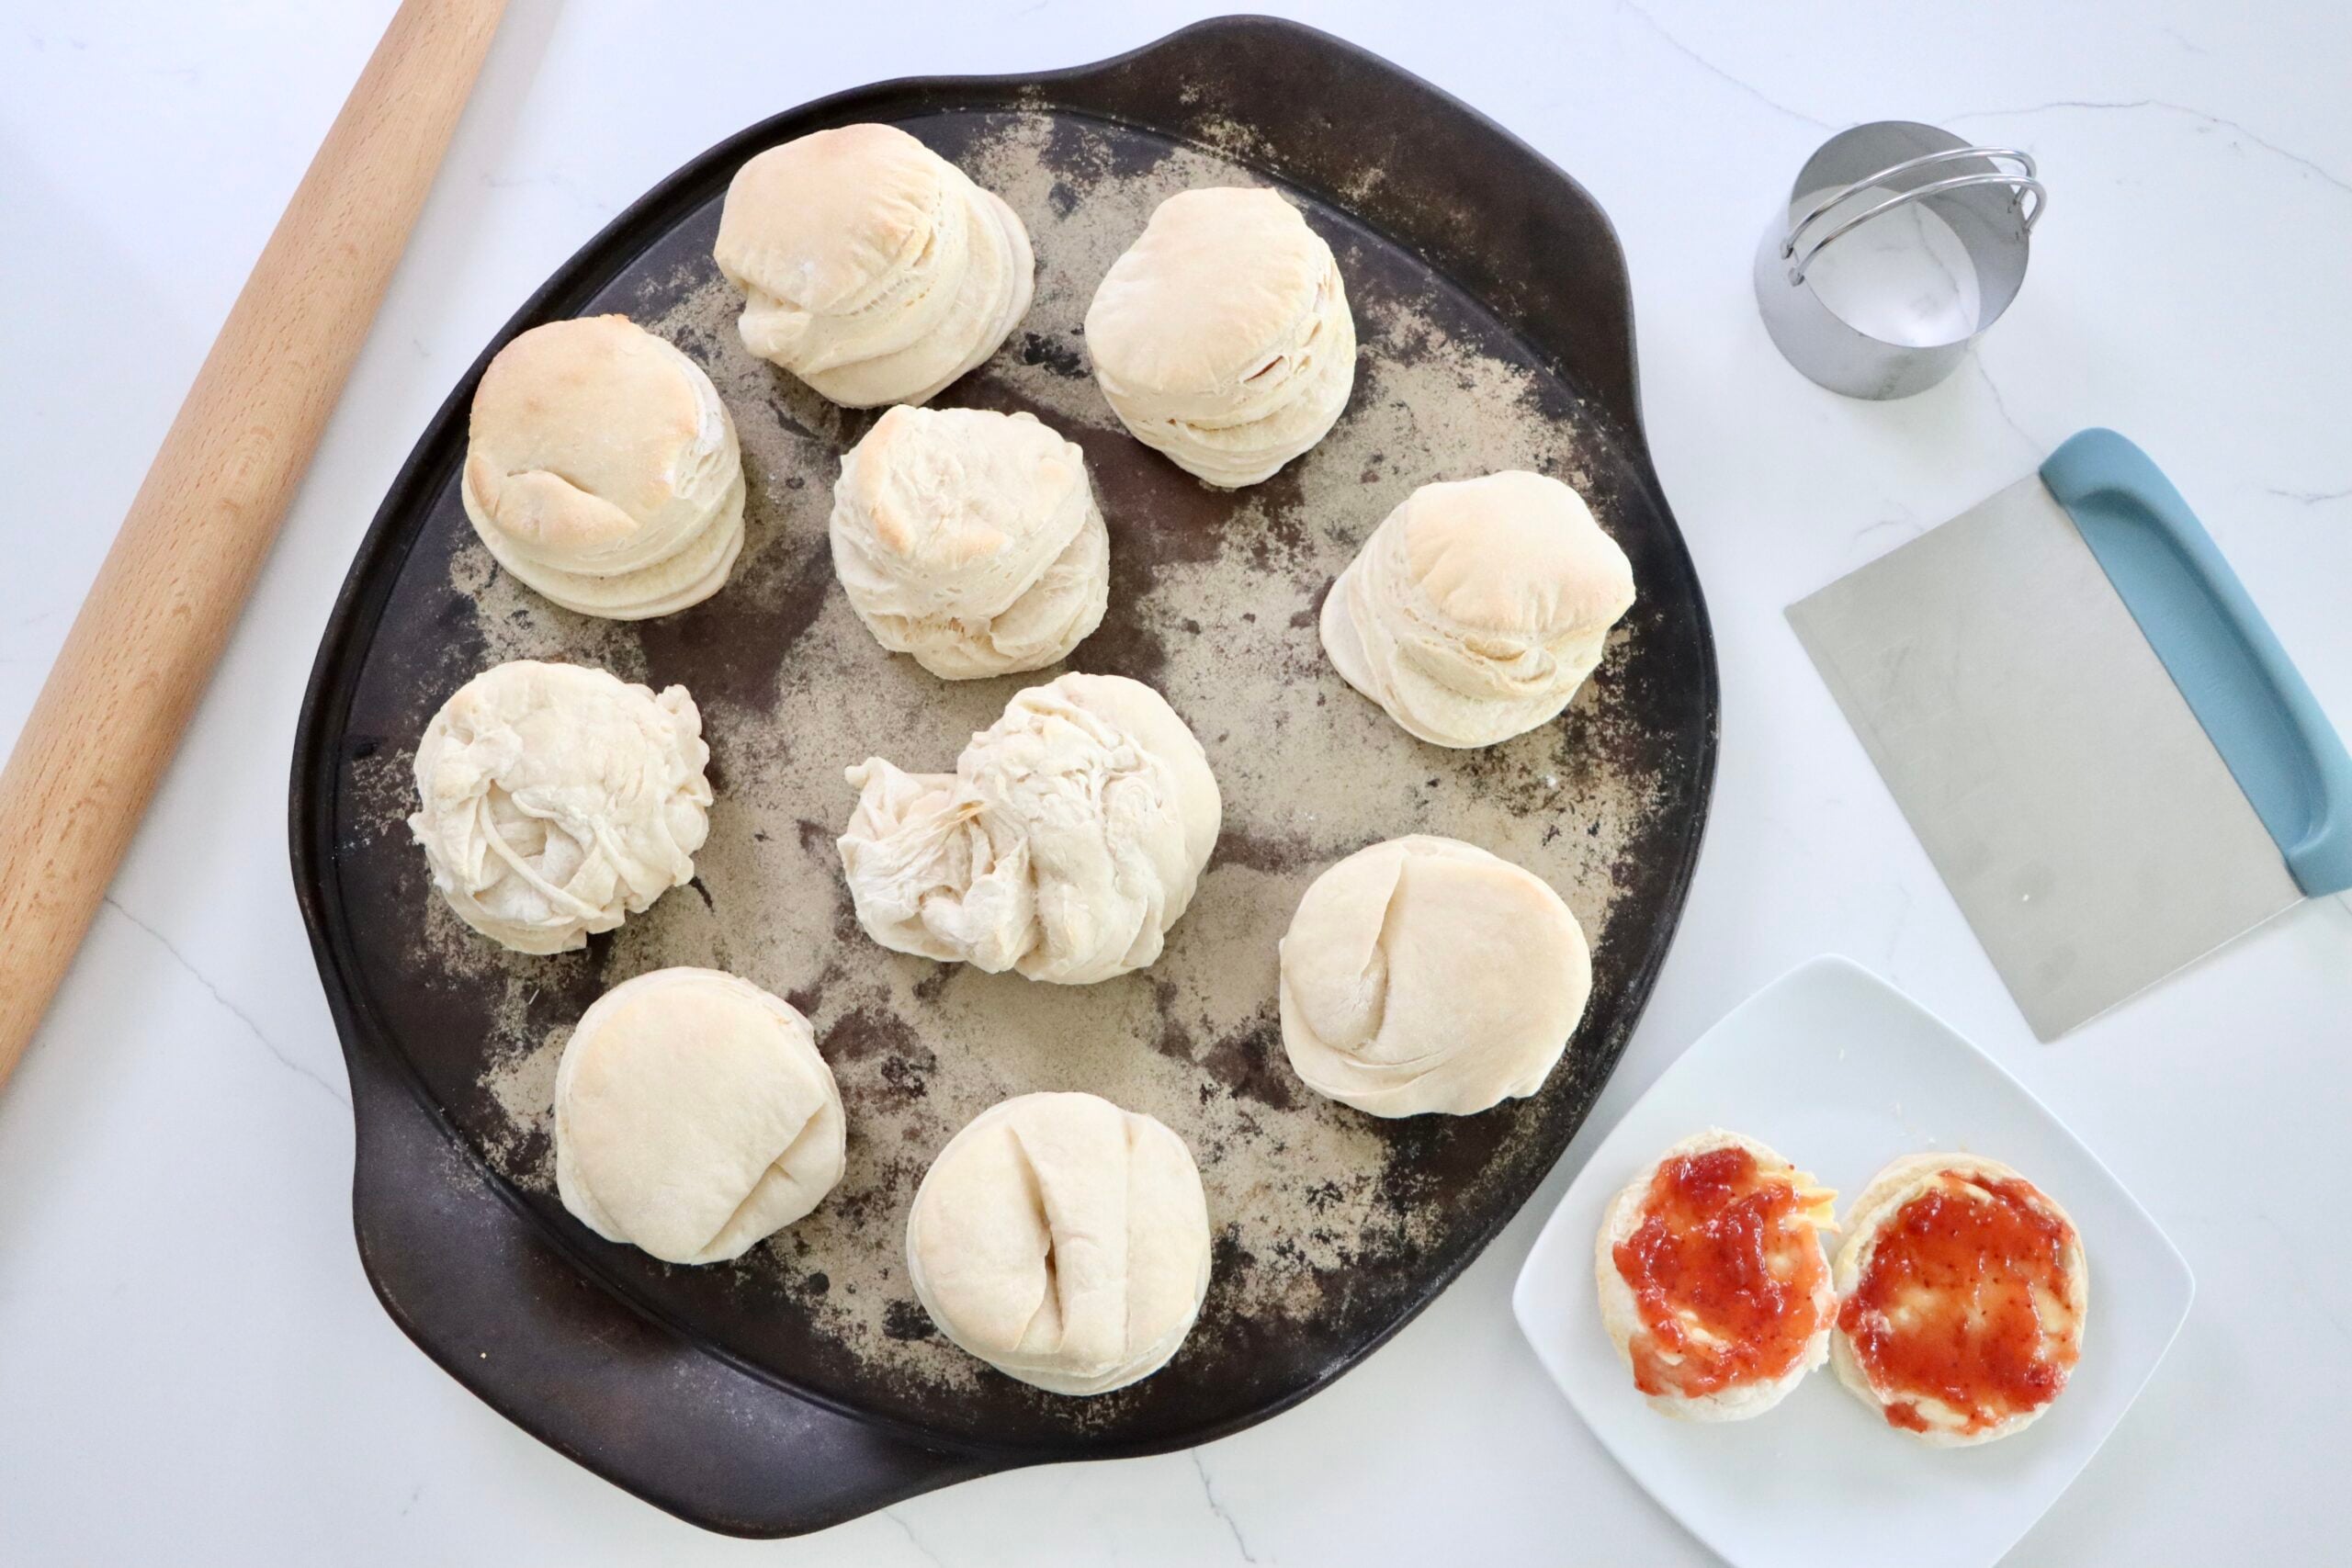
- Sourdough Biscuits
If you try this recipe and love it, I would love it if you could come back and give it 5 stars! Tag me on instagram @my.colorado.kitchen
Sourdough Hawaiian Bread
Make soft, fluffy Sourdough Hawaiian Bread from scratch using pineapple juice, honey, and real ingredients—no commercial yeast required! A tropical twist on classic sourdough, naturally sweetened and perfect for sandwiches, French toast, or snacking.
Ingredients
- 1 cup active sourdough starter
- 1 cup pineapple juice – make sure it’s not from concentrate for best flavor
- ½ cup whole milk
- 3¾ cups all-purpose flour – preferably organic all-purpose flour
- ⅓ cup honey
- 2 tablespoons melted butter
- ½ tablespoon salt
Instructions
Step 1: Mix and Ferment (Night Before)
- In a large bowl of a stand mixer (with the dough hook attachment), combine sourdough starter, pineapple juice, milk, flour, honey, melted butter, and salt.
- Knead until a shaggy dough forms. You don't have to over knead this dough, and if you would rather not use a mixer you can do this all by hand.
- Cover the bowl with a damp towel or silicone lid and let ferment at room temperature for 8–12 hours, or until the dough has expanded and looks puffy.
Step 2: Shape and Second Rise (Morning)
- Lightly grease two loaf pans. These are my favorite pans - they are stoneware and do not require greasing.
- Turn the dough out onto a lightly floured surface and divide it evenly in half.
- Gently shape each portion into a log and place it seam-side down into the prepared loaf pans.
- Cover loosely and let rise for 1–2 hours, or until the dough has doubled in size.
Step 3: Bake the Bread
- Preheat oven to 375°F.
- Bake the loaves for 30 minutes, rotating halfway through if needed.
- The tops should be golden brown and the internal temperature should read 190–200°F.
- Remove from the oven and immediately brush with a mixture of melted butter and honey for a glossy, flavorful finish.
- Let cool in the pans for 10 minutes, then transfer to a wire rack to cool completely.
Notes
Tips:
- Use an active starter: Your sourdough starter should be at its peak (bubbly and active) before mixing.
- Let it ferment fully: You want the dough to be puffy and expanded before shaping.
- Keep it warm: A slightly warm kitchen (around 70–75°F) helps the dough rise well.
- Brush with honey butter: Don’t skip this step—it adds a glossy crust and enhances the sweetness.
Storage & Freezing:
- Room temperature: Store cooled loaves in a bread wrap or airtight container for up to 4 days.
- Freezing: Wrap cooled loaves tightly in plastic wrap, then foil. Freeze for up to 2 months. Thaw at room temperature before slicing.
- To refresh: Lightly toast slices or warm a whole loaf in a 300°F oven for 10 minutes before serving.
Nutrition Information:
Yield: 32 Serving Size: 1 SliceAmount Per Serving: Calories: 104Total Fat: 1gSaturated Fat: 1gTrans Fat: 0gUnsaturated Fat: 0gCholesterol: 2mgSodium: 107mgCarbohydrates: 21gFiber: 1gSugar: 4gProtein: 3g
Nutrition facts are calculated automatically and are approximate.