
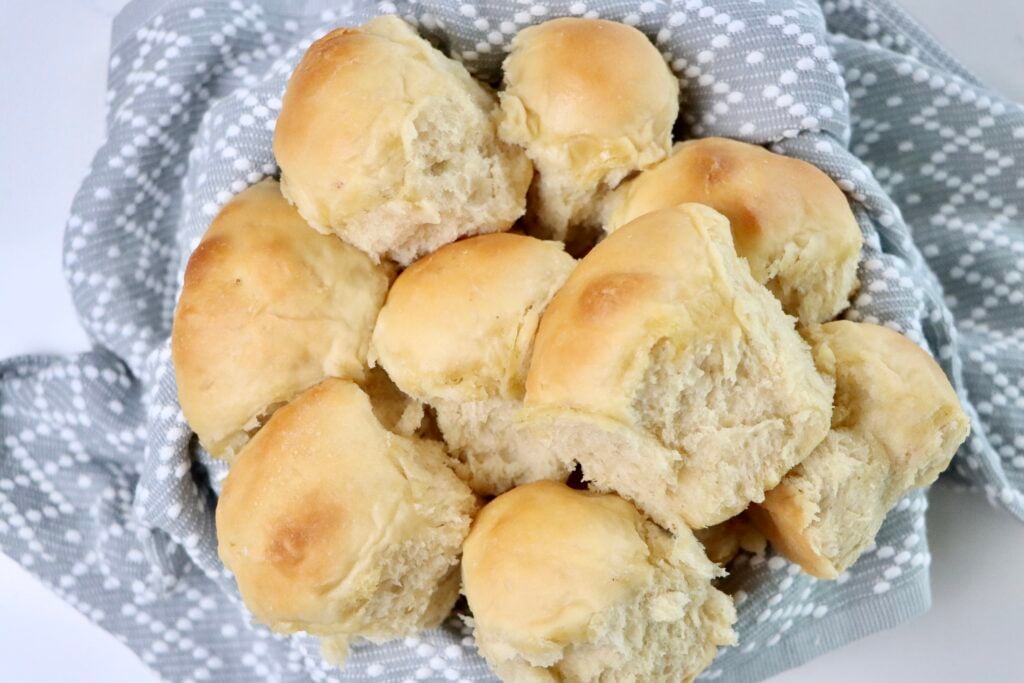
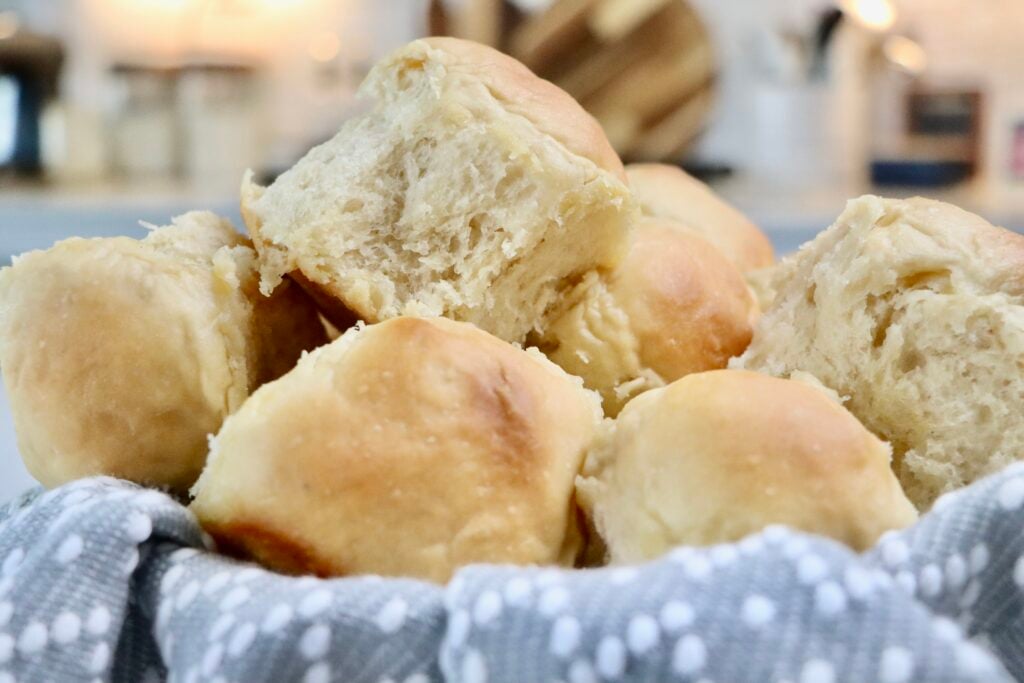
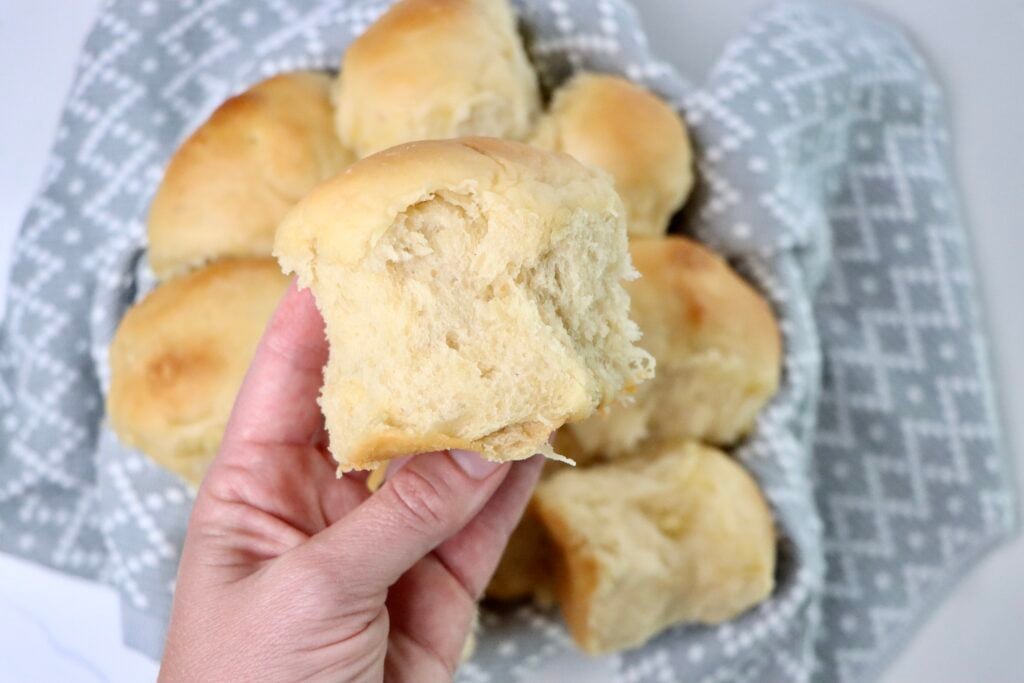
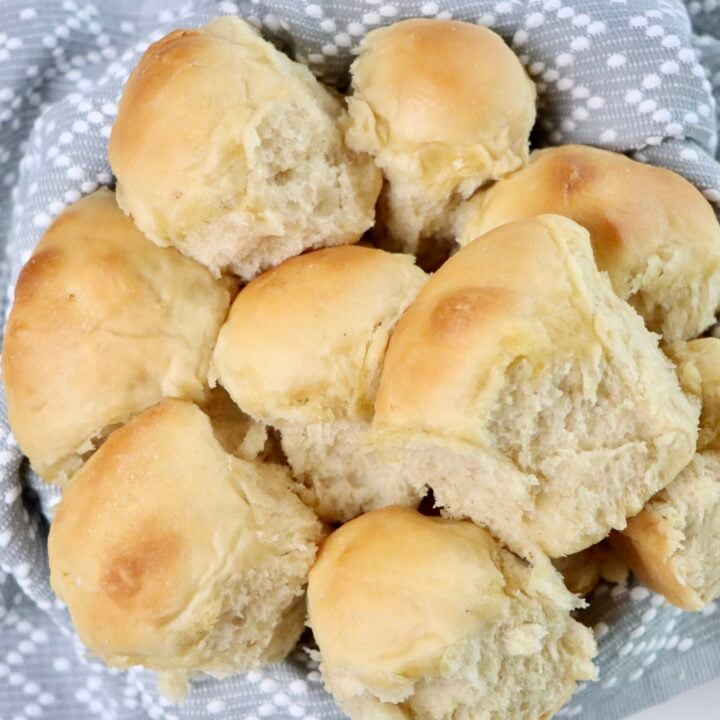
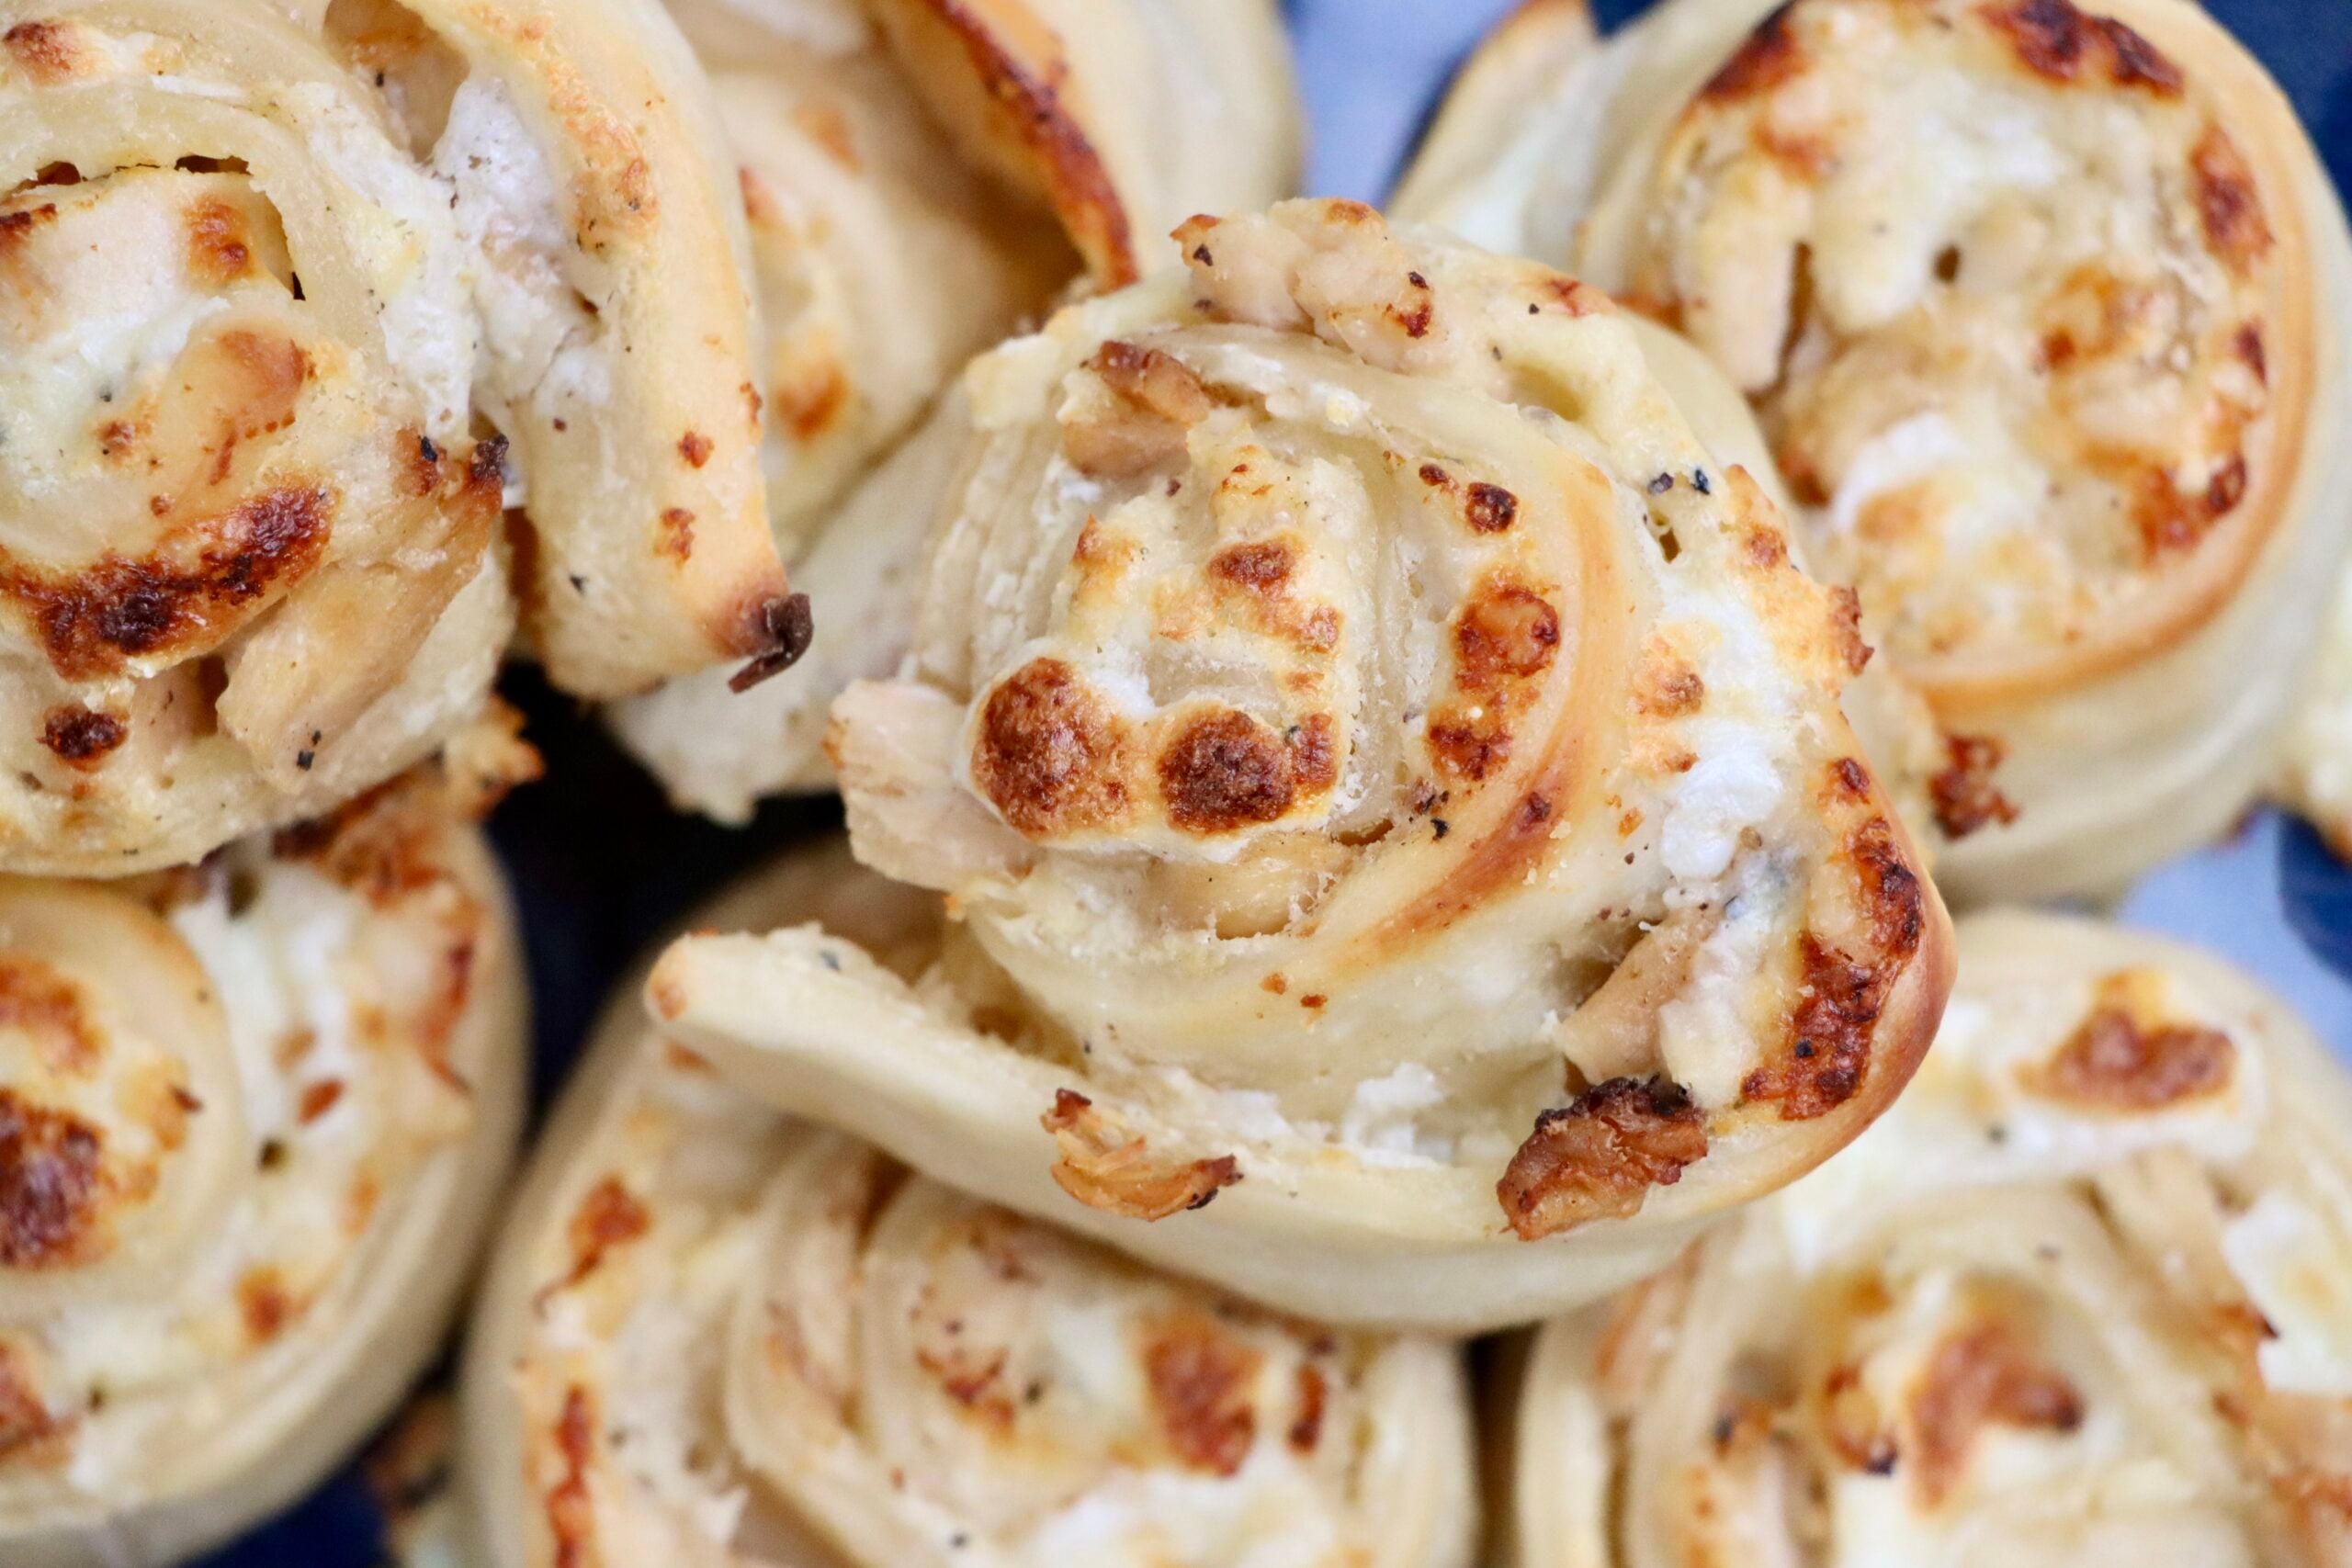
Soft & Fluffy Sourdough Hawaiian Rolls (No Yeast, Naturally Fermented)
These homemade sourdough Hawaiian rolls are soft, sweet, and naturally fermented—made with real pineapple juice and no commercial yeast. The perfect from-scratch roll for your next dinner or holiday gathering.
This post may contain affiliate links. As an amazon associate I earn from qualifying purchases at no additional cost to you.
New to Sourdough? Take the Stress Out of Sourdough with My Free Starter Guide. Then check out all of my Sourdough Recipes HERE.
I’ve always loved Hawaiian rolls—their soft, pillowy texture and sweet, buttery flavor are hard to resist. But if you’ve ever taken a peek at the ingredient list on the store-bought versions, you know they’re often loaded with preservatives, artificial flavors, and way more sugar than necessary. So I set out to make my own, from scratch and with real, whole ingredients. These Sourdough Hawaiian Rolls are naturally leavened with sourdough starter, sweetened with just a touch of honey, and made extra flavorful with real pineapple juice (the not-from-concentrate kind!). They bake up golden, fluffy, and delicious—perfect for special occasions or everyday dinners. And the best part? No commercial yeast needed.
But First: Why Sourdough?
Sourdough is so beneficial for you because the natural fermentation process breaks down gluten and phytic acid, making it easier to digest and allowing your body to absorb more nutrients. The beneficial bacteria and wild yeast in sourdough help improve gut health, and the slow fermentation lowers the glycemic index, meaning it won’t spike blood sugar as much as regular bread. Plus, sourdough is free of preservatives and artificial additives, making it a wholesome, real food choice!
Why You’ll Love These Sourdough Hawaiian Rolls:
- Made with real pineapple juice (not from concentrate)
- Naturally leavened with active sourdough starter
- Sweetened with honey—no refined sugar or other fake ingredients you would normally find in store bought Hawaiian rolls
- Buttery, fluffy texture
- Perfect for quick weeknight meals like sliders, holidays, potlucks, or Sunday dinner
Ingredients
(Makes 18 rolls)
- 1 cup active sourdough starter (fed and bubbly)
- 1 cup pineapple juice (look for not-from-concentrate juice for the best flavor)
- 1/2 cup whole milk
- 3 3/4 cups all-purpose flour
- 1/3 cup honey
- 2 tablespoons melted butter (plus more for brushing)
- 1/2 tablespoon salt
Step-by-Step Instructions to Make Sourdough Hawaiian Rolls
Step 1: Mix the Dough (Night Before)
In a large mixing bowl, combine the sourdough starter, pineapple juice, milk, honey, melted butter, and salt. Stir to combine. Add the flour and mix until a sticky, shaggy dough forms. You can do this by hand or with a stand mixer using the dough hook attachment.
Cover the bowl with a clean towel or plastic wrap and let the dough ferment at room temperature for 8 hours or overnight. The dough should rise and become puffy.
Step 2: Shape the Rolls (Next Morning)
In the morning, lightly flour your work surface and place the dough on top of the flour. Divide it into 18 equal pieces—a kitchen scale helps with even sizing, but you can also eyeball it. To cut the rolls I use this bench scraper!
Gently shape each piece into a round roll and place them in a buttered 9×13 baking dish. I love how deep this one is!
Step 3: Final Rise
Cover the rolls with a towel and let them rise in a warm spot until doubled in size, about 1 to 2 hours depending on the temperature of your kitchen.
Step 4: Bake
Preheat your oven to 375°F (190°C). Once the rolls have risen, bake for 30 minutes, or until the tops are golden brown and the rolls sound hollow when tapped.
Step 5: Brush with Butter
Remove the rolls from the oven and immediately brush the tops with melted butter for a glossy, soft finish.
Let cool slightly before serving—though they’re absolutely delicious warm from the oven.
Tips for Success
- Use an active starter: Your sourdough starter should be bubbly and recently fed. This ensures good fermentation and a light texture.
- Choose quality pineapple juice: Look for not-from-concentrate pineapple juice. It gives the rolls their signature sweet-tart flavor and helps with fermentation.
- Room temperature ingredients: Cold milk or juice can slow fermentation. Let everything come to room temp before mixing if possible.
- Don’t rush the final rise: Allow the shaped rolls to fully double in size. This gives you that soft, fluffy texture Hawaiian rolls are known for.
- Brush with butter: Don’t skip the melted butter at the end—it adds flavor and helps soften the tops.
Serving Suggestions
These naturally sweet, tender rolls pair beautifully with:
- Roasted meats like ham, turkey, or pulled pork
- Soups and stews for a cozy dinner
- Sliders—try shredded chicken, pork, or even egg salad. We frequently make shredded BBQ chicken sandwiches with them.
- Brunch spreads with butter and jam
- Holiday meals as a standout dinner roll
They’re versatile enough for both everyday meals and special occasions.
Storage & Reheating Tips
To store:
Once cooled, place rolls in an airtight container or zip-top bag. They’ll stay fresh at room temperature for up to 3 days.
To freeze:
These rolls freeze beautifully! Let them cool completely, then store in a freezer-safe bag for up to 2 months. Thaw at room temperature or gently warm in the oven.
To reheat:
- Oven: Wrap in foil and warm at 300°F for 10–12 minutes
- Microwave: Place a roll on a plate with a damp paper towel and warm in 15–20 second bursts until soft
FAQs about Sourdough Hawaiian Rolls
Let Me Know If You Try It!
I’d love to hear what you think of these Sourdough Hawaiian Rolls. Better than store bought? Did you use them as a side dish? Or the main course like pulled chicken sandwiches? Leave a comment below, a 5 star rating, or Tag me on instagram @my.colorado.kitchen so I can see your delicious creations!
Sourdough Hawaiian Rolls
These homemade sourdough Hawaiian rolls are soft, sweet, and naturally fermented—made with real pineapple juice and no commercial yeast. The perfect from-scratch roll for your next dinner or holiday gathering.
Ingredients
- 1 cup active sourdough starter (fed and bubbly)
- 1 cup pineapple juice (look for not-from-concentrate juice for the best flavor)
- 1/2 cup whole milk
- 3 3/4 cups all-purpose flour
- 1/3 cup honey
- 2 tablespoons melted butter (plus more for brushing)
- 1/2 tablespoon salt
Instructions
Step 1: Mix the Dough (Night Before)
- In a large mixing bowl, combine the sourdough starter, pineapple juice, milk, honey, melted butter, and salt.
- Stir to combine.
- Add the flour and mix until a sticky, shaggy dough forms. You can do this by hand or with a stand mixer using the dough hook attachment.
- Cover the bowl with a clean towel or plastic wrap and let the dough ferment at room temperature for 8 hours or overnight. The dough should rise and become puffy.
Step 2: Shape the Rolls (Next Morning)
- In the morning, lightly flour your work surface and place the dough on top of the flour.
- Divide it into 18 equal pieces—a kitchen scale helps with even sizing, but you can also eyeball it. To cut the rolls I use a this bench scraper!
- Gently shape each piece into a round roll and place them in a buttered 9x13 baking dish
Step 3: Final Rise
- Cover the rolls with a towel and let them rise in a warm spot until doubled in size, about 1 to 2 hours depending on the temperature of your kitchen.
Step 4: Bake
- Preheat your oven to 375°F (190°C). Once the rolls have risen, bake for 30 minutes, or until the tops are golden brown and the rolls sound hollow when tapped.
Step 5: Brush with Butter
- Remove the rolls from the oven and immediately brush the tops with melted butter for a glossy, soft finish.
Let cool slightly before serving—though they're absolutely delicious warm from the oven.
Notes
- Use an active starter: Your sourdough starter should be bubbly and recently fed. This ensures good fermentation and a light texture.
- Choose quality pineapple juice: Look for not-from-concentrate pineapple juice. It gives the rolls their signature sweet-tart flavor and helps with fermentation.
- Room temperature ingredients: Cold milk or juice can slow fermentation. Let everything come to room temp before mixing if possible.
- Don't rush the final rise: Allow the shaped rolls to fully double in size. This gives you that soft, fluffy texture Hawaiian rolls are known for.
- Brush with butter: Don’t skip the melted butter at the end—it adds flavor and helps soften the tops.
Nutrition Information:
Yield: 18 Serving Size: 1 RollAmount Per Serving: Calories: 160Total Fat: 2gSaturated Fat: 1gTrans Fat: 0gUnsaturated Fat: 1gCholesterol: 4mgSodium: 191mgCarbohydrates: 32gFiber: 1gSugar: 7gProtein: 4g
Nutrition facts are calculated automatically and are approximate.

I don’t often comment. However these rolls were spectacular! One of the best things I’ve made with sourdough! Not as sweet as the bought Hawaiian rolls, but just right. They were soft and just perfect. I’m making chicken pesto sliders for a baby shower. These will work wonderful, without all the terrible chemicals of store bought. Thank you so much for the recipe.
Thank you so much for the sweet comment! I am so happy you like them! And chicken pesto sliders sound wonderful!
I am making as we speak and the dough is very wet and loose. More Flour??
Yes, more flour. It is a wet dough, but it shouldn’t be sticking to your hands. I would add a tablespoon or too at a time. When I roll them, I also use quite a bit of flour.
is this dough freeze able? im looking to make a few batches and freeze some, if its possible?
I haven’t personally tried freezing this dough, so I’m not sure how well it would rise after thawing. My guess is that the fermentation might slow down too much, but you’re welcome to experiment! 😊
What I do know works really well is refrigerating the dough for about 12 hours—just let it come back to room temp before shaping and baking.
And if you want to freeze them after baking, that works beautifully! The baked rolls defrost and reheat perfectly.
Great recipe. Thank you for sharing. I am questioning the 30min bake time…more like 12-15min?
Thank you! I made these again yesterday and it was right at 35 minutes for me.
I would love to make these, but I am worried about the milk. How does it not spoil and make people sick?
I hope you do make them, they are so yummy! So here is the sciencey answer: The milk doesn’t spoil in a sourdough recipe because the fermentation process, led by lactic acid bacteria and yeast, creates an acidic environment that prevents harmful bacteria from growing. The sourdough starter essentially “cultures” the milk, much like a traditional fermentation process that is used for foods like yogurt, and the beneficial bacteria consume the sugars in the milk, producing lactic acid and alcohol that act as natural preservatives. I hope that helps!
How long should the dough be kneaded?
I typically do 8 minutes in my mixer on the knead function.
Was reading previous comments and just wondering where kneading comes in. It’s not mentioned in the recipe. Thanks!
Hey there! I do it in my mixer with the dough hook for about 8 minutes. It is a wetter dough so the mixer is the way to go for this recipe.
Currently making and realized I won’t be home at the 8-10 hr mark can I cold ferment in the fridge
Absolutely! Just pull out and let come to room temperature when you are ready to bake.
Hi Jennifer,
can I use Einkorn or Spelt flour or mix it with AP flour?
Thank you for the great recipe.
Hello Regina! You can! If you want the best rise + fluffy texture I recommend mixing them with all-purpose flour rather than using 100% einkorn or spelt.
A great starting point is:
Replace 25–40% of the AP flour with einkorn or spelt.
For this recipe (3¾ cups flour total), that would be about:
• 1 to 1½ cups einkorn or spelt
• The rest all-purpose flour
This keeps the rolls soft and tall while still giving you the nutritional and flavor benefits of ancient grains.
A couple important tips:
• Einkorn and spelt absorb slightly less liquid, so you may need to hold back 2–4 tablespoons of liquid if the dough feels very loose.
• Be gentle when shaping — don’t over-knead.
• Expect a longer rise time.
I made these and I just mixed them a little longer at the beginning so the dough was rough but past shaggy. I left them to ride over night and they were all the way to the top of the bowl. I have them shaped and rising now. I did use pineapple juice from a can of pineapple and the rest from a bottle of pineapple juice. I can’t wait to eat them!!
Perfect! That is exactly what you want! Enjoy!