Easy Beginner’s Sourdough Bread Recipe: Step-by-Step Guide
Learn how to make easy sourdough bread from scratch with this easy beginner’s sourdough bread recipe. Follow this step-by-step guide, including starter prep, fermentation, shaping, and baking tips for the perfect homemade sourdough loaf!

This post may contain affiliate links. As an amazon associate I earn from qualifying purchases at no additional cost to you.
New to Sourdough? Click Here to get my FREE Complete Sourdough Starter Guide!
Sourdough bread is one of the most rewarding types of bread to bake at home. With just flour, water, and salt, you can create a delicious, naturally fermented loaf with a crisp crust and soft, airy crumb. If you’re new to sourdough baking, this step-by-step guide will walk you through the process from feeding your starter to baking the perfect loaf. I have tried so many recipes for making sourdough bread with varying times and techniques and always come back to this easy beginner’s sourdough bread recipe as my loaves turn out great every time!
What You Need to Get Started Making this Easy Beginner’s Sourdough Bread Recipe
Ingredients:
- 200g active sourdough starter
- 700g warm water (80°F)
- 1000g bread flour
- 50g water (added later)
- 22g fine salt
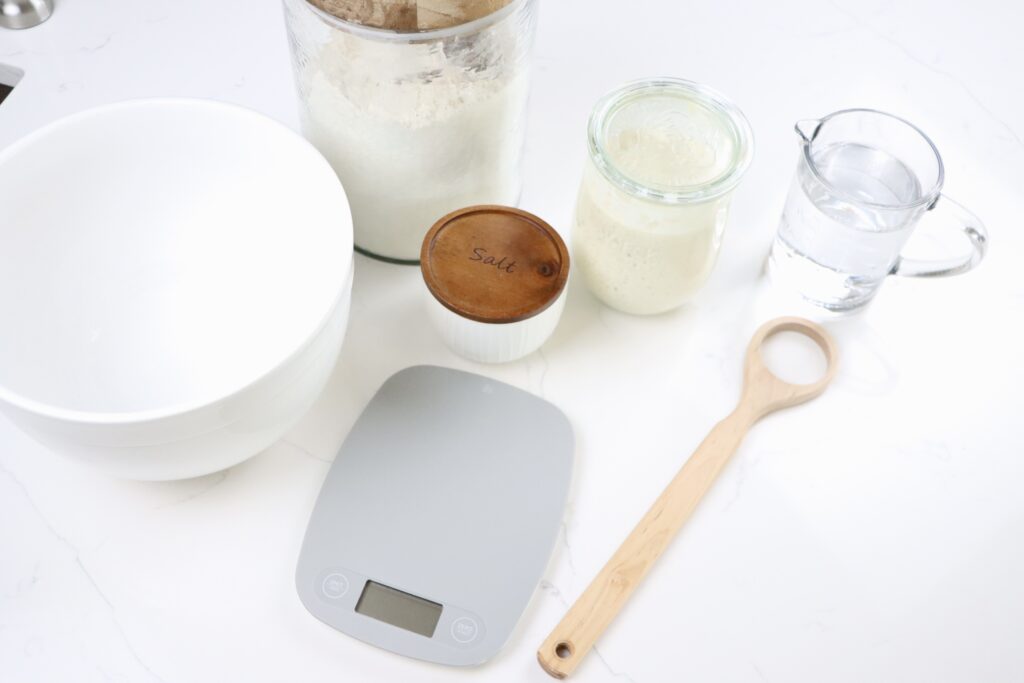
Tools You’ll Need
This post may contain affiliate links. As an amazon associate I earn from qualifying purchases at no additional cost to you.
Step 1: Prepare Your Sourdough Starter (Day 1)
Before you start baking, your sourdough starter needs to be active and bubbly.
The night before mixing your dough you will:
- Feed your starter with 140g water and 140g bread flour.
- Leave it covered on the counter to ferment overnight.
By morning, your starter should be doubled in size, bubbly, and have a slightly tangy smell.
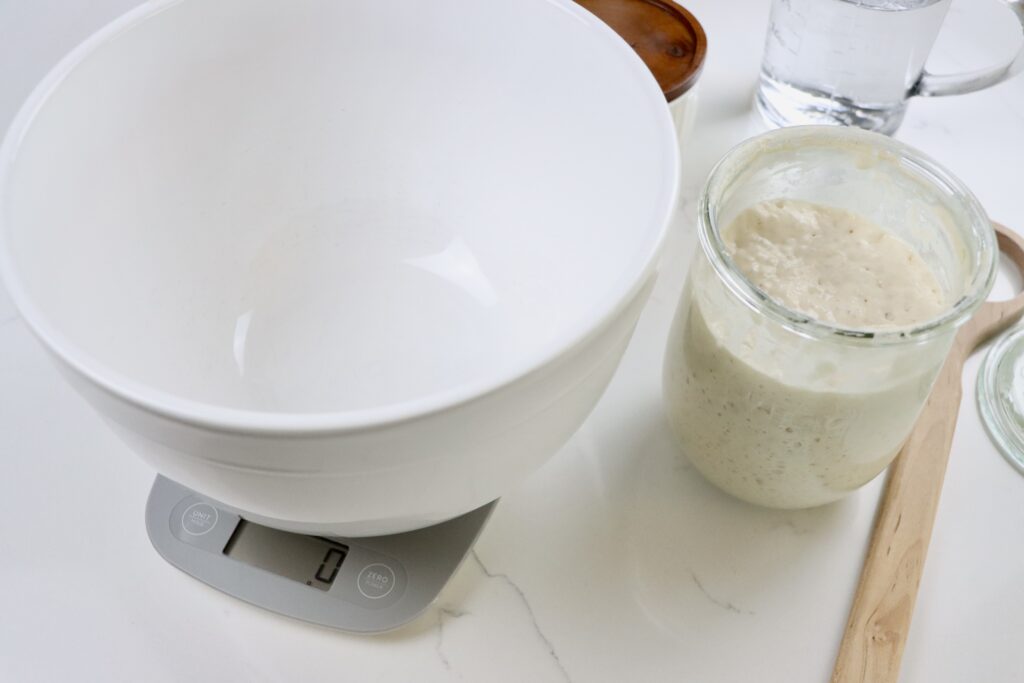
Step 2: Mixing the Dough (Day 2)
- In a large bowl, mix 200g starter with 700g warm water until fully combined.
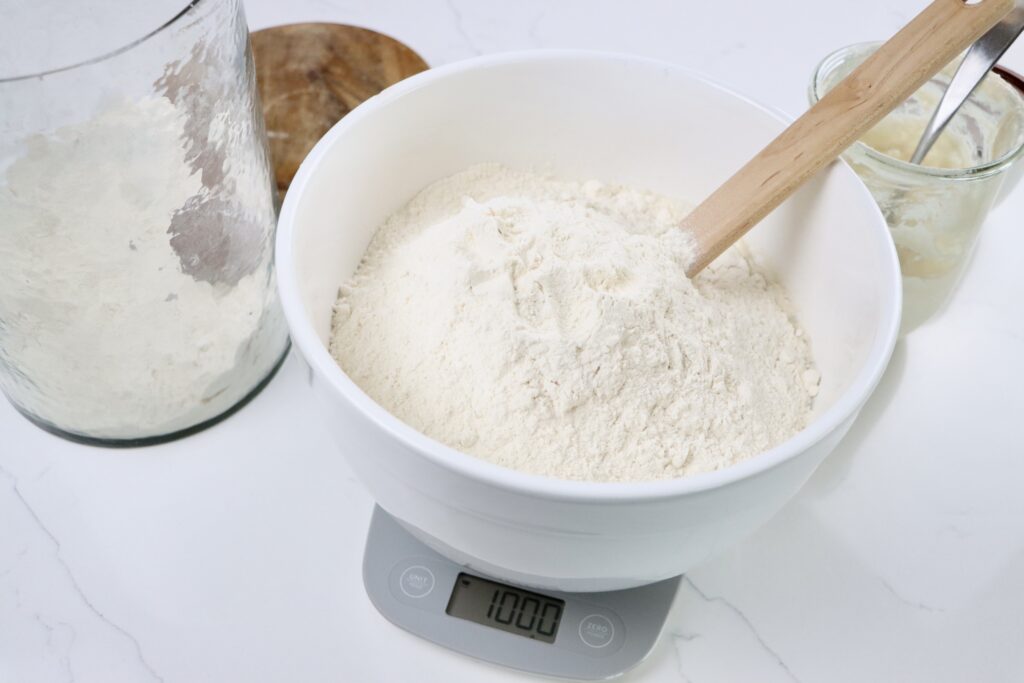
- Add 1000g bread flour and mix together until all the flour is incorporated. You can’t over mix it at this point.
- Cover the bowl with a damp towel and let the dough rest for 30 minutes (this is called autolyse, which helps gluten formation).
Step 3: Stretch & Fold for Gluten Development
After resting:
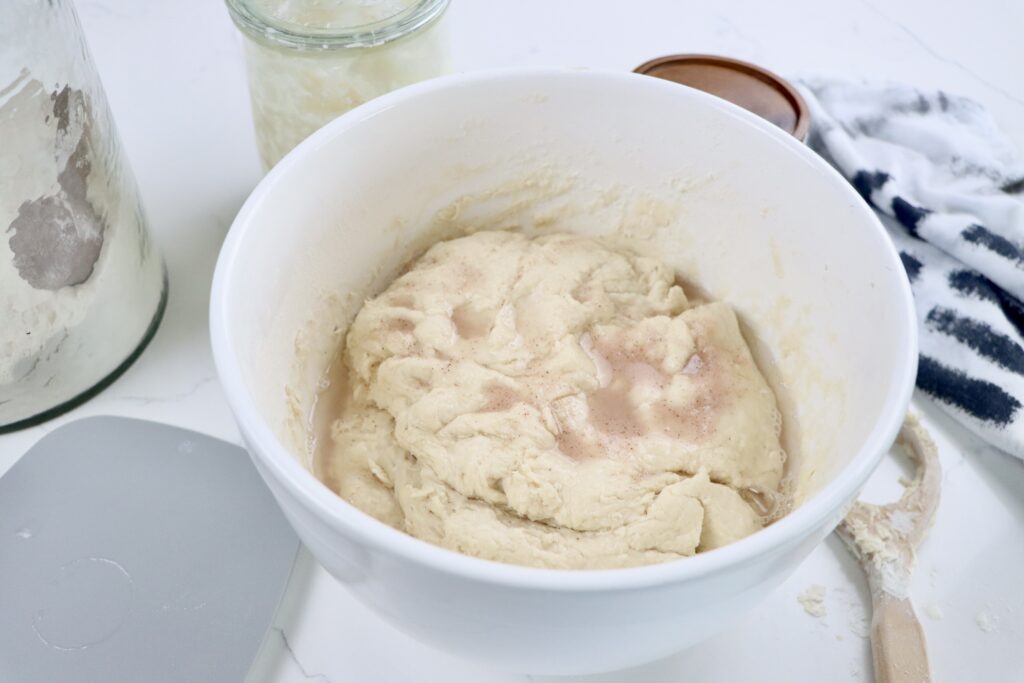
- Sprinkle 22g salt over the dough and add 50g water. Use your fingers to press the salt into the dough.
- Perform the stretch and fold technique to strengthen the dough:
- Grab one side, stretch it up, and fold it over the center.
- Rotate the bowl and repeat for all four sides.
- Repeat this every 30 minutes for 2 hours (4 sets total).
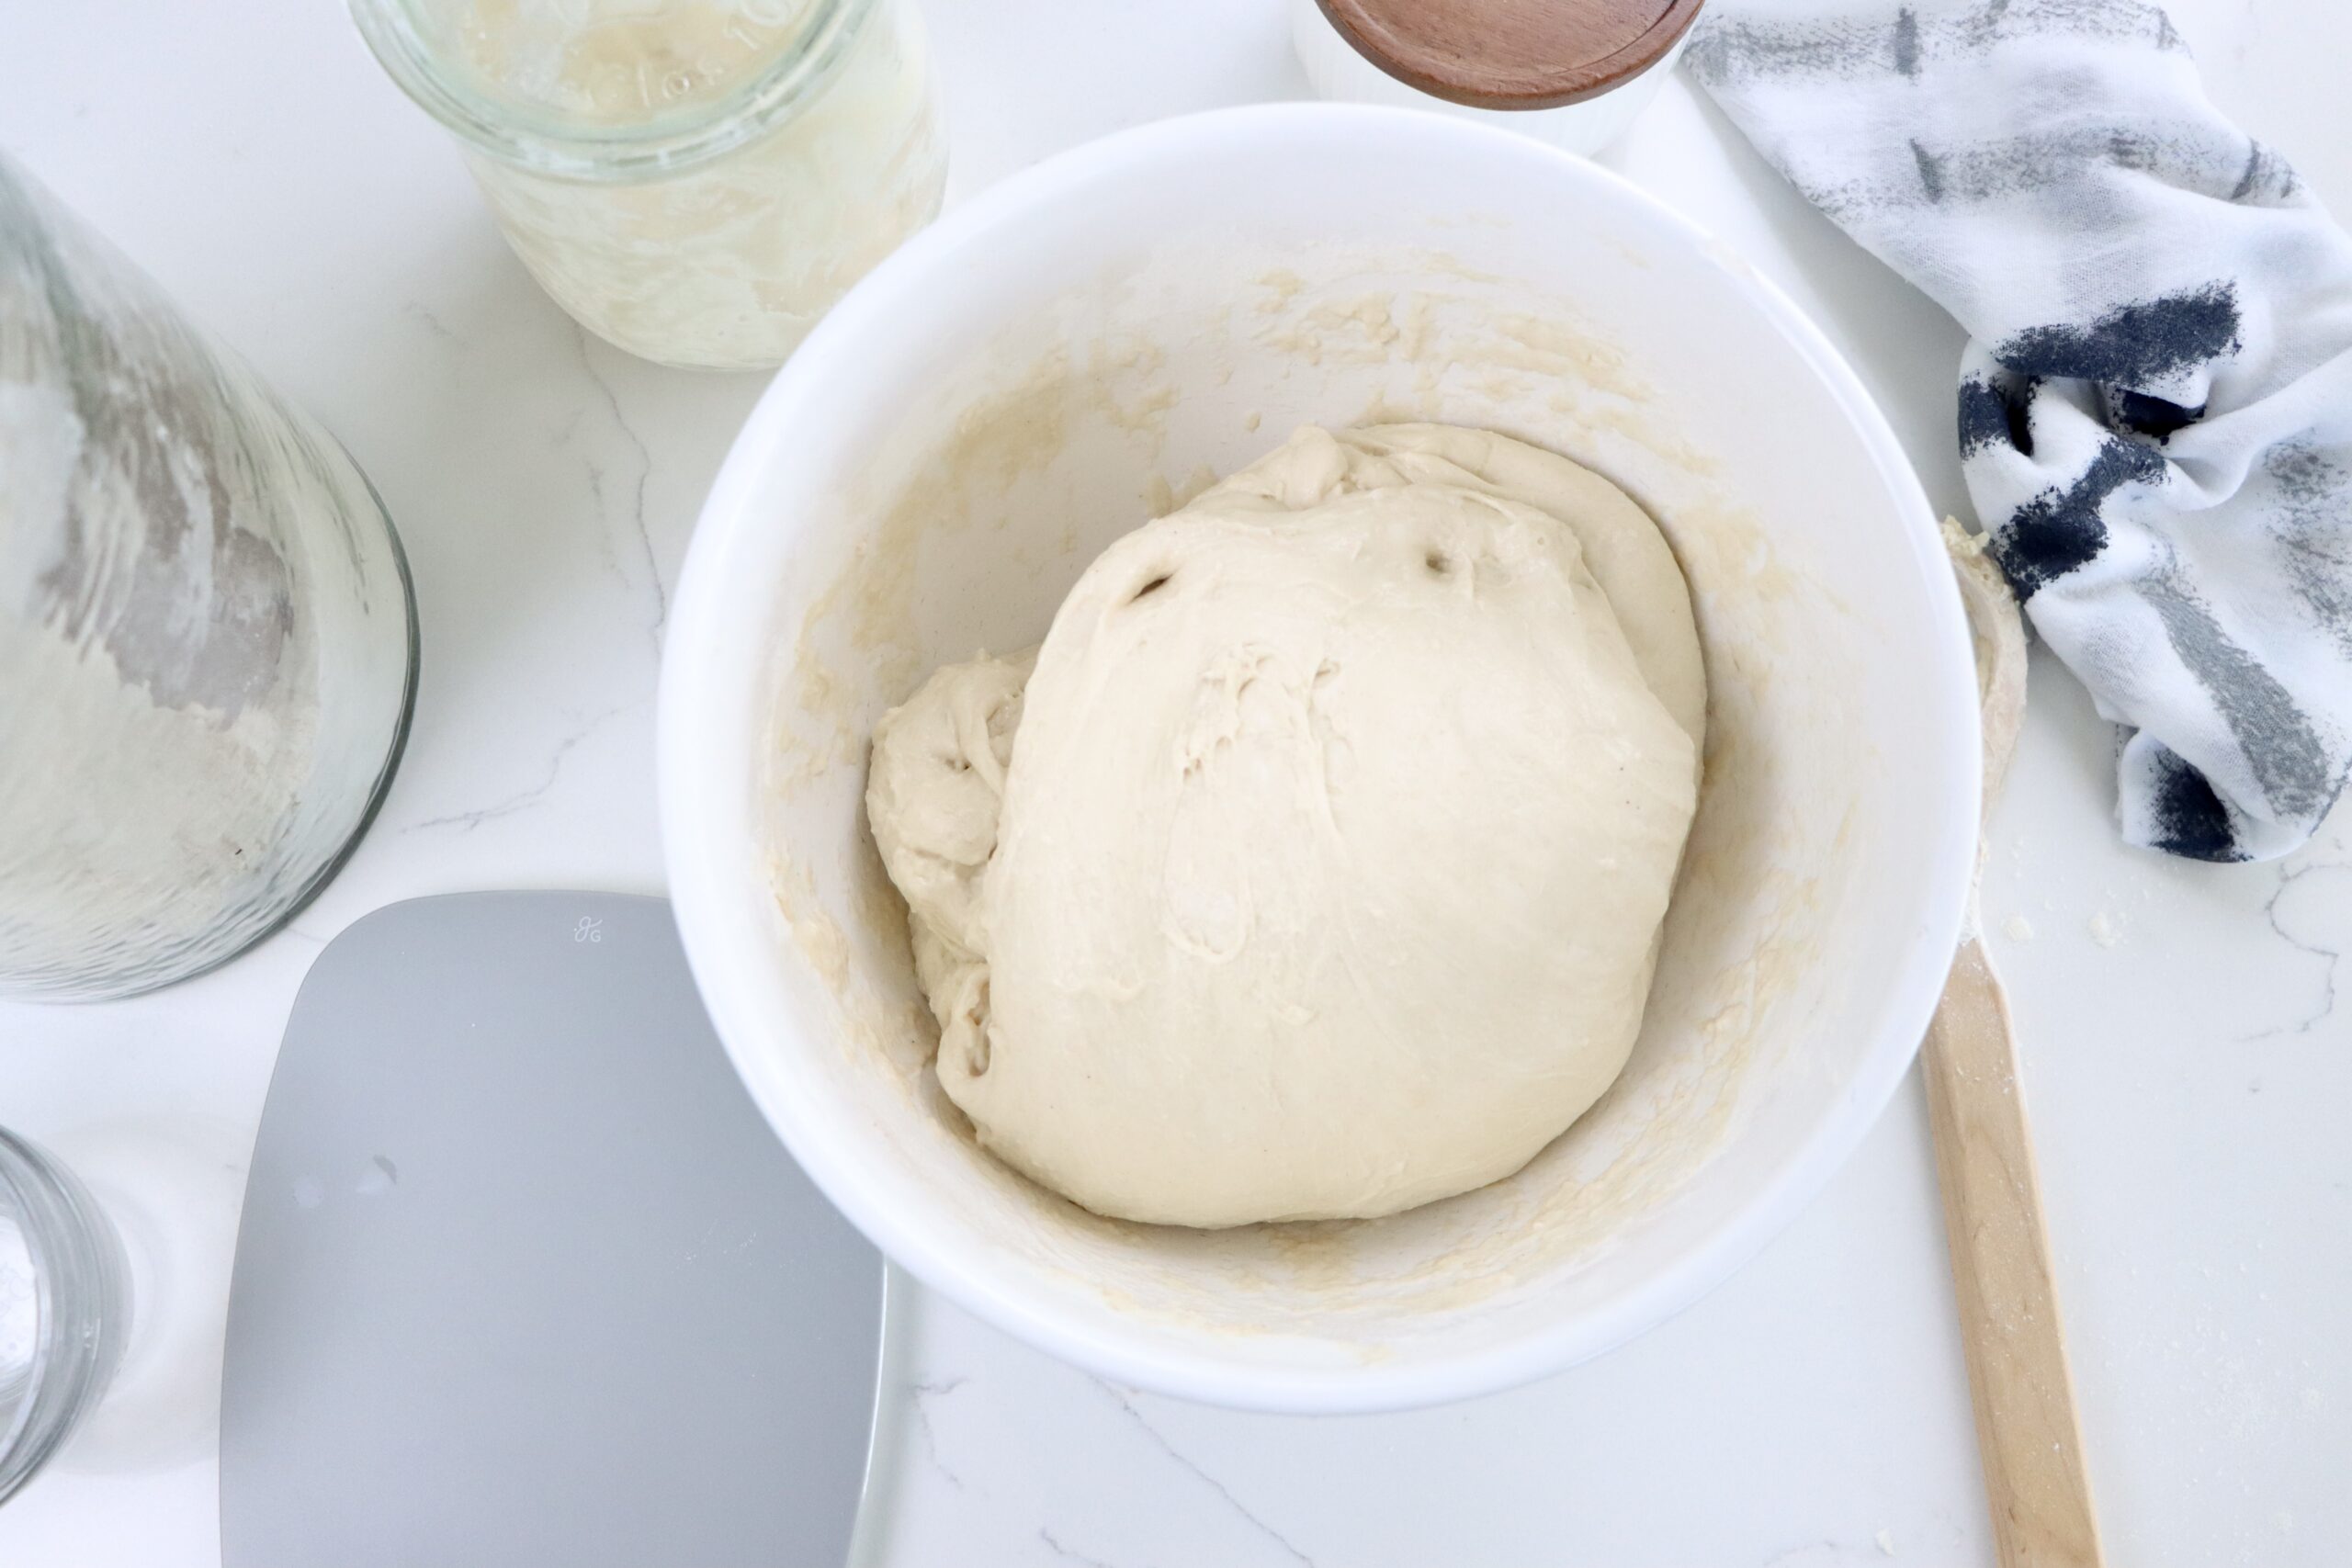
- After the last stretch and fold you will let the dough rest for 1.5 to 2 hours (bulk fermentation). The dough should become puffy and slightly domed.
Step 4: Pre-Shaping and Bench Rest
- Lightly flour your work surface and turn out the dough.
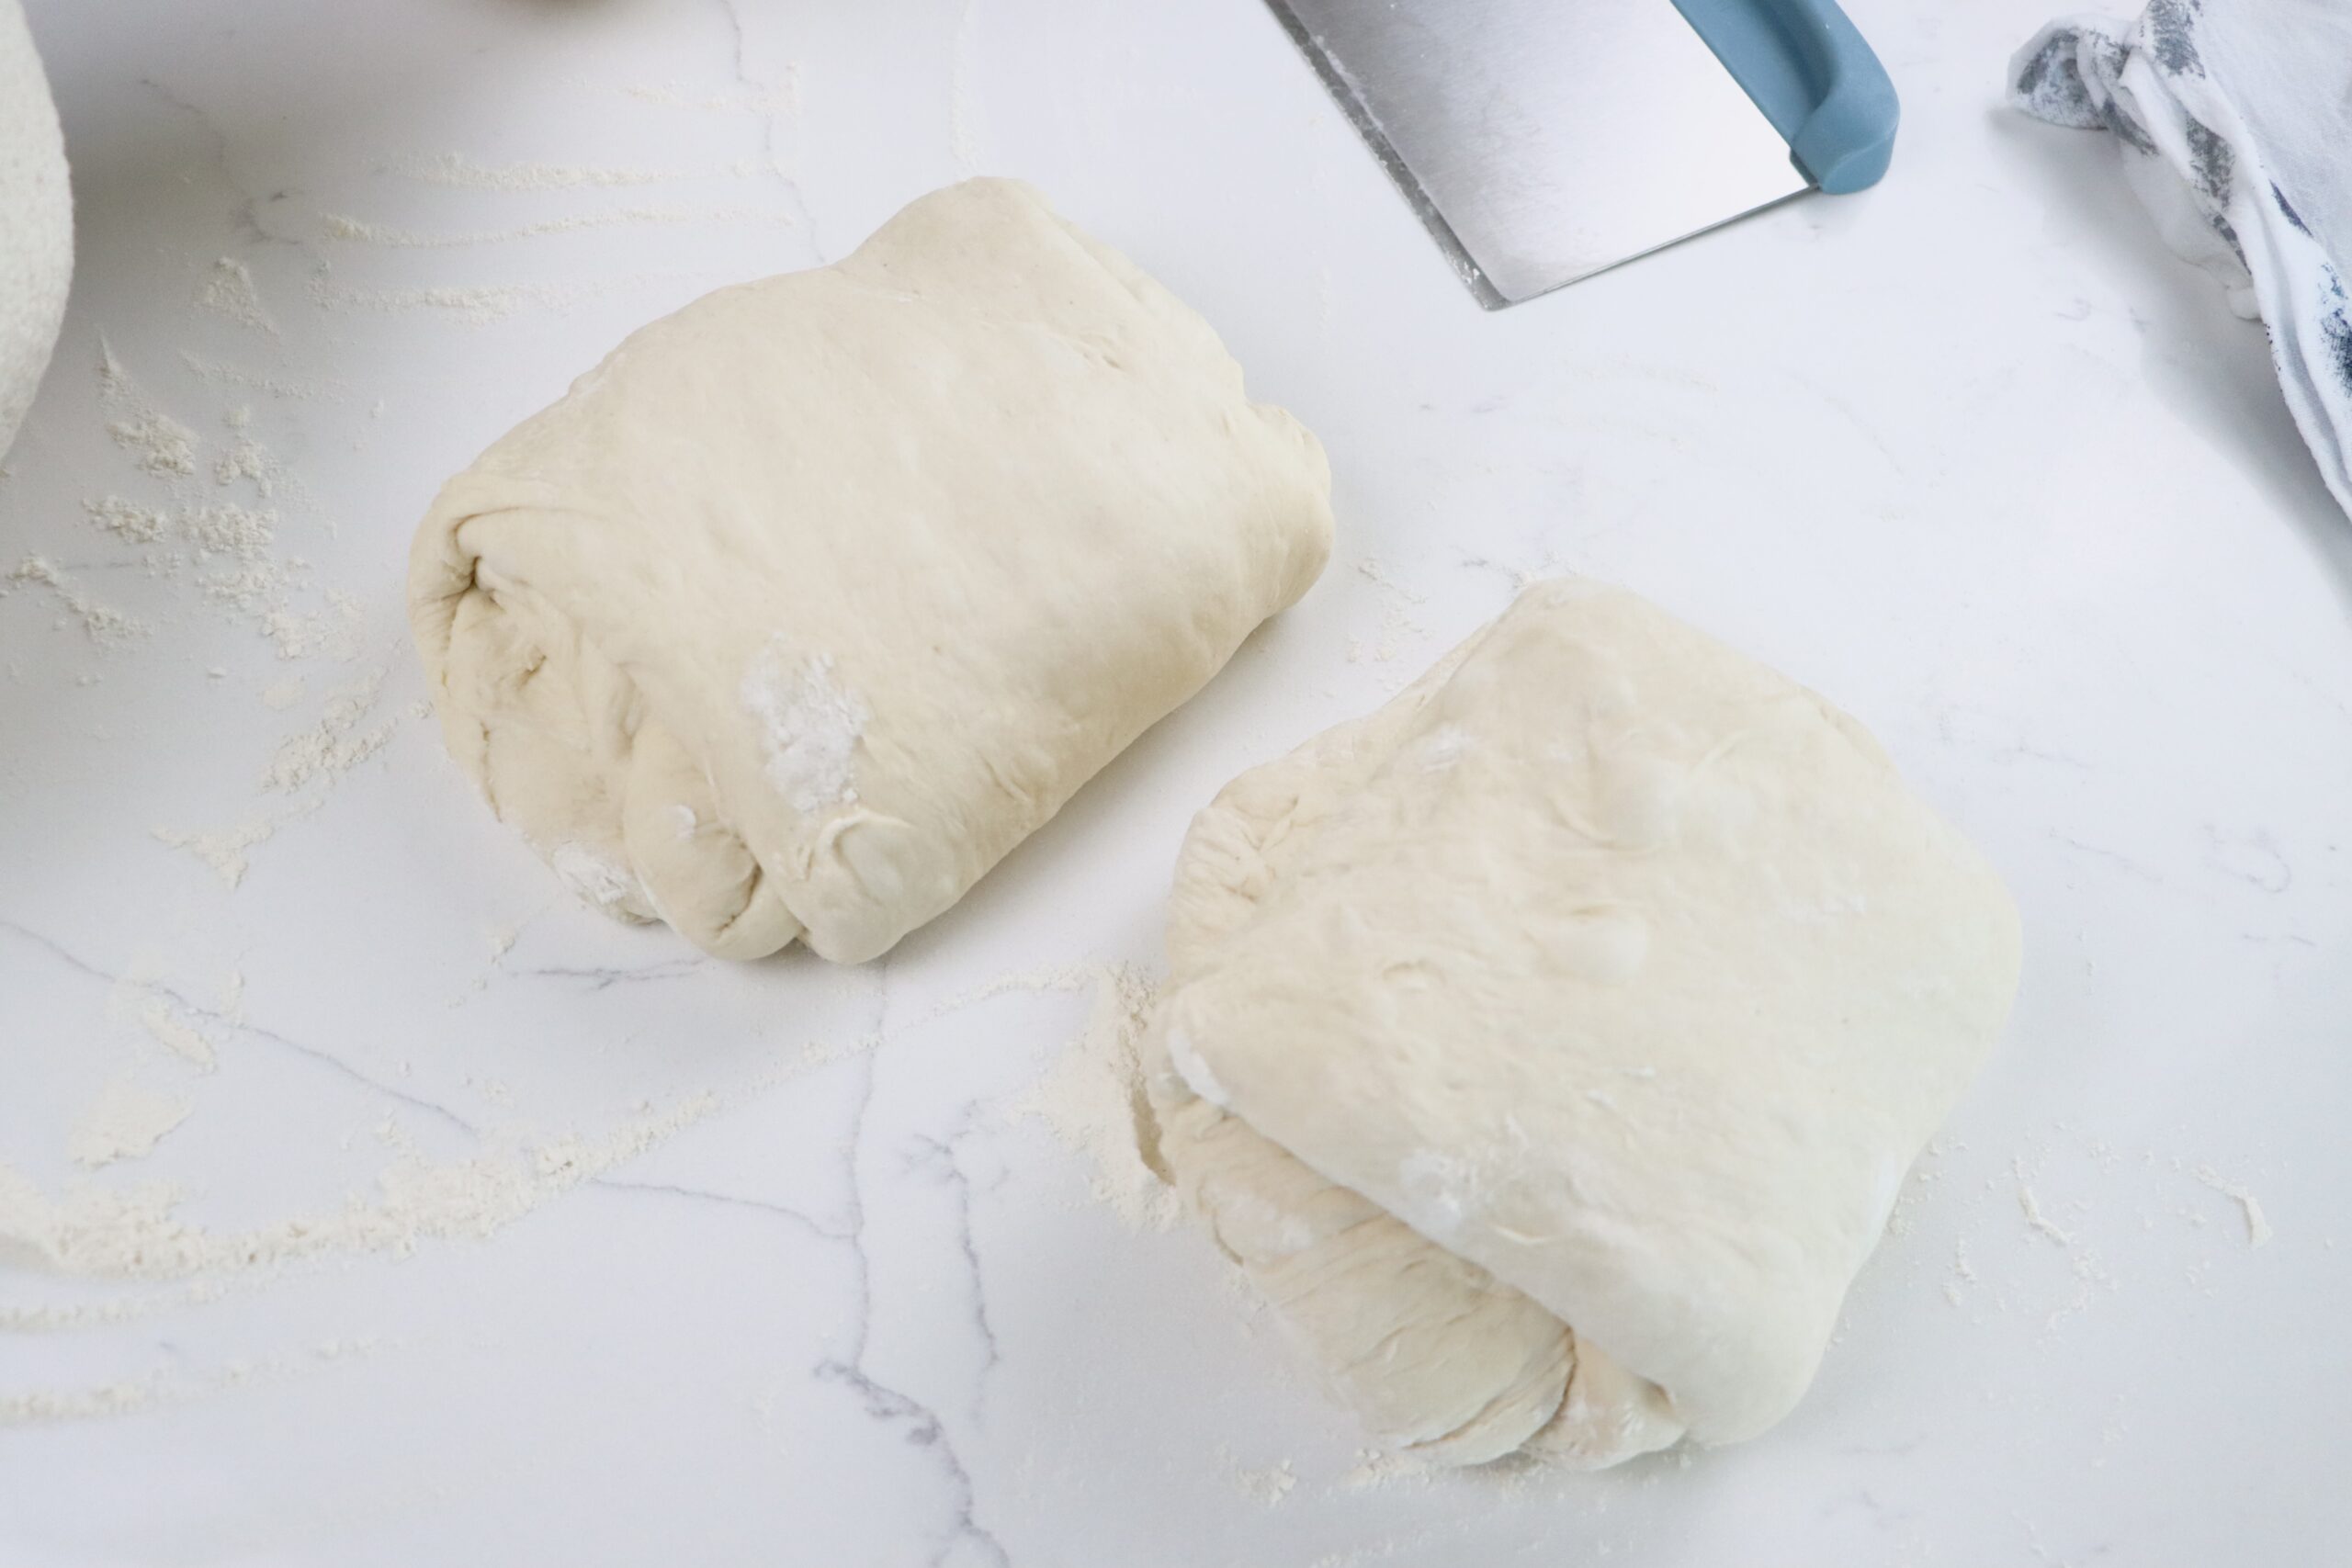
- Use a bench scraper to divide it into two equal loaves.
- Gently stretch each dough ball into a rectangle, fold in the sides, and tuck the ends.
- Flip seam-side down, cover with a towel, and let rest for 15-20 minutes.

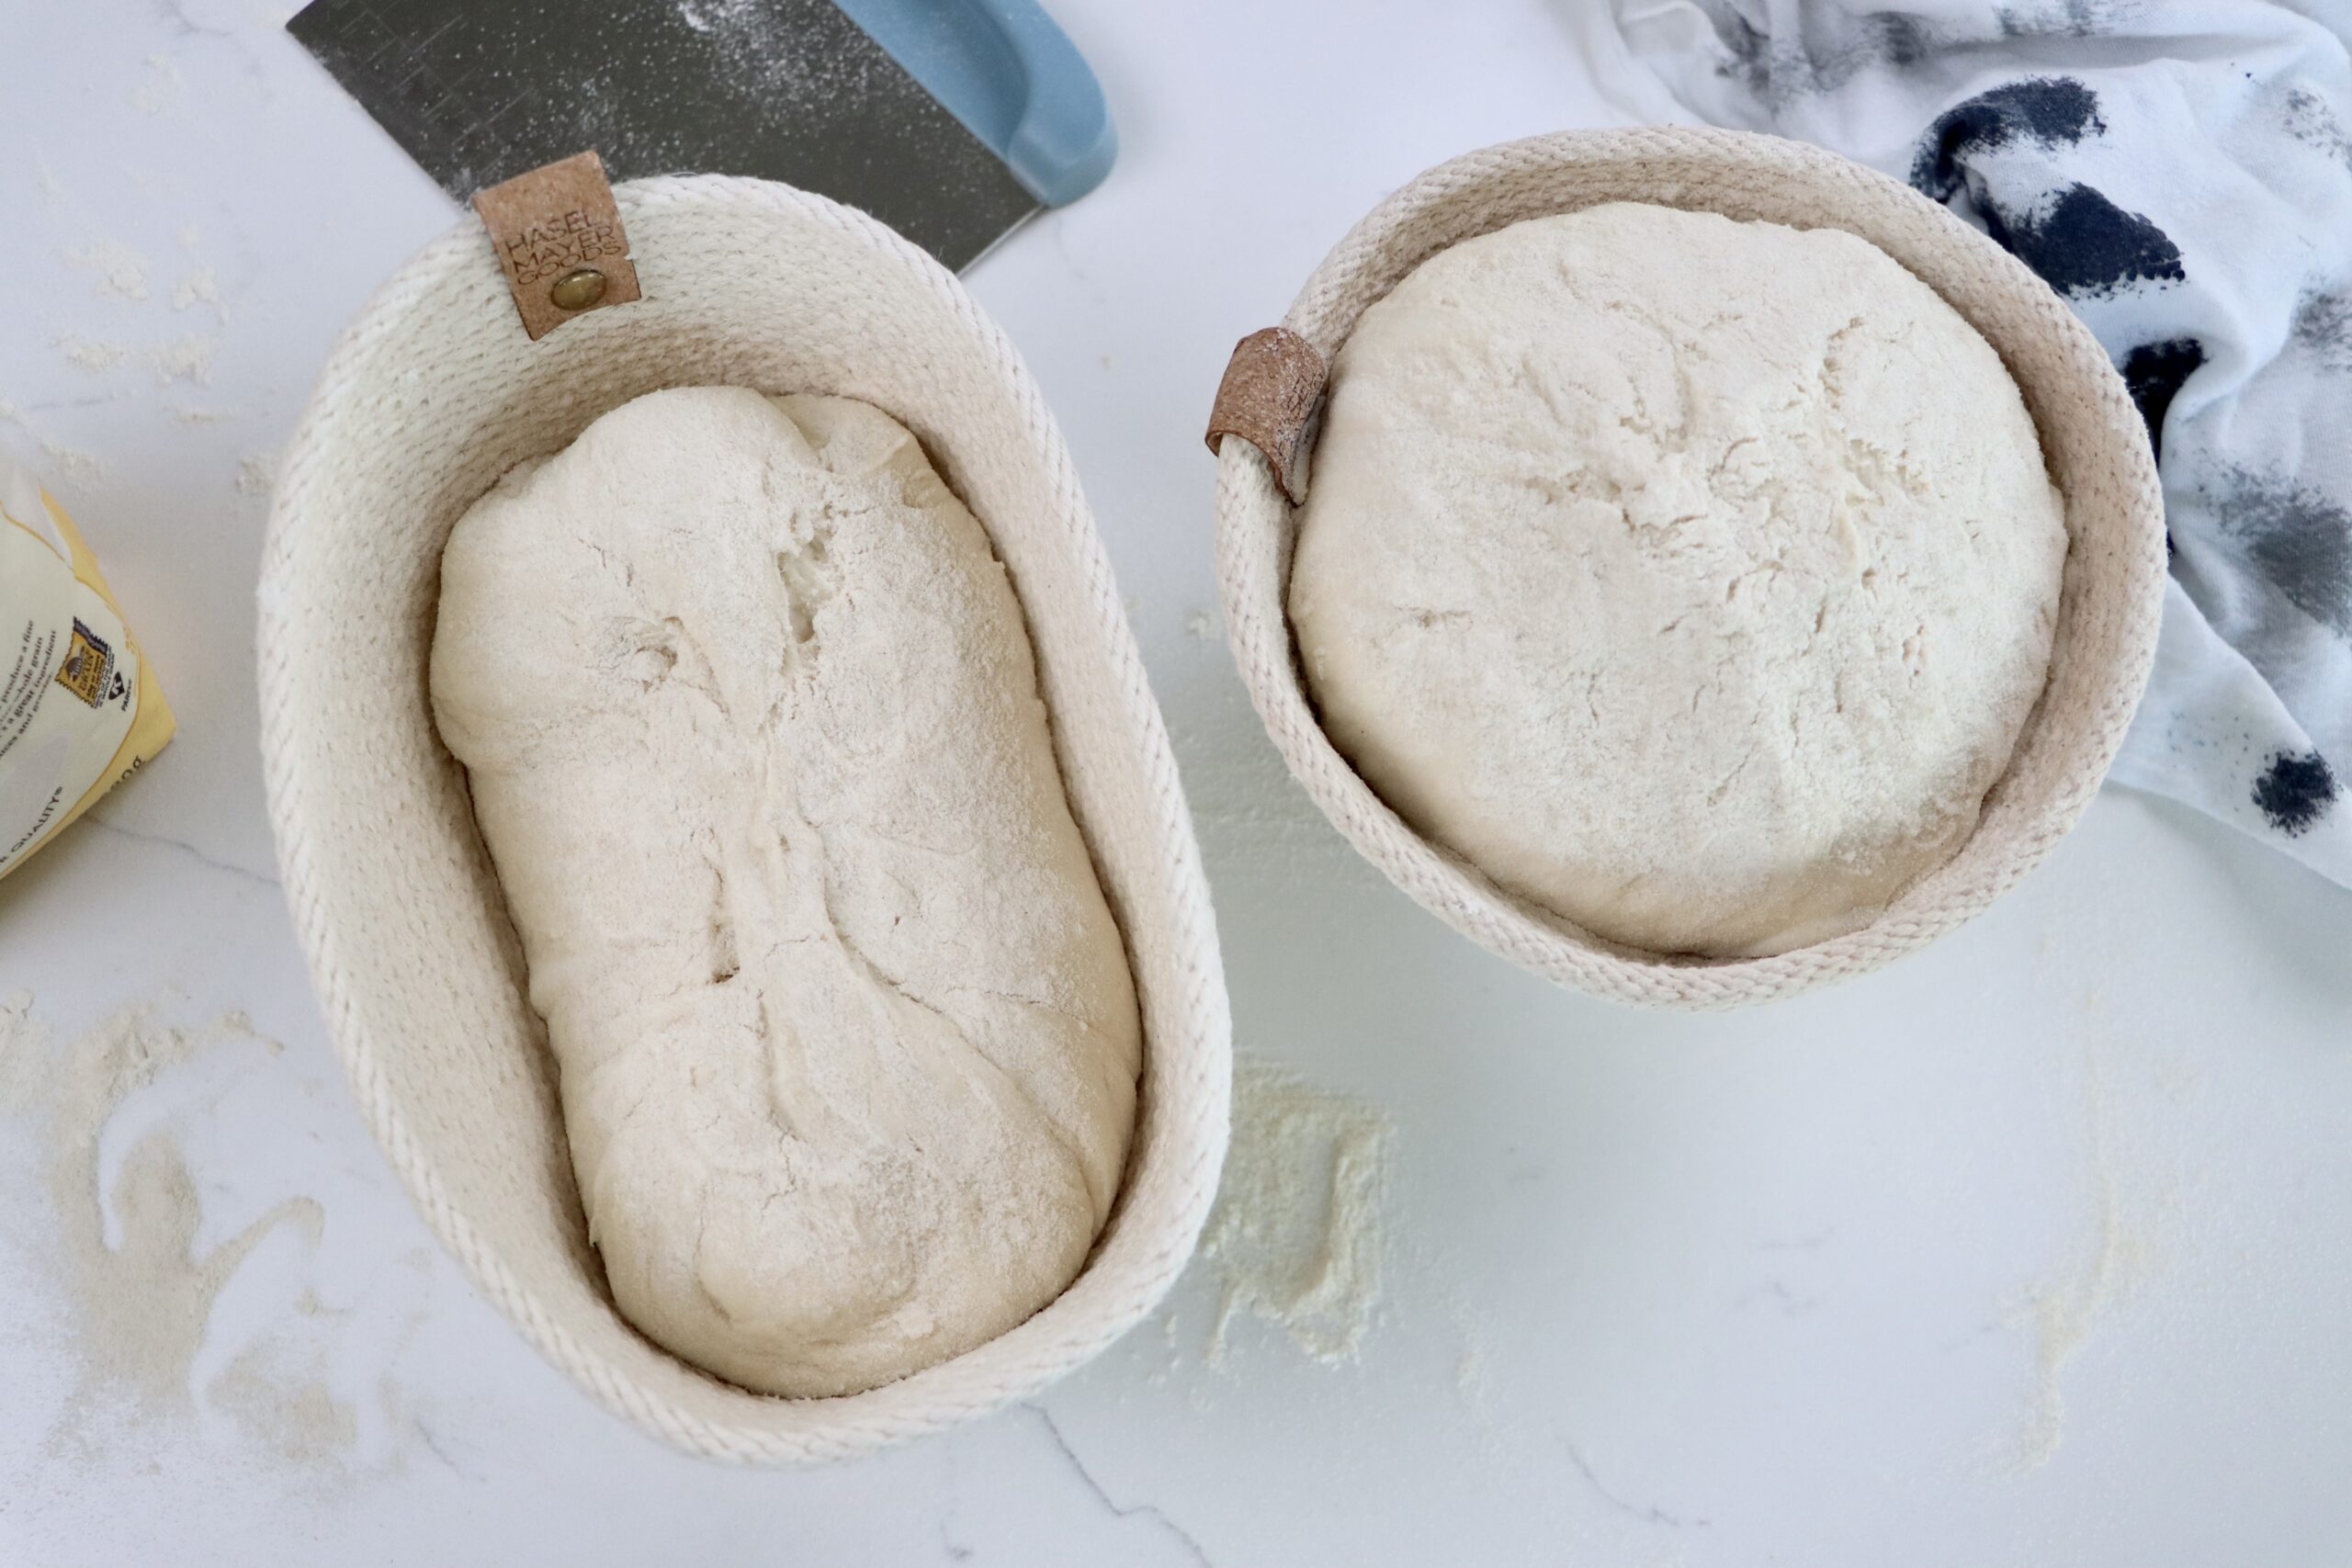
Step 5: Final Shaping & Cold Proofing
- Reshape each loaf by repeating the folding process, ensuring a tight surface.
- Place the dough into a floured banneton (or a bowl lined with a floured towel), seam-side up.
- Cover and refrigerate overnight for cold proofing. This enhances the flavor and texture.

Step 6: Baking Your Sourdough Bread (Day 3)
- Place a Dutch oven with the lid in your oven and preheat to 500°F for 10 minutes.
- Remove one loaf from the fridge. Place a parchment square on top of the banneton and carefully flip the dough onto it.
- Score the dough using a bread lame or sharp knife.
- Using the parchment paper, transfer the dough into the hot Dutch oven. Cover with the lid.
- Bake at 475°F for 30 minutes with the lid on.
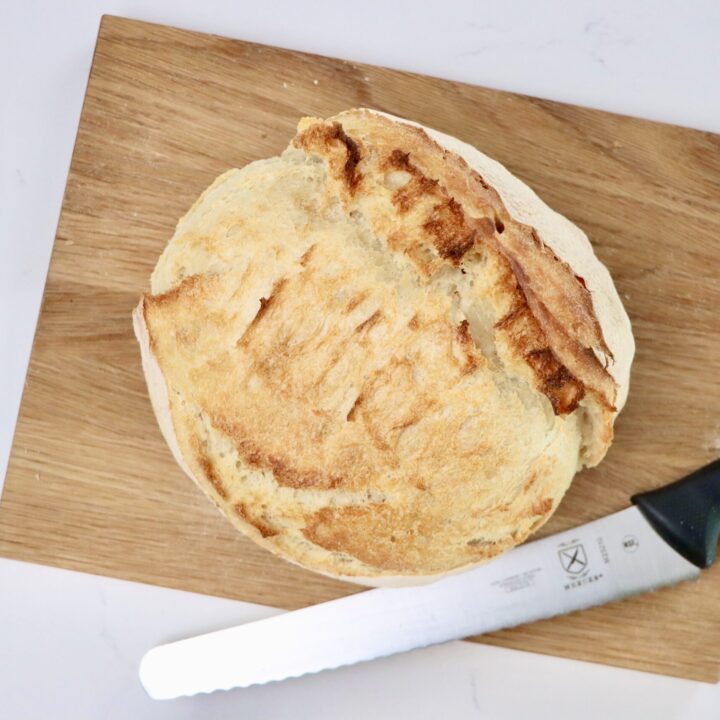
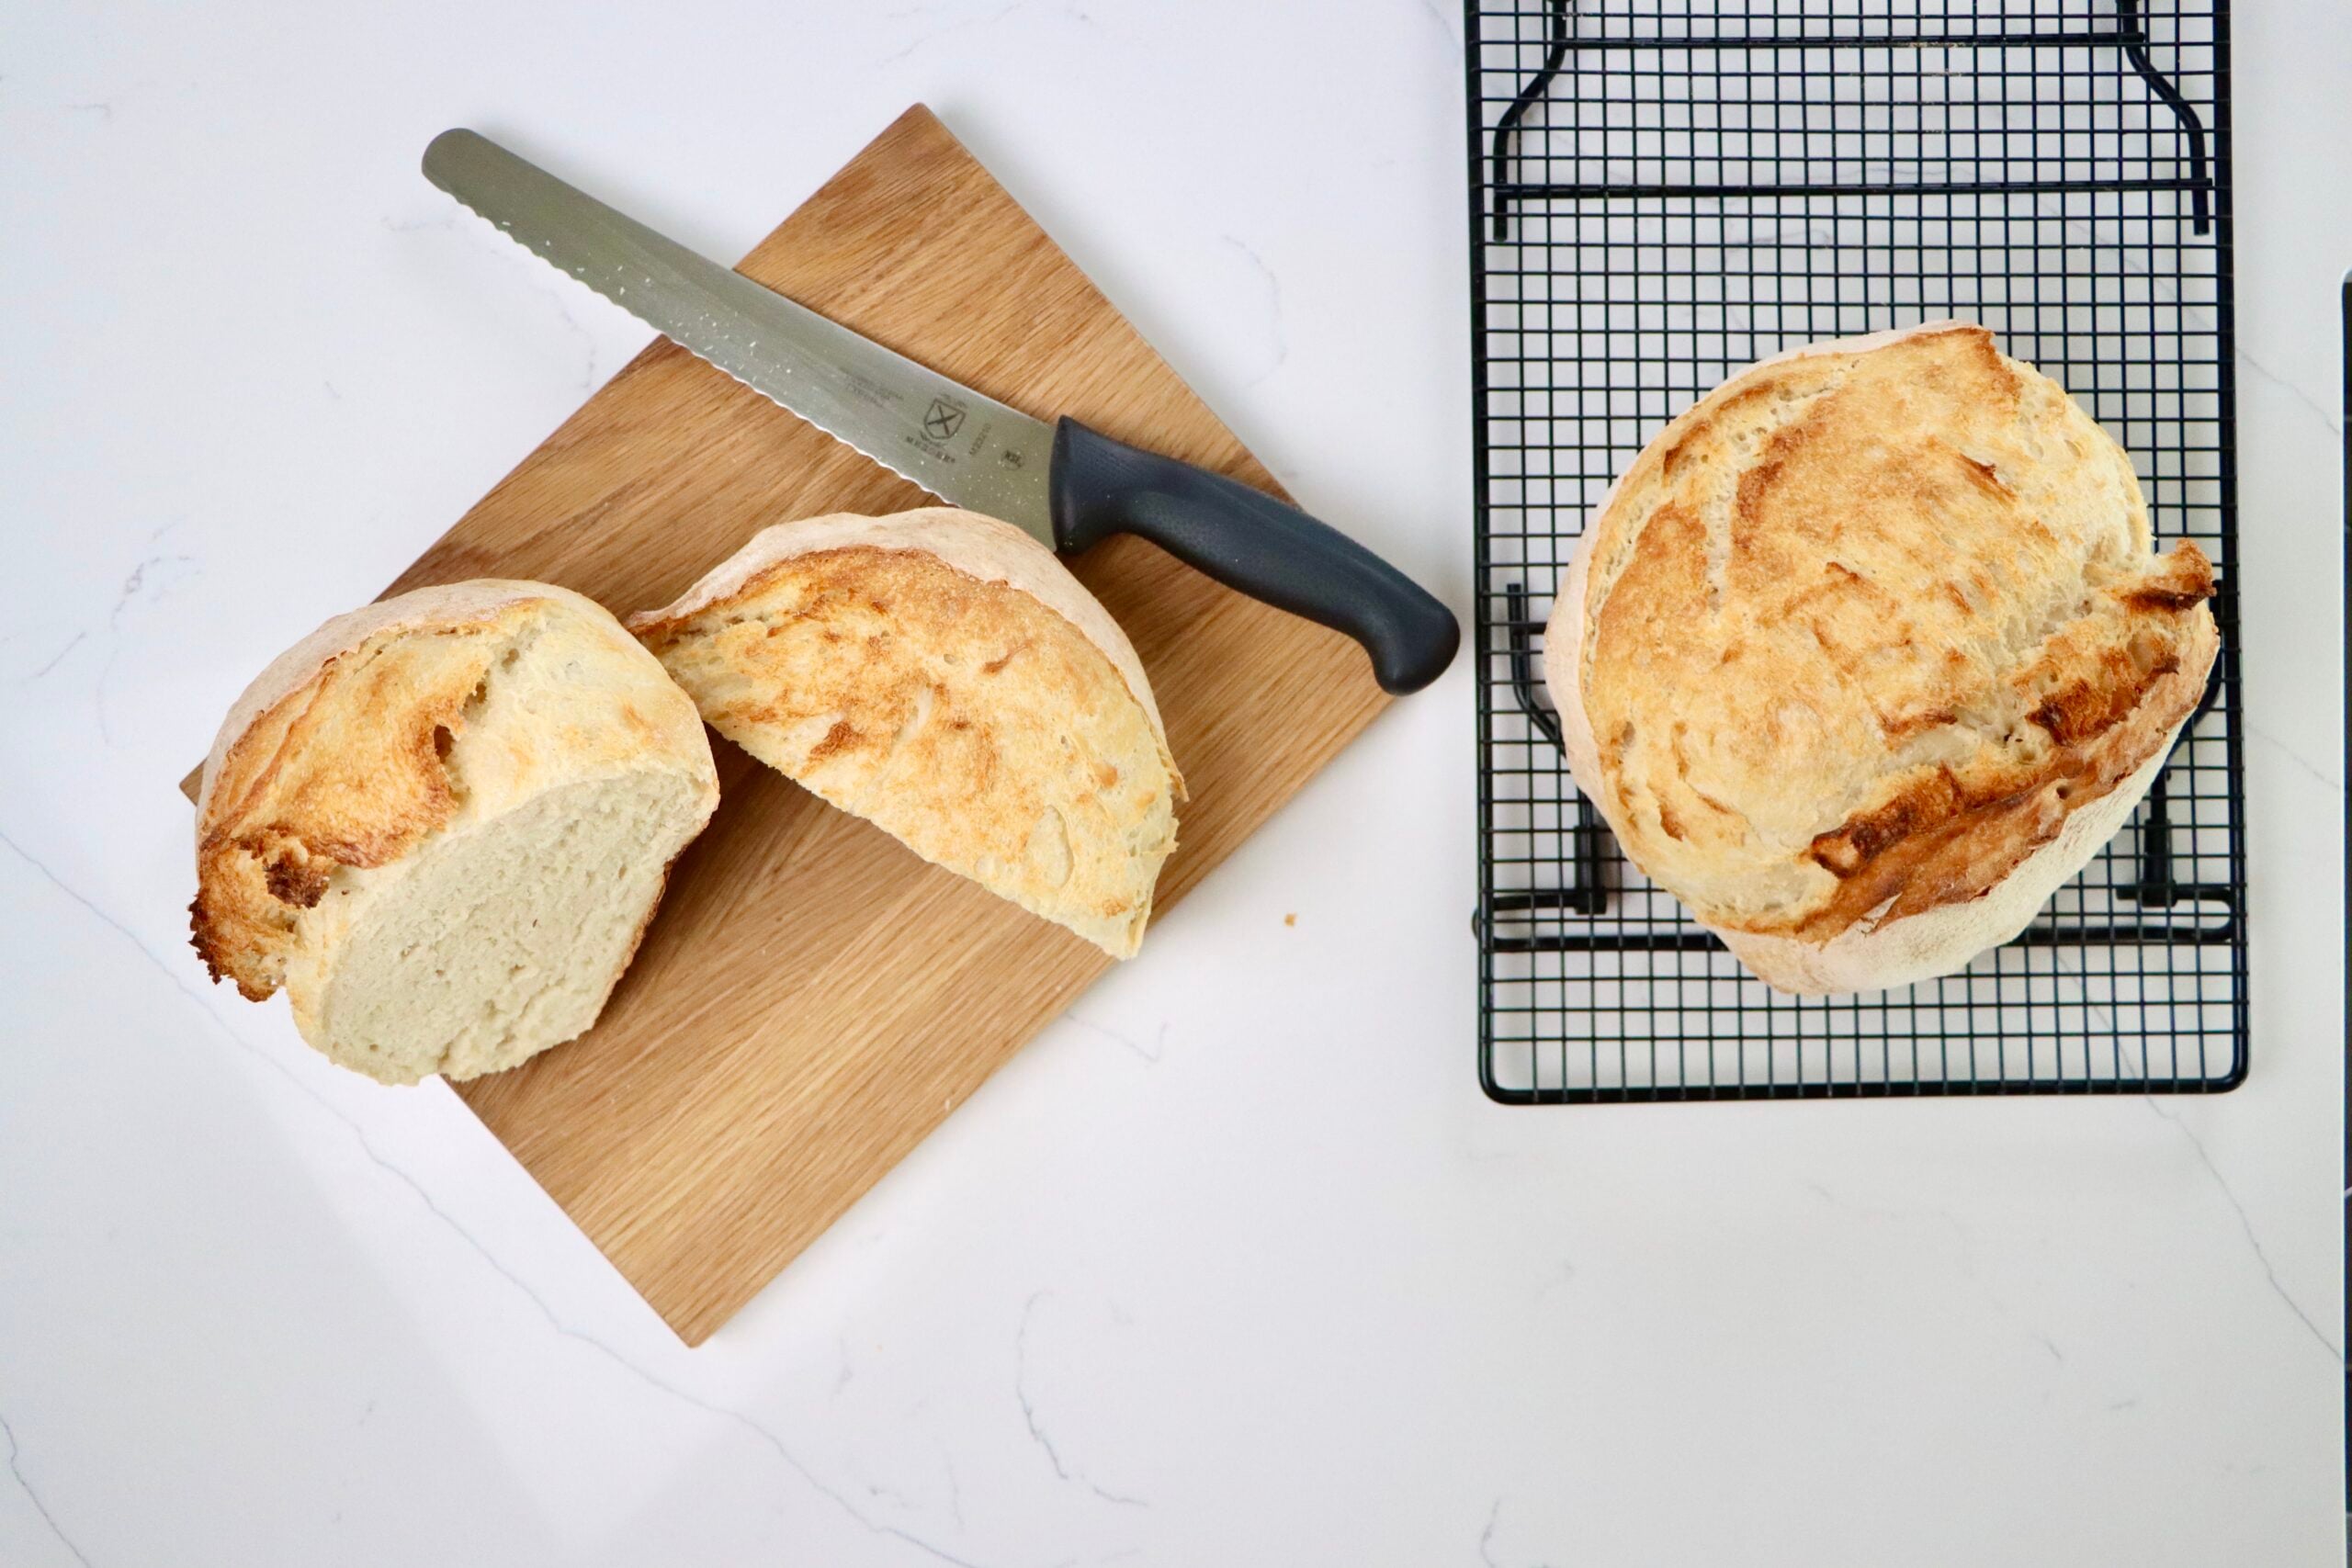
- Remove the lid and then bake for 12 more minutes until golden brown.
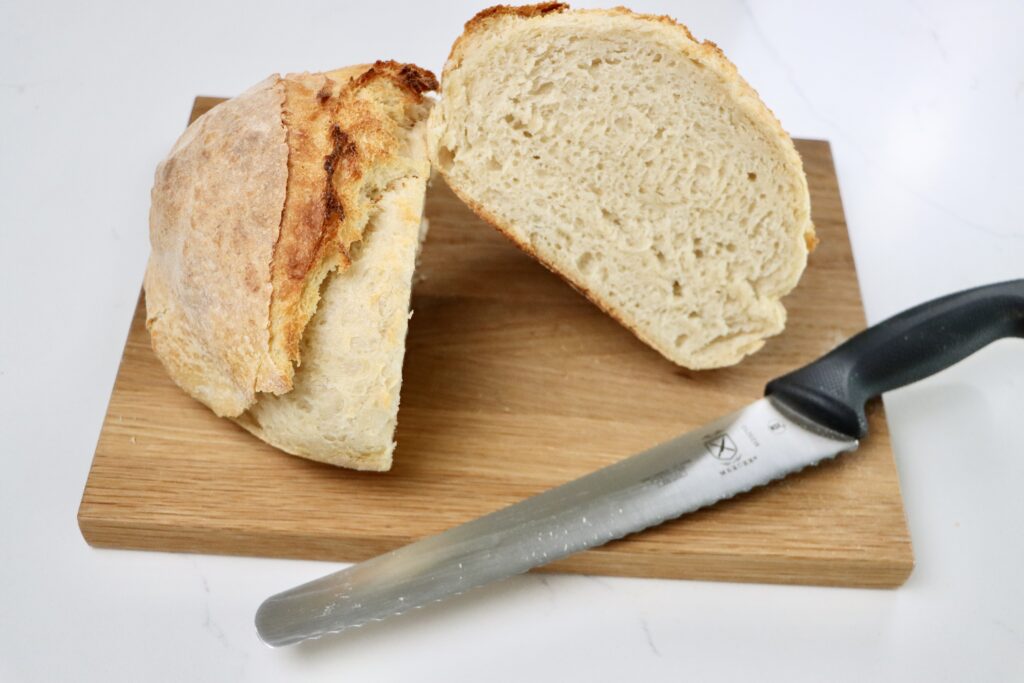
- Transfer to a wire rack to let it cool for at least one hour before slicing.
Repeat the process for the second loaf.
Making sourdough takes patience, but the results are worth it! Keep practicing, and soon you’ll be baking perfect loaves with ease.
Troubleshooting & FAQs
👉 Have questions or want to share your sourdough success? Leave a comment below!
If you try this easy beginner’s sourdough bread recipe and love it, I would love it if you could come back and give it 5 stars! Tag me on instagram @my.colorado.kitchen
Check out these other
Sourdough Recipes
Sourdough Bread
Learn how to make easy sourdough bread from scratch with this beginner-friendly recipe. Follow this step-by-step guide, including starter prep, fermentation, shaping, and baking tips for the perfect homemade sourdough loaf!
Ingredients
- 200g active sourdough starter
- 700g warm water (80°F)
- 1000g bread flour
- 50g water (added later)
- 22g fine salt
Instructions
Day 1: Preparing Your Starter
Before bedtime, feed your sourdough starter:
- Add 140g water and 140g bread flour to your starter jar.
- Mix well and leave it on the counter overnight to ferment.
Day 2: Mixing and Bulk Fermentation
Mixing the Dough:
- In a large bowl, mix 200g starter and 700g warm water until combined.
- Add 1000g bread flour and mix until no dry flour remains. Start with a dough hook or spoon, then use your hands as it thickens.
- Cover with a damp towel and let the dough rest for 30 minutes (this is called autolyse).


Incorporating Salt:
- After 30 minutes, sprinkle 22g salt over the dough and add 50g water.
- Use your fingers to press the salt into the dough, then fold the dough over itself a few times.
- Cover and let it rest for another 30 minutes.

Stretch & Fold Technique:
To strengthen the dough, perform four rounds of “stretch and folds” every 30 minutes:
- Gently stretch one side of the dough upward and fold it over itself.
- Rotate the bowl and repeat for all four sides.
- Cover and rest between each round.
- After completing all four rounds (about 2 hours total), let the dough rise for another 1.5 to 2 hours (this is the bulk fermentation).
Shaping the Dough
- Lightly flour a surface and turn out the dough. Divide it into two equal pieces using a bench scraper.
- Shape each piece into a rough rectangle, then fold in the edges. Flip the dough seam-side down, cover with a damp towel, and let it rest for 15–20 minutes (this is the bench rest).
- After resting, reshape each loaf by folding the sides and rolling it into a tight ball (for a round boule) or a log shape (for an oblong batard).
- Place each loaf into a banneton (proofing basket) dusted with brown rice flour. Cover and refrigerate overnight for cold proofing.
Day 3: Baking the Sourdough
- Place a Dutch oven with its lid into the oven and preheat to 500°F. Let it heat for 10-15 minutes.
- Take one loaf out of the fridge. Place a square of parchment paper over the basket, flip the dough onto your hand, and set it on the counter.
- Score the dough using a bread lame or sharp knife.
- Carefully transfer the dough (on the parchment paper) into the hot Dutch oven. Cover with the lid.
- Reduce the oven temperature to 475°F and bake for 30 minutes.
- Remove the lid and bake for another 12 minutes until golden brown.
- Transfer to a wire rack and let the bread cool for at least one hour before slicing.
Repeat for the Second Loaf:
- Reheat the Dutch oven to 500°F before baking the second loaf using the same steps.
Notes
Nutrition Information:
Yield: 8 Serving Size: 1/4 of a loafAmount Per Serving: Calories: 496Total Fat: 2gSaturated Fat: 0gTrans Fat: 0gUnsaturated Fat: 1gCholesterol: 0mgSodium: 1073mgCarbohydrates: 100gFiber: 4gSugar: 0gProtein: 16g
Nutrition facts are calculated automatically and are approximate.