How to Make a Sourdough Starter From Scratch (Easy 5-Day Guide)
Learn how to make a sourdough starter from scratch with this easy, 5-day guide using just flour and water. Perfect for beginners looking to bake naturally leavened bread with whole, real ingredients.
This post may contain affiliate links. As an amazon associate I earn from qualifying purchases at no additional cost to you.
Rather have this in an easy printable format? Click here to get my FREE Complete Sourdough Starter Guide!
Why Make a Sourdough Starter?
There’s something magical about baking with wild yeast. Unlike commercial yeast, a sourdough starter is a living culture of wild yeast and bacteria that naturally leavens bread. Sourdough baked goods are healthier because it is easier to digest and has better nutrient absorption, thanks to the fermentation process. The fermentation breaks down gluten and phytates, making it easier on the digestive system. Additionally, sourdough has a lower glycemic index, which can help manage blood sugar levels. The best part? You can make your own sourdough starter from scratch with just two ingredients: flour and water.
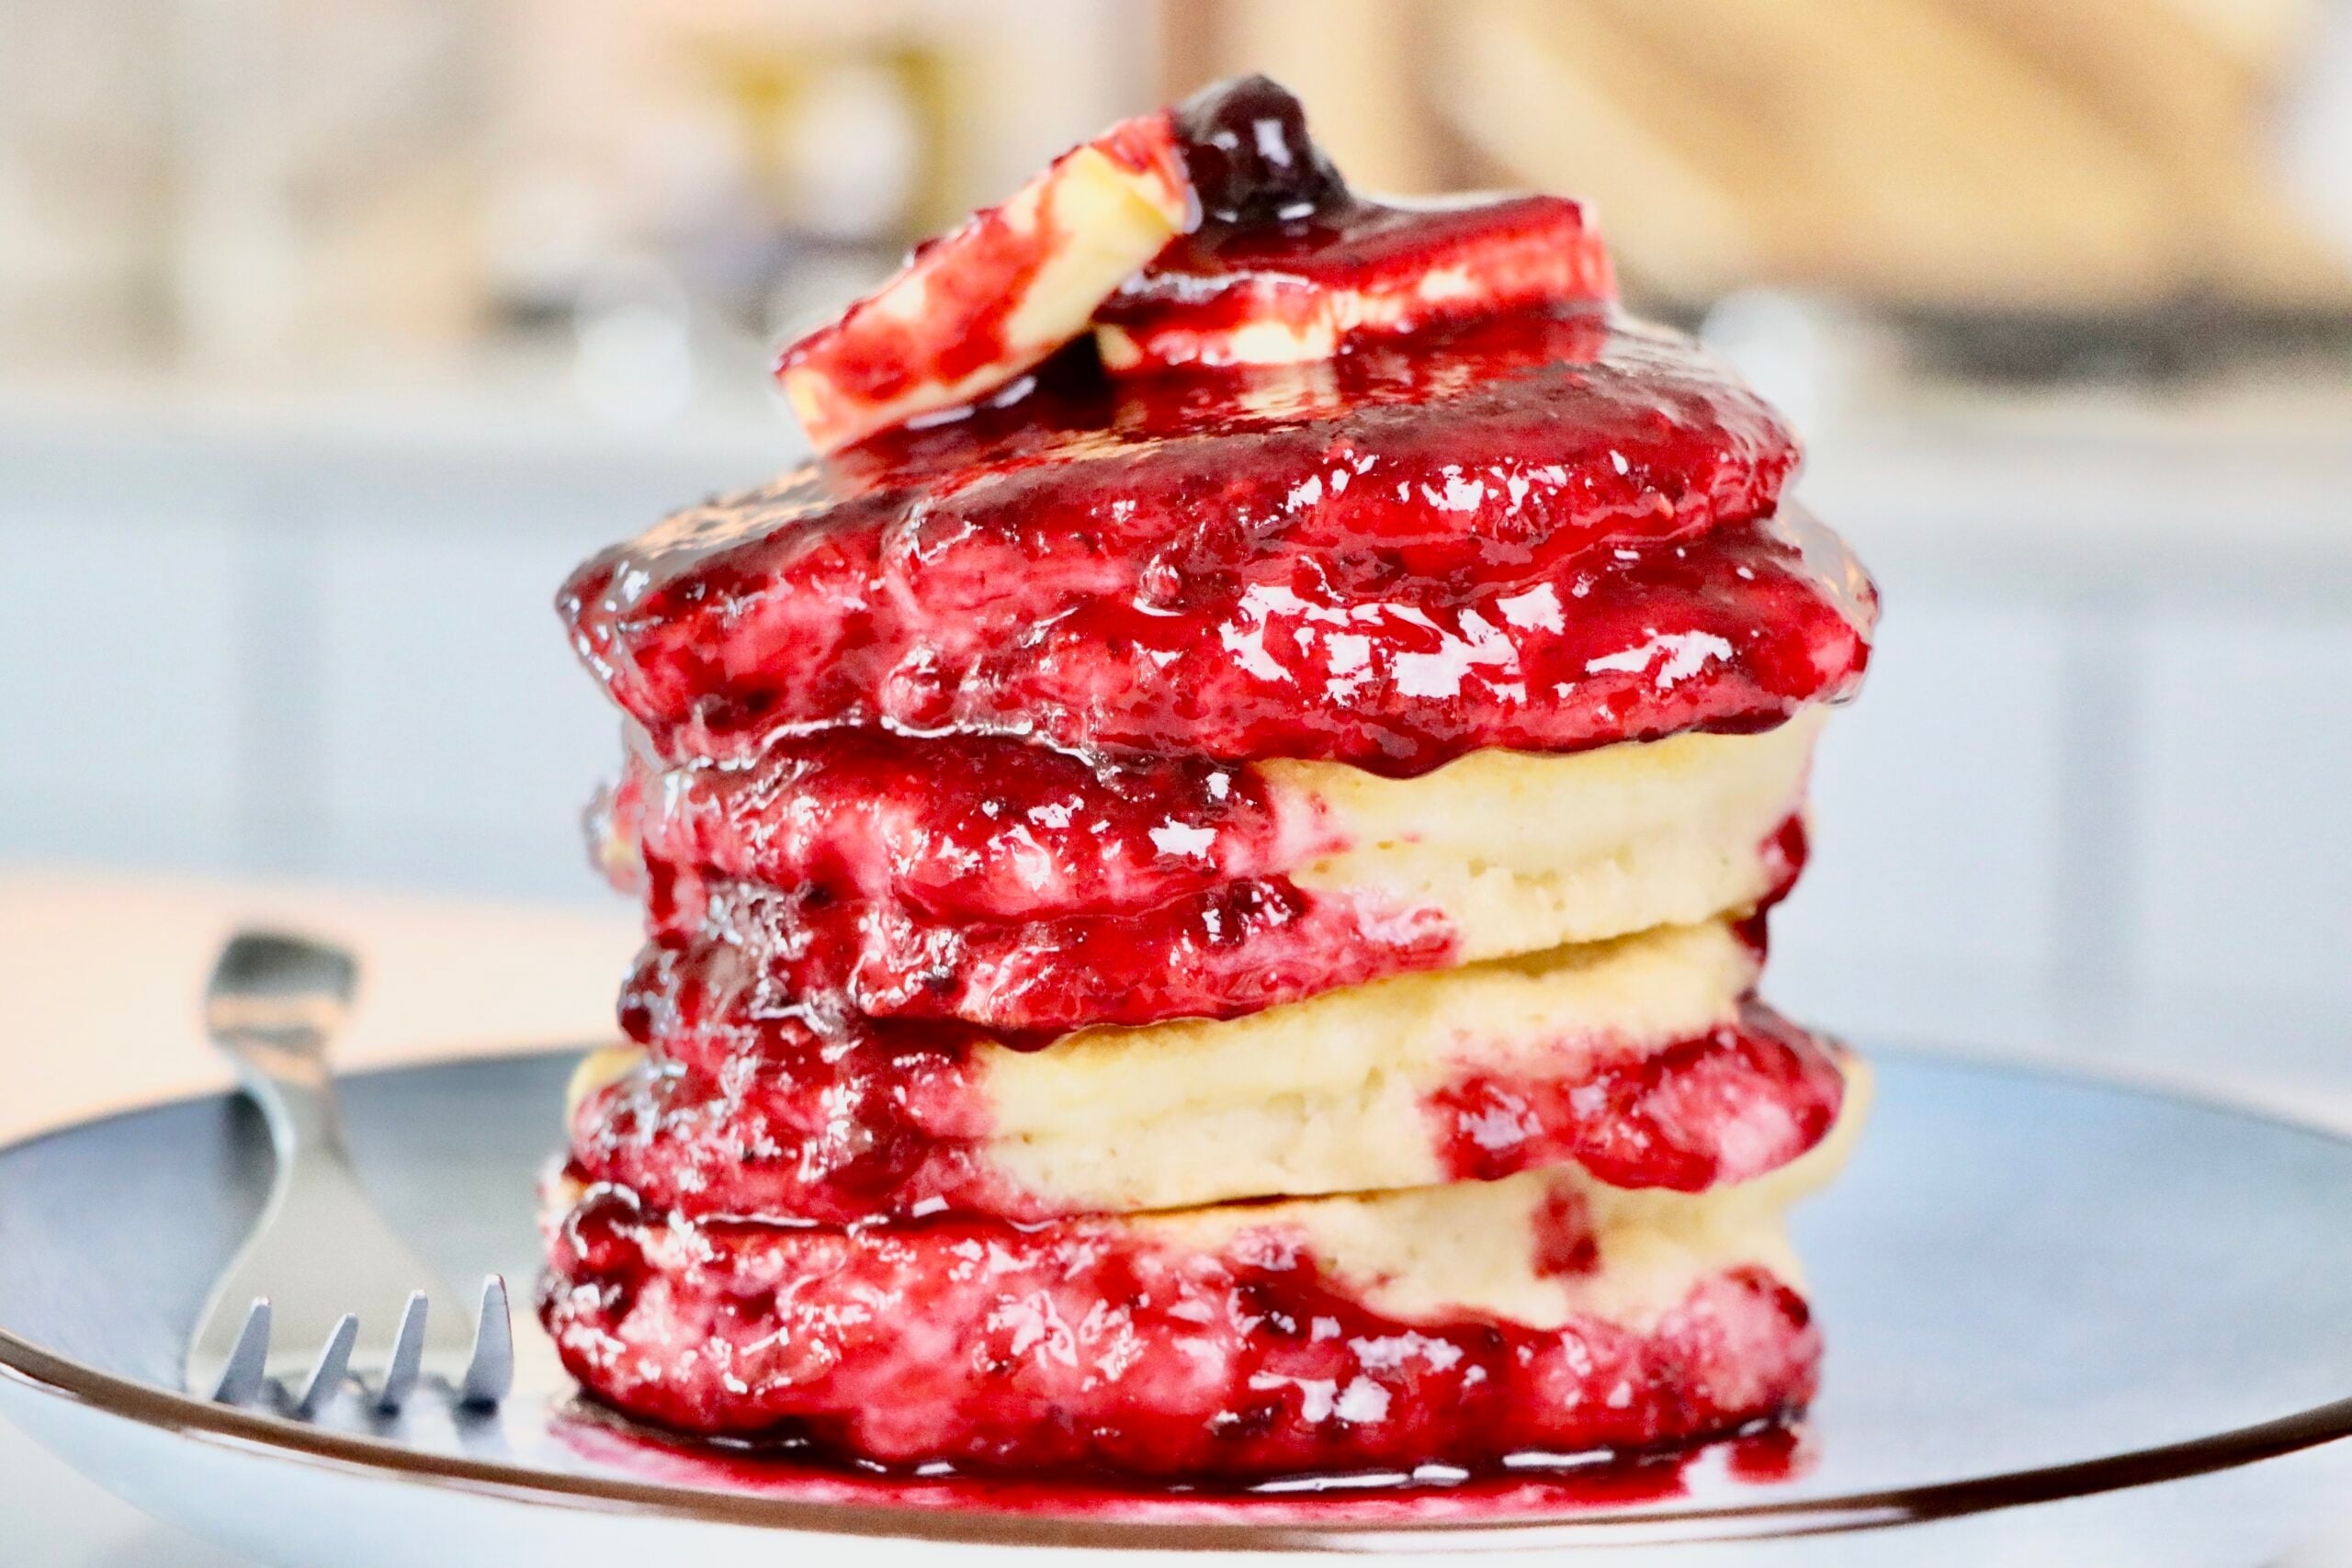
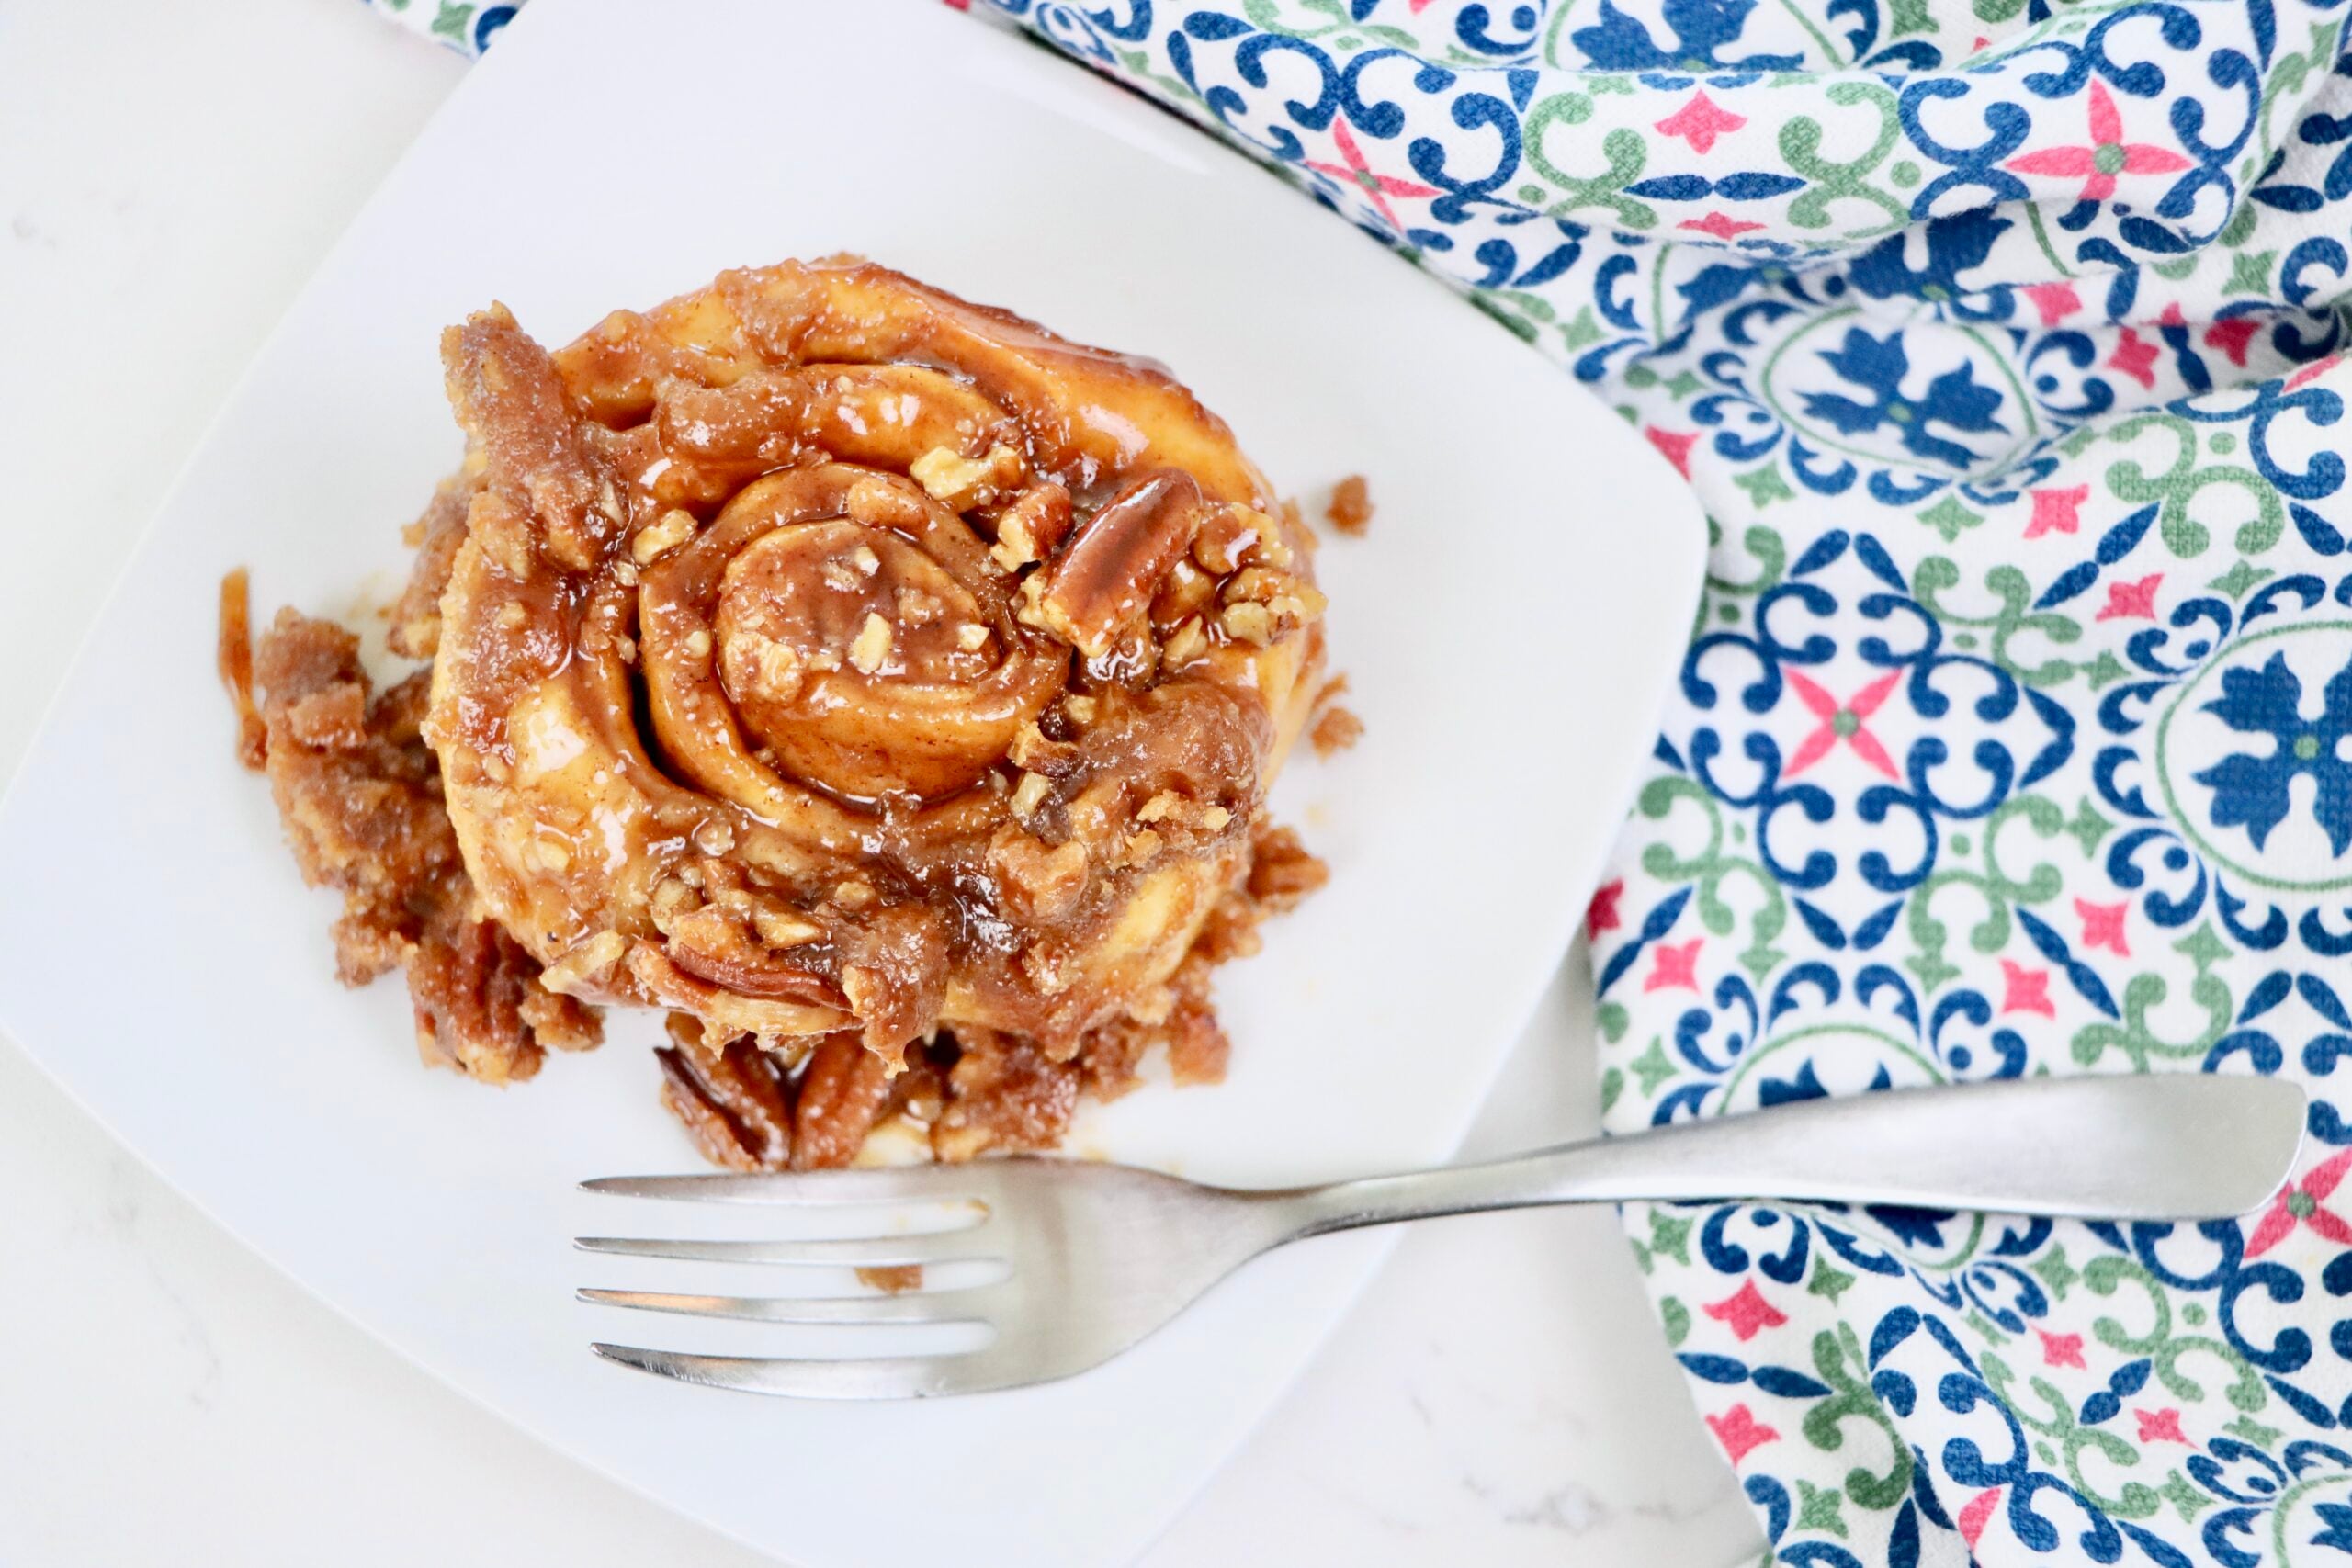
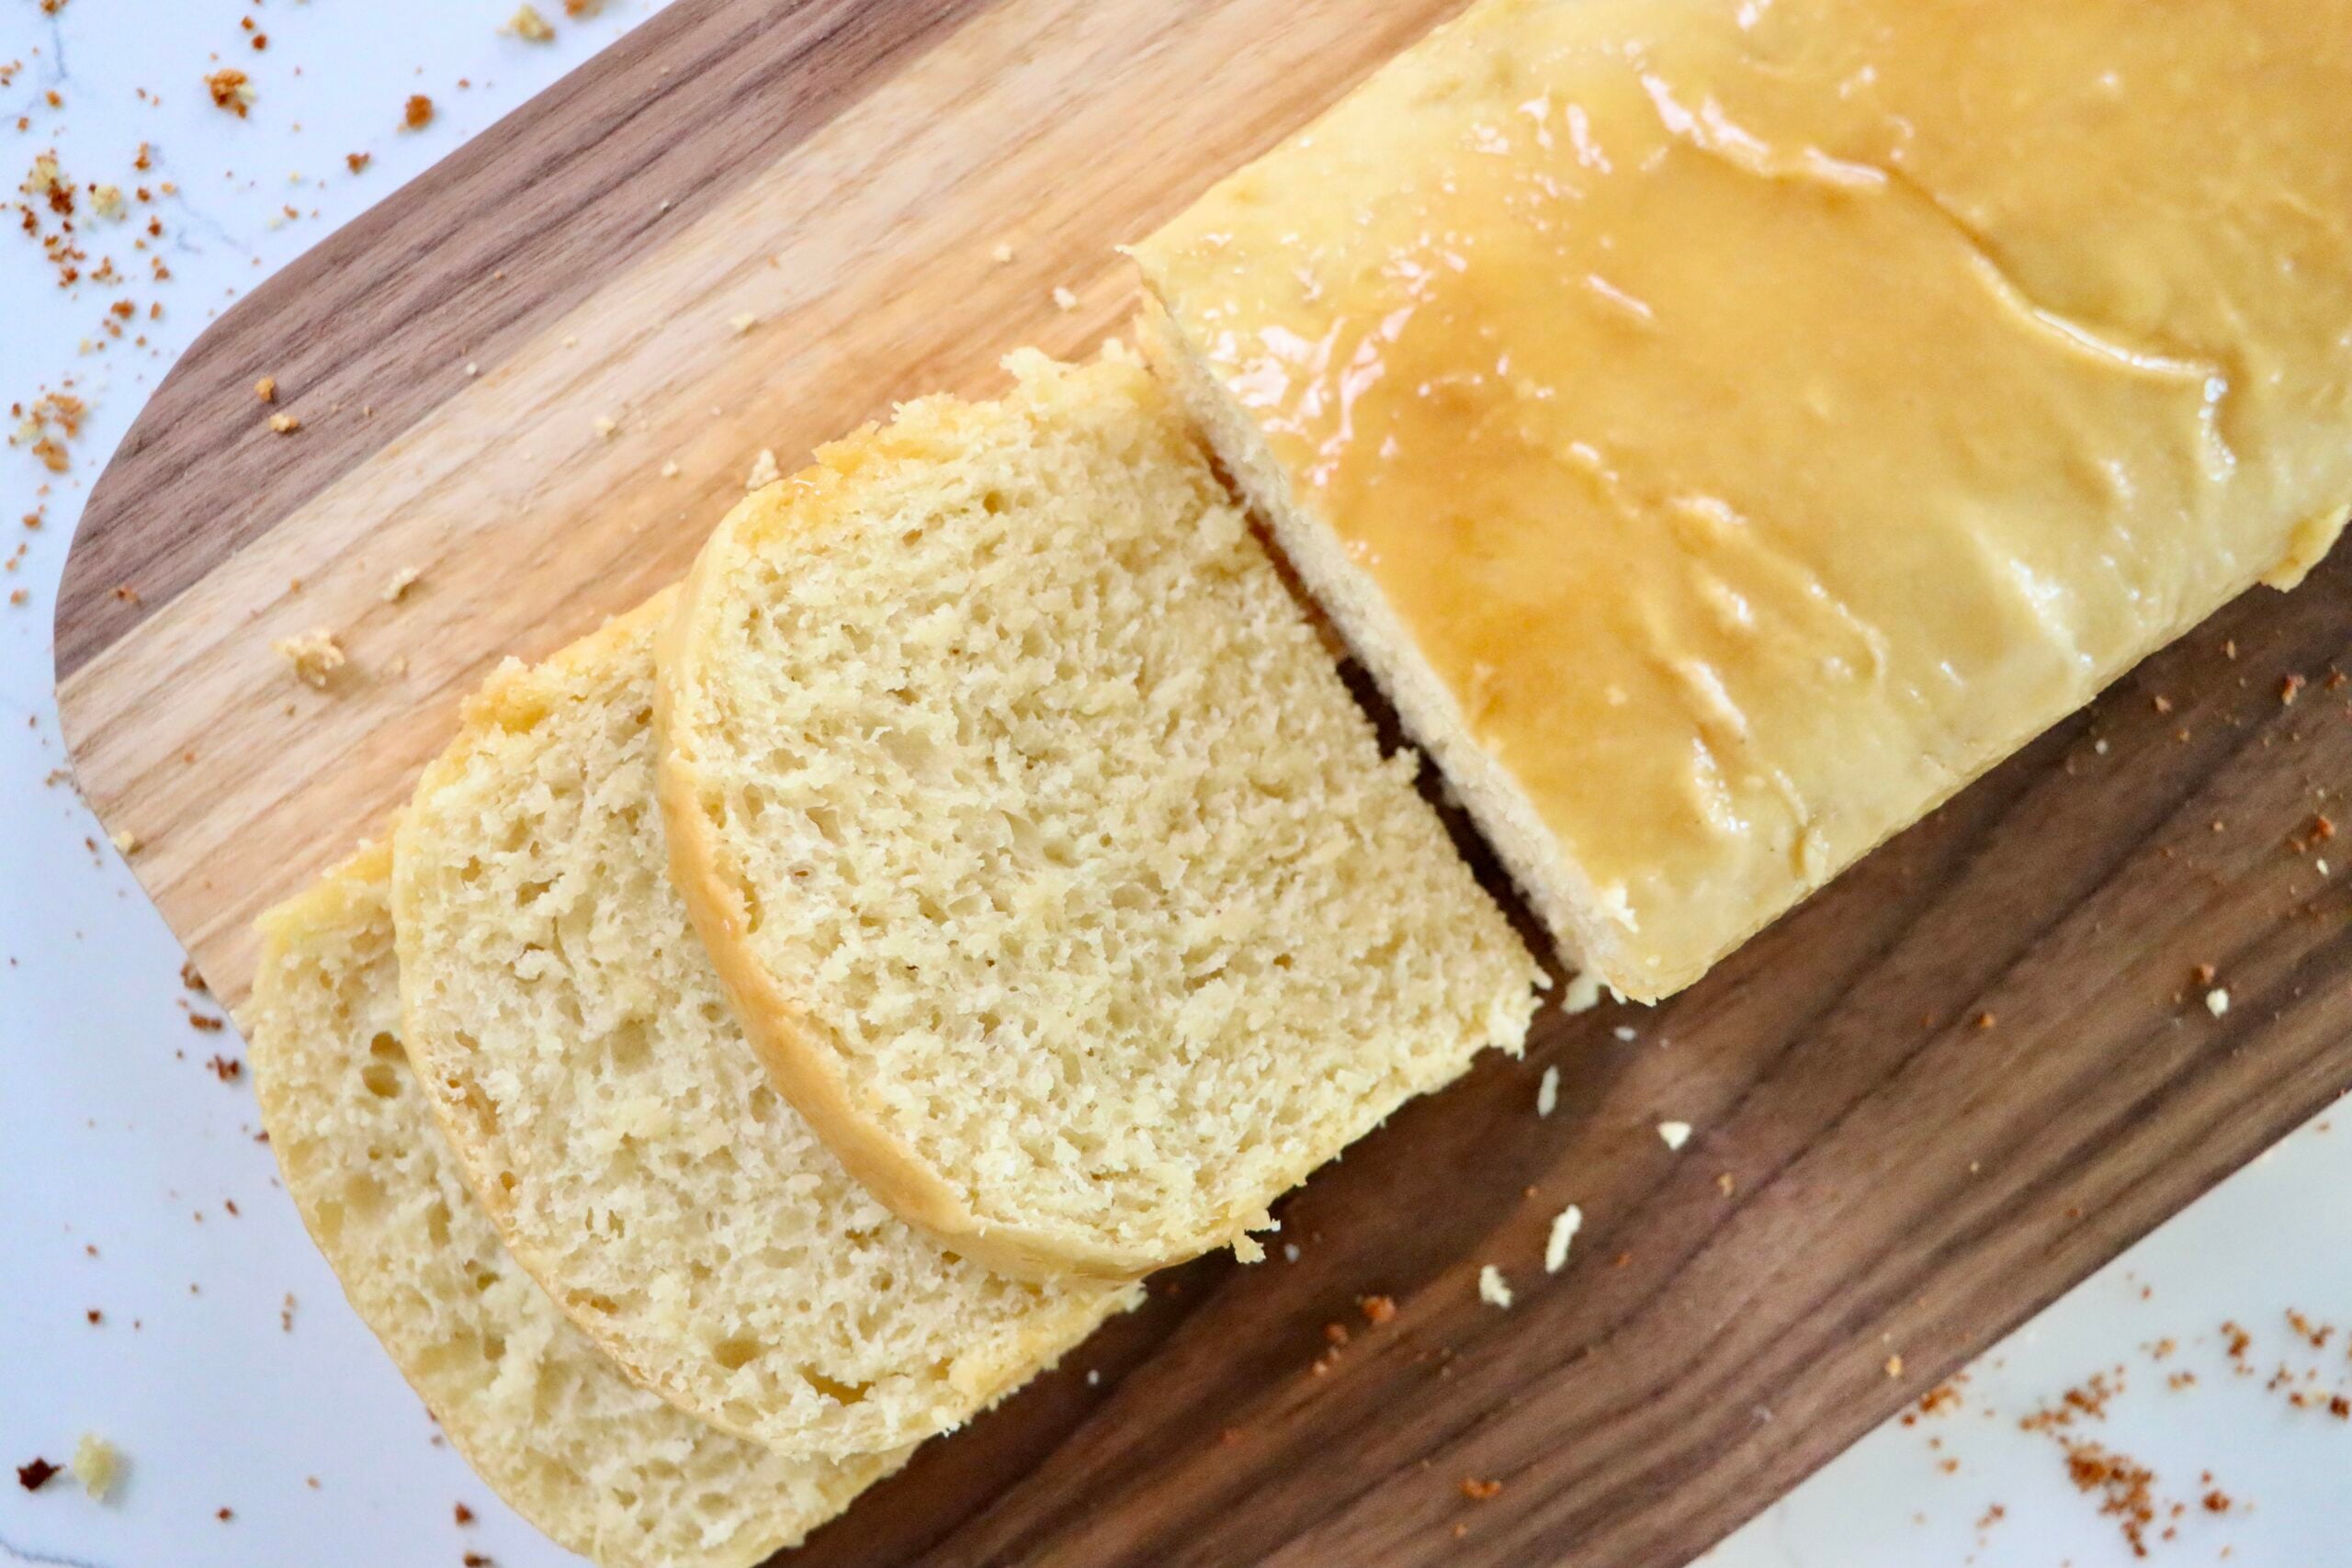
If you’ve ever wanted to bake Homemade Sourdough Bread and other amazing things like these Sourdough Biscuits or Berry Peach Galette, this easy 5-day guide will walk you through the process. It’s beginner-friendly, requires just a jar and a kitchen scale, and gives you full control over what goes into your baked goods—just real, whole ingredients.
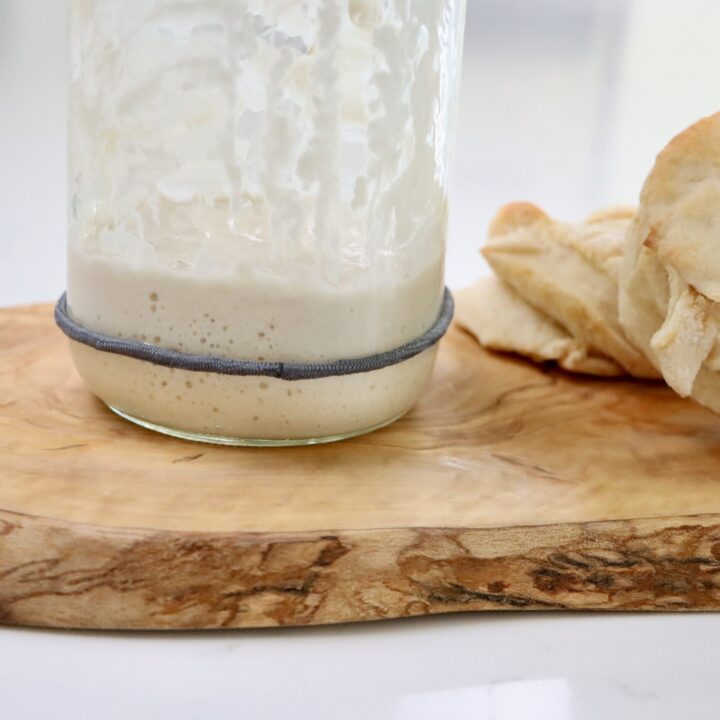
What Is a Sourdough Starter?
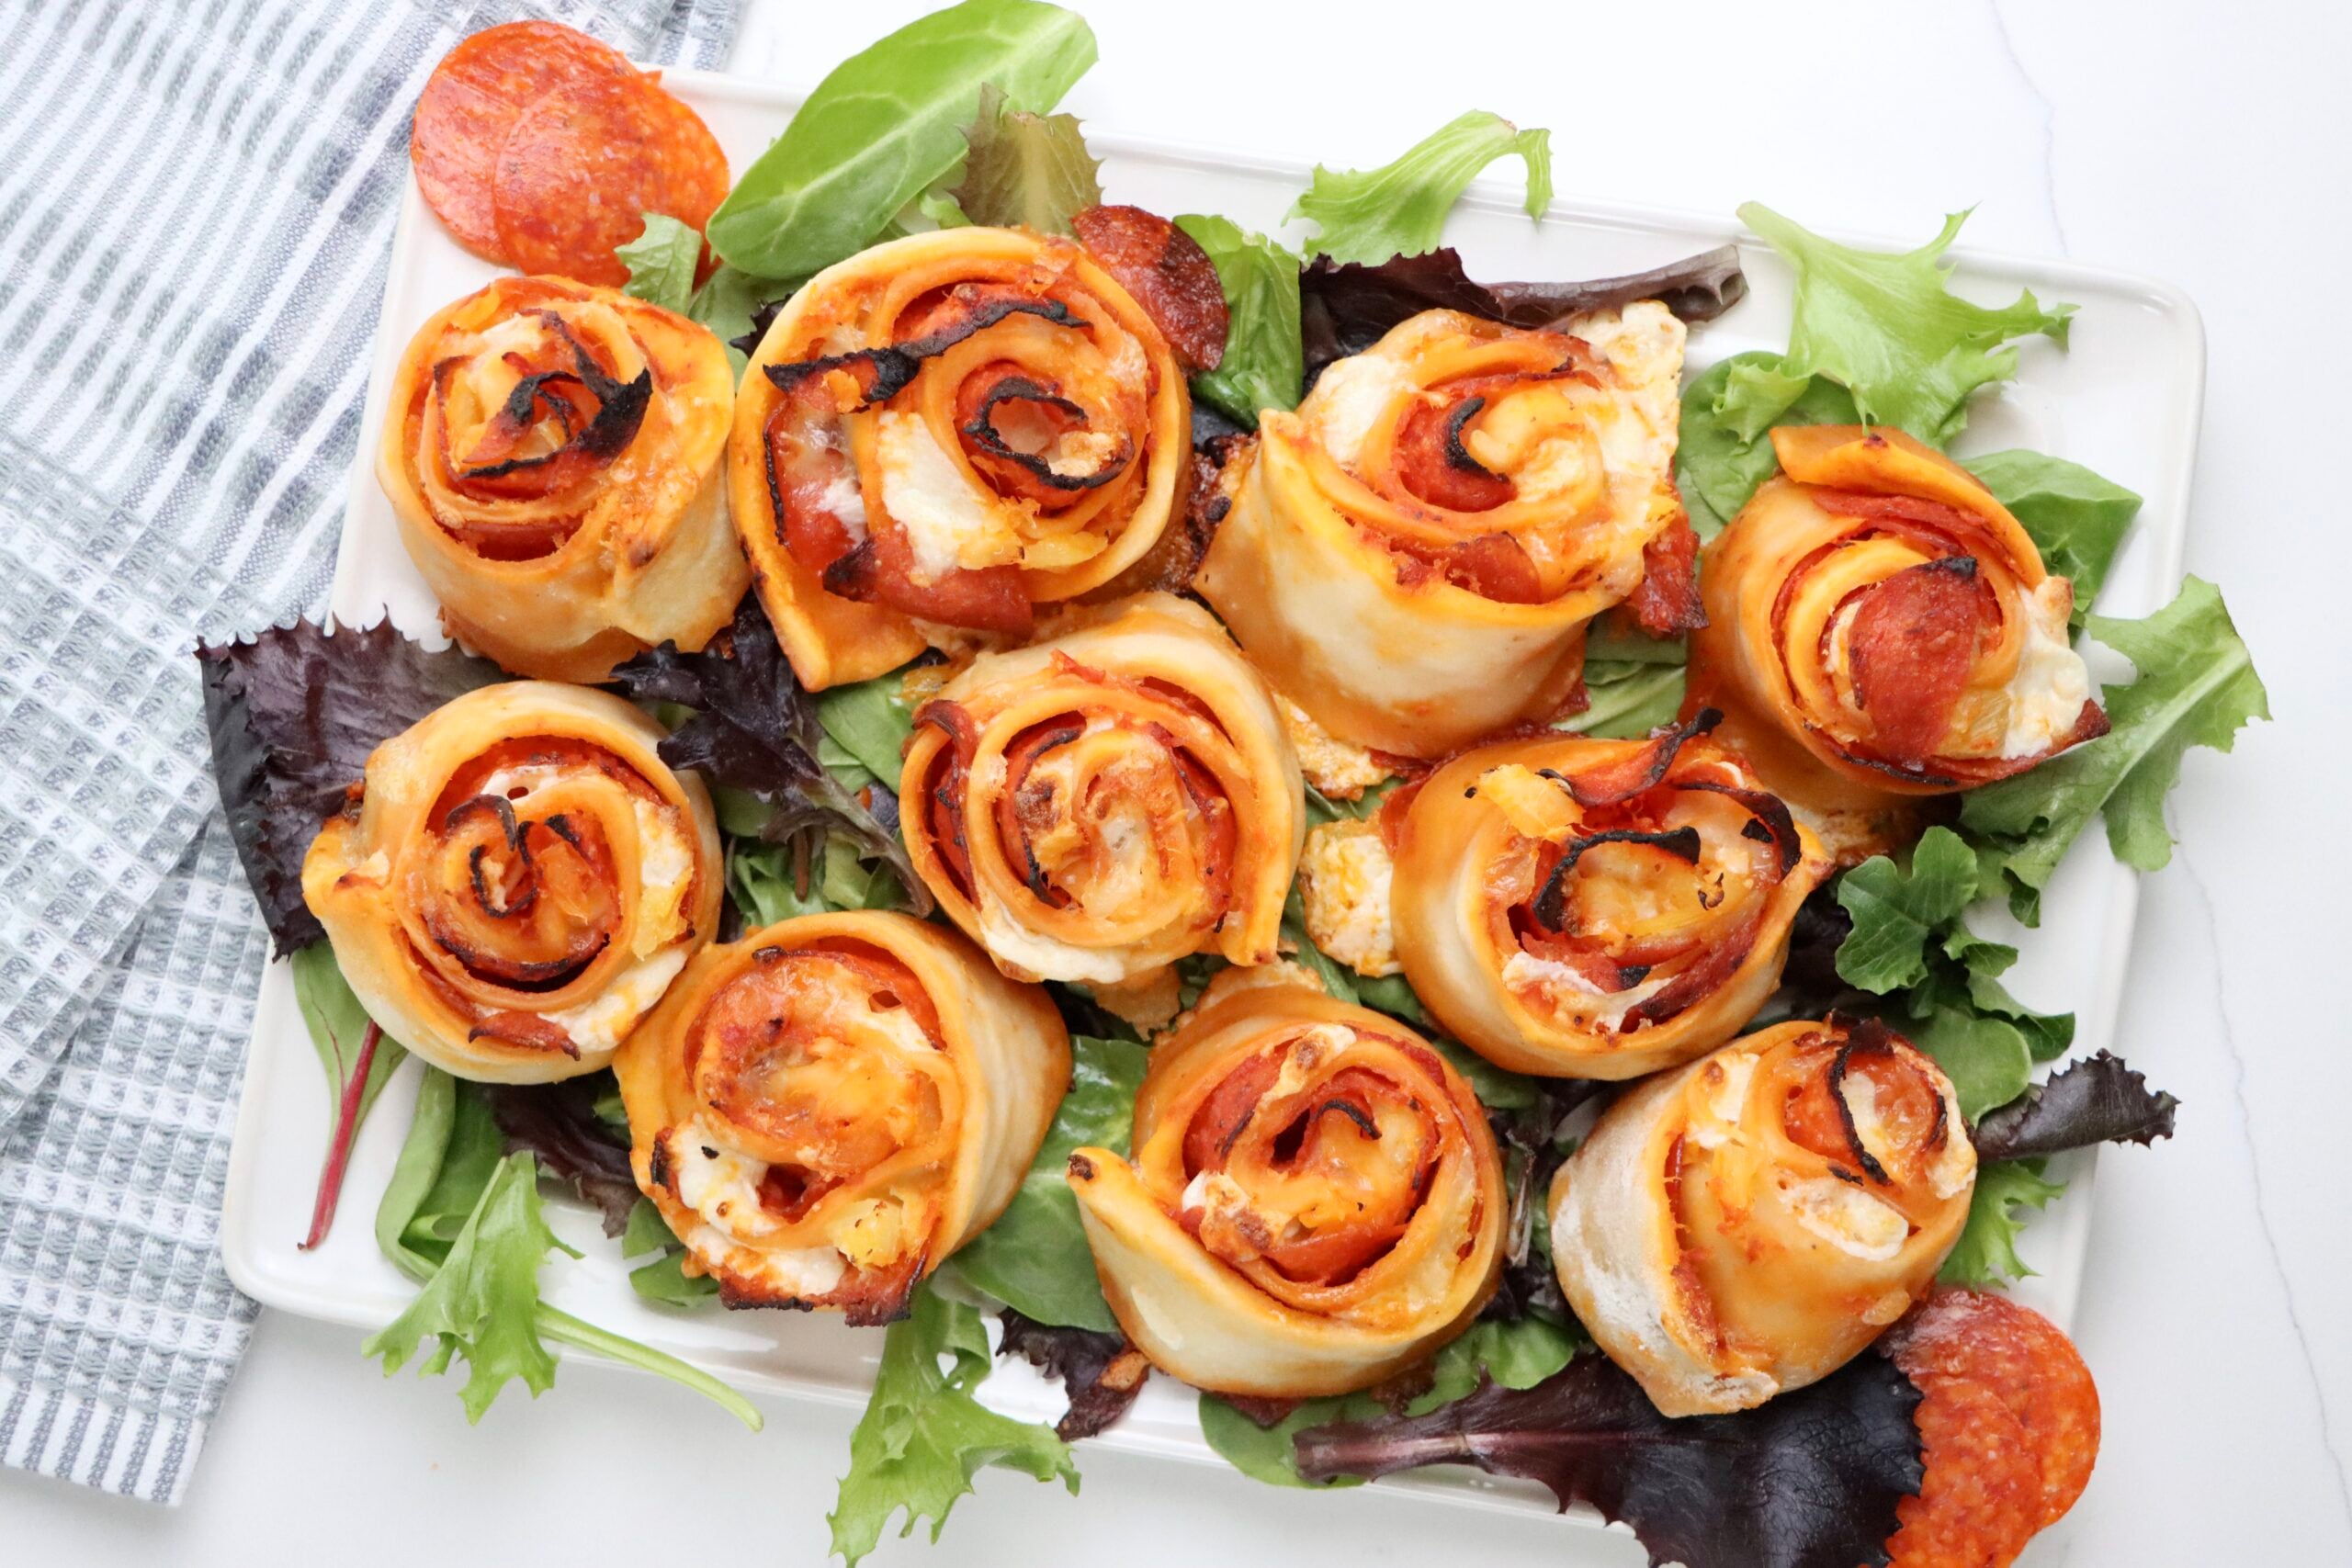
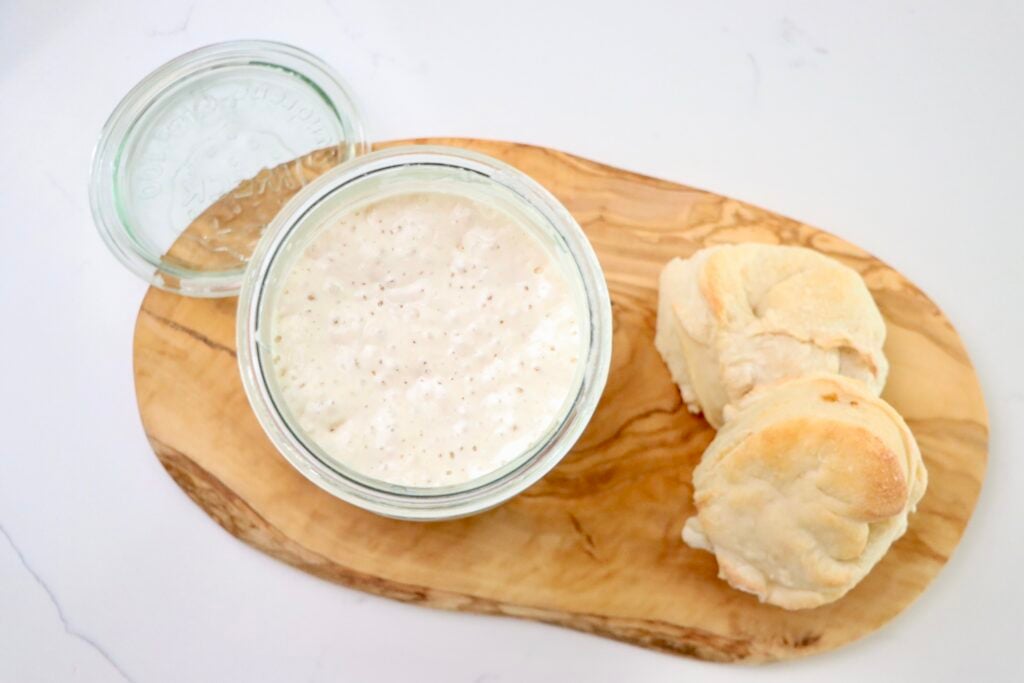
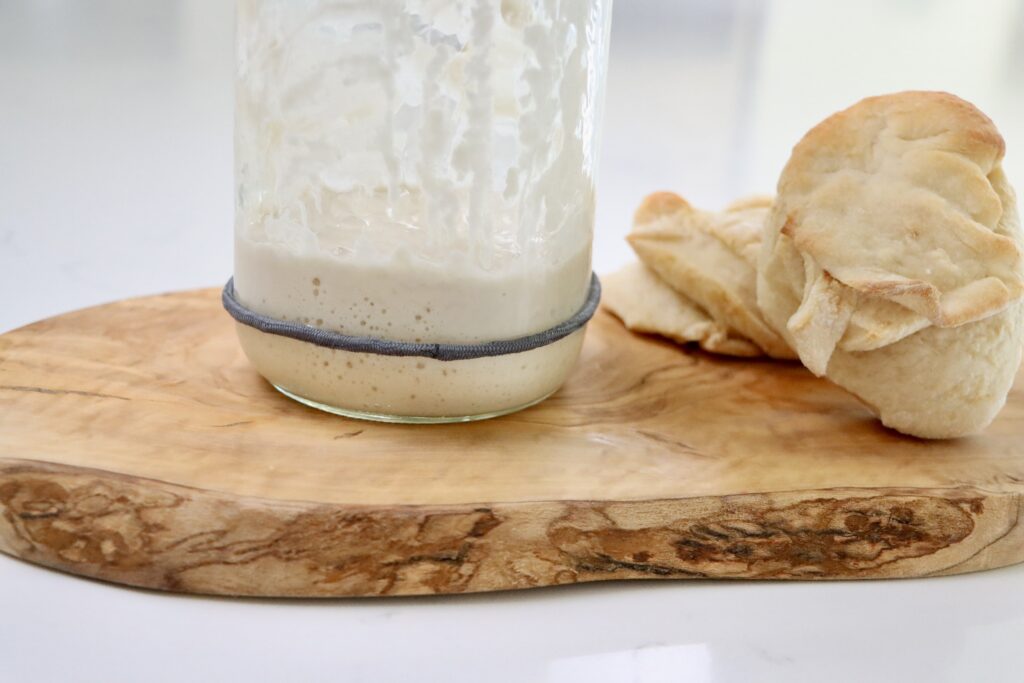
A sourdough starter is a fermented mixture of flour and water that captures wild yeast from the environment. Once it’s active and bubbly, you can use it to make sourdough bread, pizza dough, pancakes, biscuits, crackers, muffins, and so much more.
Instead of relying on store-bought yeast, a sourdough starter is all-natural and deeply rooted in tradition. Many people even name their starters—my husband calls mine, my pet yeast!
Ingredients + Tools You’ll Need
Ingredients:
- Flour: You can use either organic, unbleached all-purpose flour or organic unbleached bread flour. Whatever flour you choose, you should stick with as your starter will be happier.
- Water: Use filtered, spring or dechlorinated water—chlorine can inhibit fermentation. This is very important! You don’t want your water killing off any good bacteria. Trust me on this, when I made my first starter years ago, I didn’t think it would matter, and it took me several failed attempts at creating a starter before I caved and bought spring water allowing my starter to actually grow.
Tools:
- Glass Jar – 16oz is the minimum, but I prefer to use 32oz jars so it will (almost) never overflow. Wide mouth is very important. These or These are my favorite.
- Digital Scale – Feeding your sourdough starter is done in grams, so having a scale is a must. You will also use this scale when you make Sourdough Bread or other Sourdough Recipes. Any scale will work, but I like this one!
- Spoon or Spatula/Spurtle – You can purchase a spurtle or you can do like me and just use a “big spoon” (aka – tablespoon) as we like to call it in our house.
- Loose Lid – If you are using a regular wide mouth jar, I love these lids! If you use a weck jar, it comes with a glass lid that works fantastic.
5-Day Sourdough Starter Schedule
Day 1: Combine in a Glass Jar
- 60g organic unbleached all-purpose flour or organic unbleached bread flour
- 60g water (room temperature)
- Mix until no dry flour remains. Cover loosely and leave at room temp (70–75°F is ideal) for 24 hours.
Day 2: First Signs of Life
- You may see a few bubbles—great sign!
- At the end of the 24 hour period discard half of the starter (~60g)
- Add:
- 60g flour
- 60g water
- Mix until no dry flour remains. Cover loosely and leave at room temp (70–75°F is ideal) for 24 hours.
Day 3: More Activity
- Bubbles, rise/fall patterns, and a mild tangy smell should appear.
- At the end of the 24 hour period discard half (again, about 60g)
- Feed with:
- 60g flour
- 60g water
- Mix until no dry flour remains. Cover loosely and leave at room temp (70–75°F is ideal) for 24 hours.
Day 4: Strengthening
- Expect more rising action—mark your jar to track growth!
- After the 24 hour period discard half – about 60g – start saving this in a jar in the fridge to use in discard recipes (see note below)
- Feed with:
- 60g flour
- 60g water
- Mix until no dry flour remains. Cover loosely and leave at room temp (70–75°F is ideal) for 24 hours.
Day 5: Ready to Bake
- At the end of the 24 hour period discard half.
- Feed again with the same ratio: 60g flour + 60g water
- Let rise 4–6 hours. If it doubles (the biggest tell) and passes the float test (a spoonful floats in water), it’s ready! It should smell pleasantly sour and be bubbly. I would start by using it in some discard recipes first and let it get a little stronger (feeding it for 4-5 more days) before baking your first sourdough loaf of bread.
How to Feed and Maintain Your Starter (Day 6 & Beyond)
Now that your sourdough starter is active and thriving, you have two options for maintaining it: You can either keep it at room temperature and feed it daily, or store it in the refrigerator and feed it about once a week. At this stage, I typically begin feeding my starter in larger amounts than the original 60g flour and 60g water we used during the creation process. Most sourdough recipes—like my sourdough bread recipe —call for more starter.
Here’s my usual feeding routine to keep my starter strong and ready to bake when I need it:
- Discard all but around 60 grams of starter (about 1-2 tablespoons). It doesn’t need to have a lot left in the jar.
- Add 120g of flour + 120g of water
- Mix and cover loosely
A Note About Discard
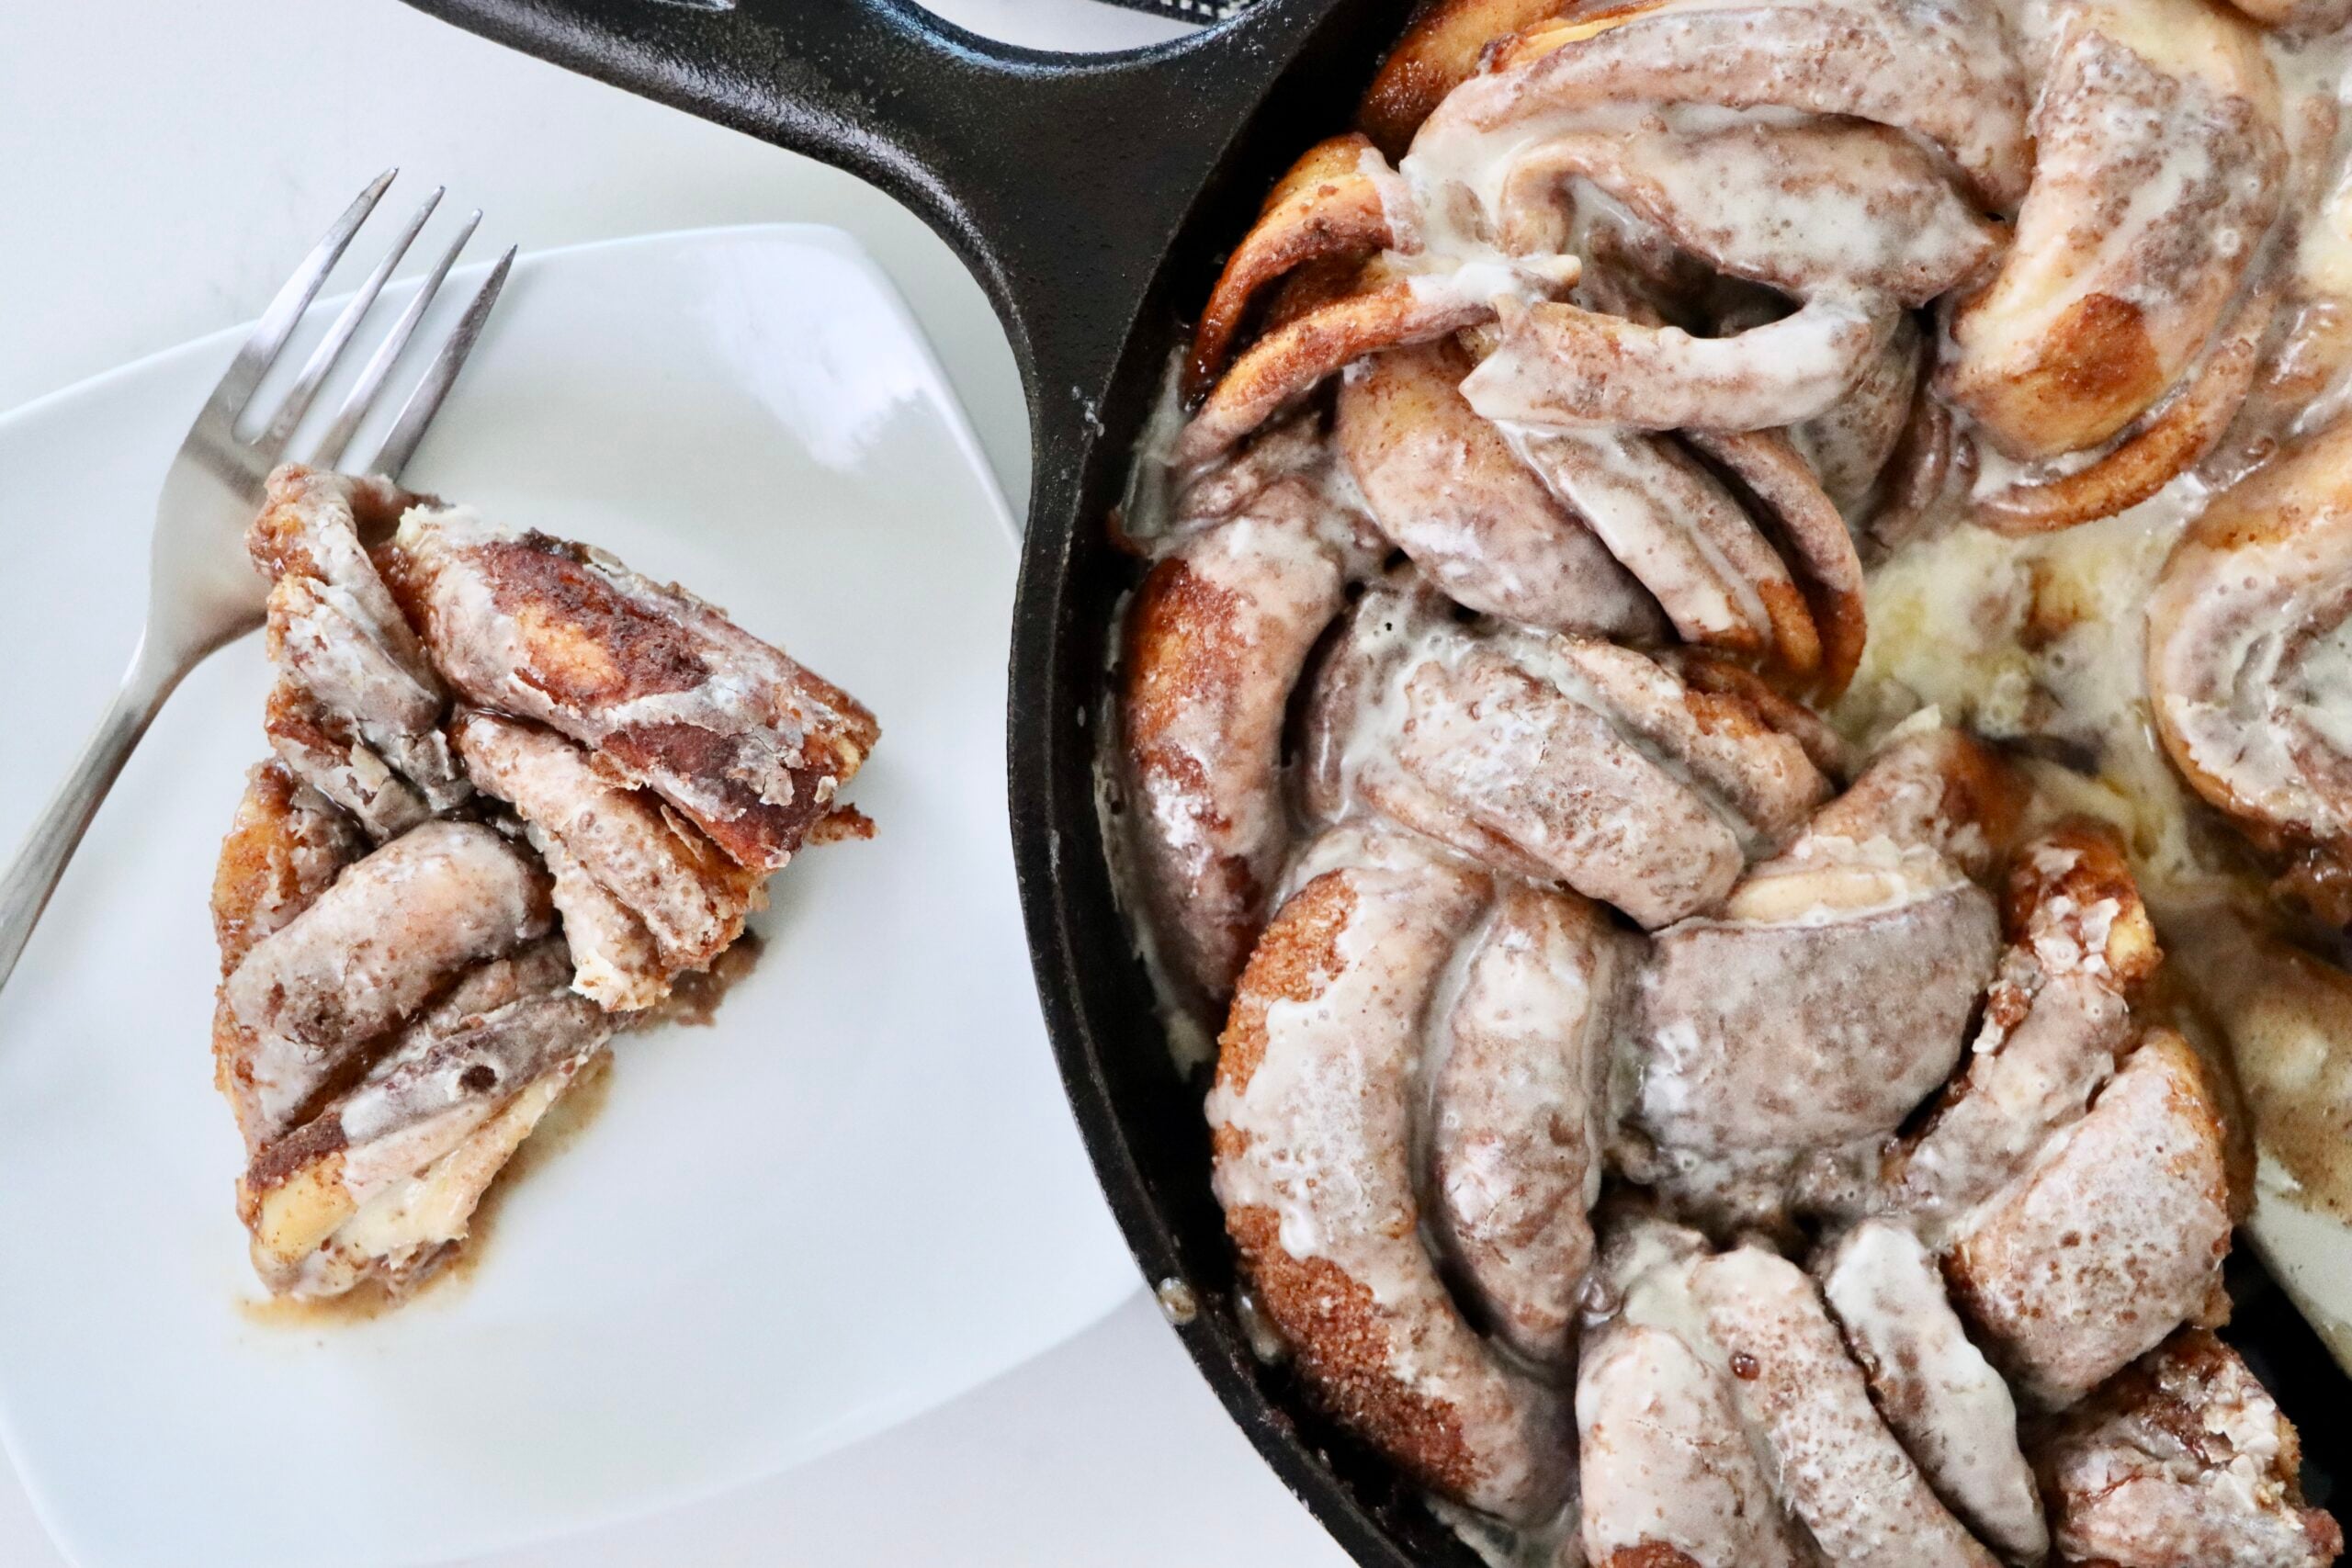
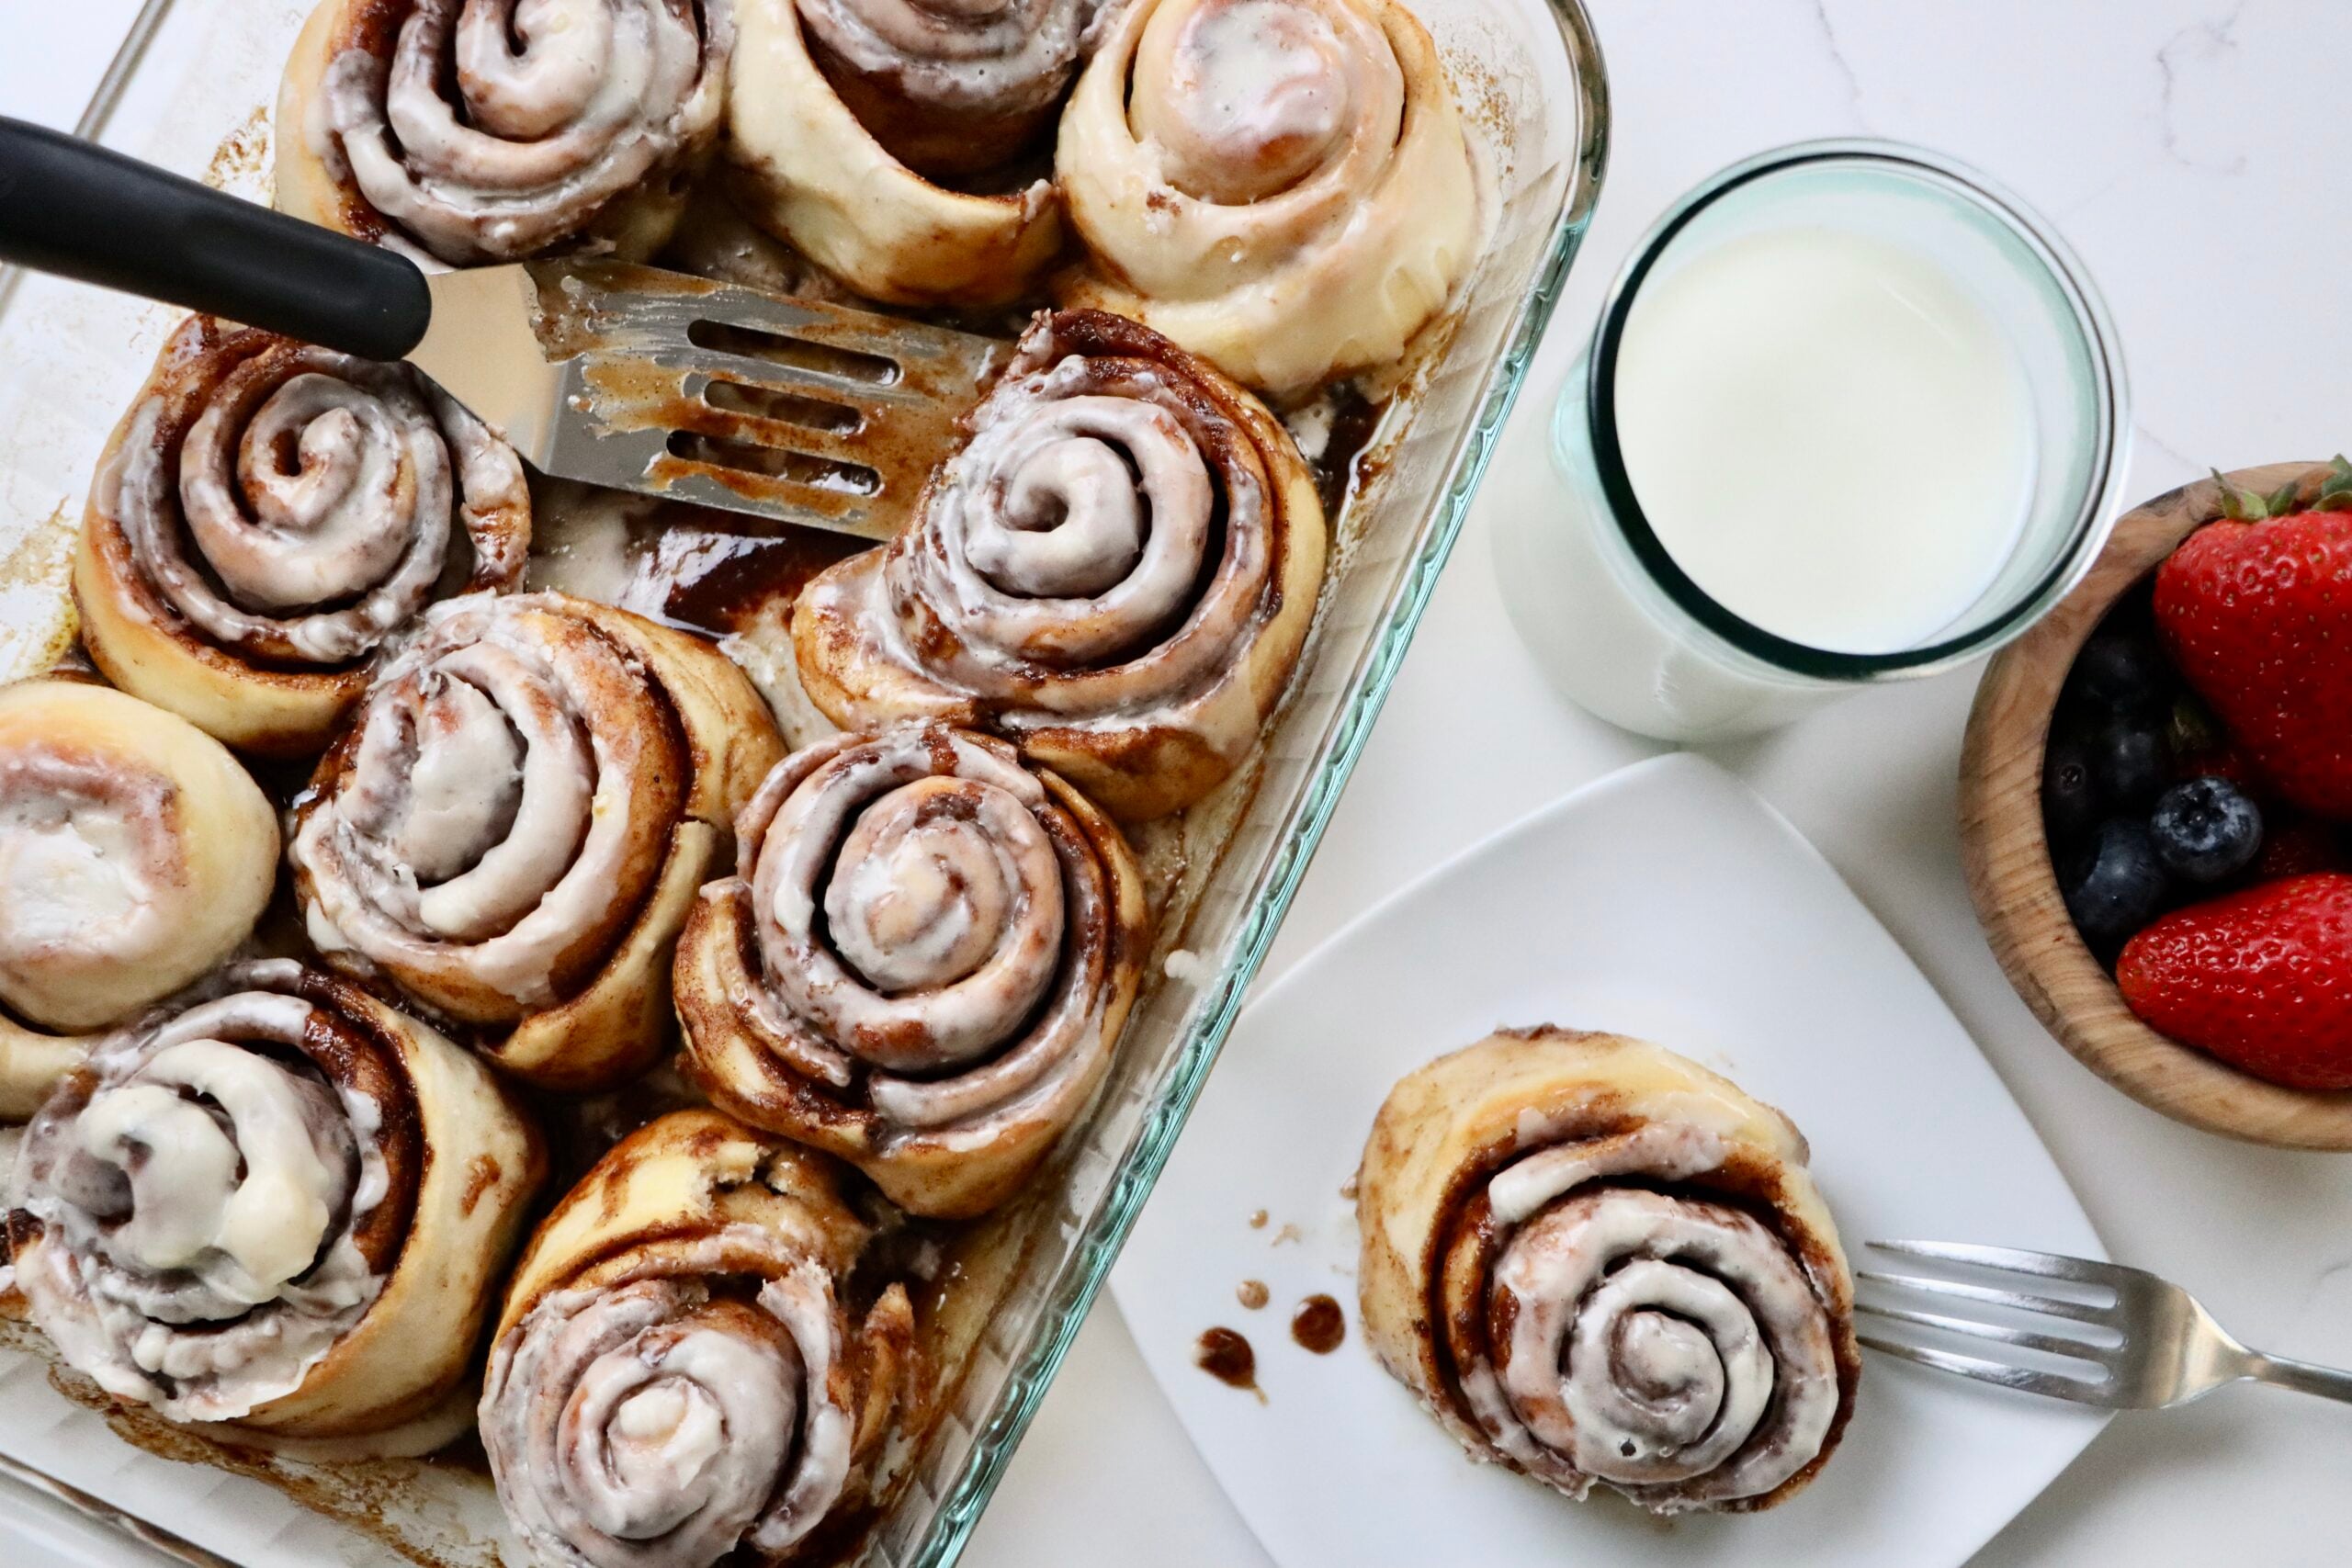
Once your sourdough starter reaches Day 4, you can begin saving your discard! At this point, the discard is made up of healthy, active starter and can be used in a variety of delicious sourdough discard recipes.
I like to store my discard in a jar in the fridge, where it keeps well for quite a long time. Don’t worry if you don’t use it right away—it’s totally normal for a brown liquid (called hooch) to form on top. You can either pour it off or stir it back in before using the discard.
The key difference between discard and active starter is timing: discard is starter that hasn’t been recently fed, while active starter has just been fed and has risen to its peak.
Troubleshooting Tips
- No bubbles? Your kitchen might be too cold—try moving it to a warmer spot.
- Bad smell? A little sour is normal. If it smells like rotten eggs or moldy, toss and start over.
- Mold on top? If you see pink, green, or black spots, it’s unsafe to use. Start fresh.
Final Thoughts: Just Start
The hardest part of sourdough is simply beginning. With a little patience and this 5-day guide, you’ll have a healthy, homemade starter that can last a lifetime with proper care. Don’t be afraid to experiment, observe, and enjoy the process!
👉 Don’t forget to leave a comment with your starter’s name—I love hearing your sourdough stories!
If you try this recipe and love it, I would love it if you could come back and give it 5 stars! Tag me on instagram @my.colorado.kitchen
Sourdough Starter
Learn how to make a sourdough starter from scratch with this easy, 5-day guide using just flour and water. Perfect for beginners looking to bake naturally leavened bread with whole, real ingredients.
Ingredients
- 60g Flour: You can use either organic, unbleached all-purpose flour or organic unbleached bread flour.
- 60g Water: Use filtered, spring or dechlorinated water—chlorine can inhibit fermentation.
Instructions
Day 1: Combine in a Glass Jar
- 60g organic unbleached all-purpose flour or organic unbleached bread flour
- 60g water (room temperature)
- Mix until no dry flour remains. Cover loosely and leave at room temp (70–75°F is ideal) for 24 hours.
Day 2: First Signs of Life
- You may see a few bubbles—great sign!
- After the 24 hour period discard half of the starter (~60g)
- Add: 60g flour and 60g water
- Mix until no dry flour remains. Cover loosely and leave at room temp for 24 hours.
Day 3: More Activity
- Bubbles, rise/fall patterns, and a mild tangy smell should appear.
- After the 24 hour period discard half (again, about 60g)
- Feed with: 60g flour and 60g water
- Mix until no dry flour remains. Cover loosely and leave at room temp for 24 hours.
Day 4: Strengthening
- Expect more rising action!
- After the 24 hour period discard half - about 60g - start saving this in a jar in the fridge to use in discard recipes (see note below)
- Feed with: 60g flour and 60g water
- Expect more rising action—mark your jar to track growth!
- Mix until no dry flour remains. Cover loosely and leave at room temp for 24 hours.
Day 5: Ready to Bake
- After the 24 hour period feed again with the same ratio: 60g flour + 60g water
- Let rise 4–6 hours. If it doubles (the biggest tell) and passes the float test (a spoonful floats in water), it’s ready! It should smell pleasantly sour and be bubbly.
- I would start by using it in some discard recipes first and let it get a little stronger (feeding it for 4-5 more days) before baking your first sourdough loaf of bread.
Day 6 & Beyond: How to Feed and Maintain Your Starter
- Now that your sourdough starter is active and thriving, you have two options for maintaining it: You can either keep it at room temperature and feed it daily, or store it in the refrigerator and feed it about once a week.
- At this stage, I typically begin feeding my starter in larger amounts than the original 60g flour and 60g water we used during the creation process. Most sourdough recipes—like my sourdough bread recipe —call for more starter.
Here’s my usual feeding routine to keep my starter strong and ready to bake when I need it:
- Discard all but around 60 grams of starter (about 1-2 tablespoons). It doesn't need to have a lot left in the jar.
- Add 120g of flour + 120g of water
- Mix and cover loosely
Notes
Tools:
- Glass Jar - 16oz is the minimum, but I prefer to use 32oz jars so it will (almost) never overflow. Wide mouth is very important. These or These are my favorite.
- Digital Scale - Feeding your sourdough starter is done in grams, so having a scale is a must. You will also use this scale when you make Sourdough Bread or other Sourdough Recipes. Any scale will work, but I like this one!
- Spoon or Spatula/Spurtle - You can purchase a spurtle or you can do like me and just use a "big spoon" (aka - tablespoon) as we like to call it in our house.
- Loose Lid - If you are using a regular wide mouth jar, I love these lids! If you use a weck jar, it comes with a glass lid that works fantastic.
Troubleshooting Tips:
- No bubbles? Your kitchen might be too cold—try moving it to a warmer spot.
- Bad smell? A little sour is normal. If it smells like rotten eggs or moldy, toss and start over.
- Mold on top? If you see pink, green, or black spots, it's unsafe to use. Start fresh.
A Note About Discard:
- Once your sourdough starter reaches Day 4, you can begin saving your discard! At this point, the discard is made up of healthy, active starter and can be used in a variety of delicious sourdough discard recipes.
- I like to store my discard in a jar in the fridge, where it keeps well for quite a long time. Don’t worry if you don’t use it right away—it's totally normal for a brown liquid (called hooch) to form on top. You can either pour it off or stir it back in before using the discard.
- The key difference between discard and active starter is timing: discard is starter that hasn’t been recently fed, while active starter has just been fed and has risen to its peak.
Nutrition Information:
Yield: 1 Serving Size: 1Amount Per Serving: Calories: 217Total Fat: 1gSaturated Fat: 0gUnsaturated Fat: 1gSodium: 3mgCarbohydrates: 44gFiber: 1gSugar: 0gProtein: 7g
Nutrition facts are calculated automatically and are approximate.