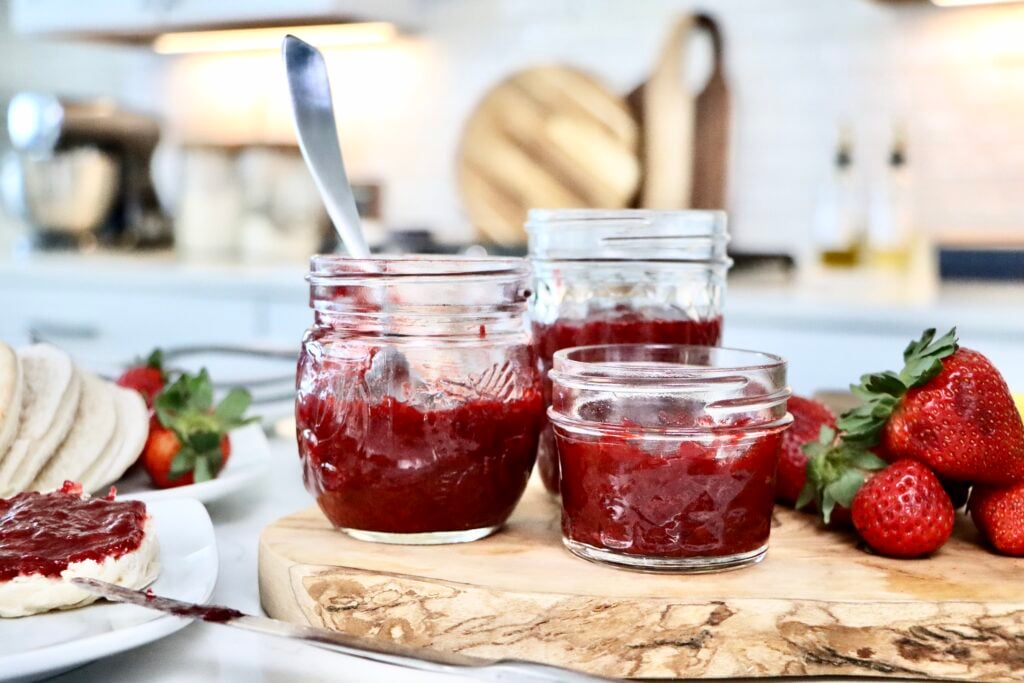
Low Sugar Strawberry Jam Recipe (No Pectin, Small Batch)
Easy low sugar strawberry jam recipe with no pectin. A simple homemade jam bursting with fresh strawberry flavor.
This post may contain affiliate links. As an amazon associate I earn from qualifying purchases at no additional cost to you.
I don’t know about you, but we go through a lot of jam in our house. It’s a staple around here—spread over my homemade sourdough bread or my never-dry biscuits for a quick, easy breakfast that everyone loves.
But there’s something extra special about homemade strawberry jam—especially when it actually tastes like strawberries.
If you’ve ever picked up a jar at the store and felt like it was more sugar than fruit, you’re not alone. Most traditional recipes (and store-bought versions) are loaded with sugar and pectin, masking that fresh, bright strawberry flavor.
This low sugar strawberry jam recipe is different.
It’s made with just a handful of real ingredients, no pectin, and a simple stovetop method that lets the natural sweetness of the strawberries shine. It’s the kind of recipe that brings you back to slow, simple cooking—where real ingredients meet everyday cooking.
Why You’ll Love This Strawberry Jam
- Made with lower sugar for a true strawberry flavor
- No pectin needed
- Simple, from-scratch recipe
- Small batch (perfect for beginners)
- Freezer-friendly and easy to store
- Delicious on everything from toast to pancakes
Just a few ingredients
Notes:
- Fresh or frozen strawberries both work beautifully here
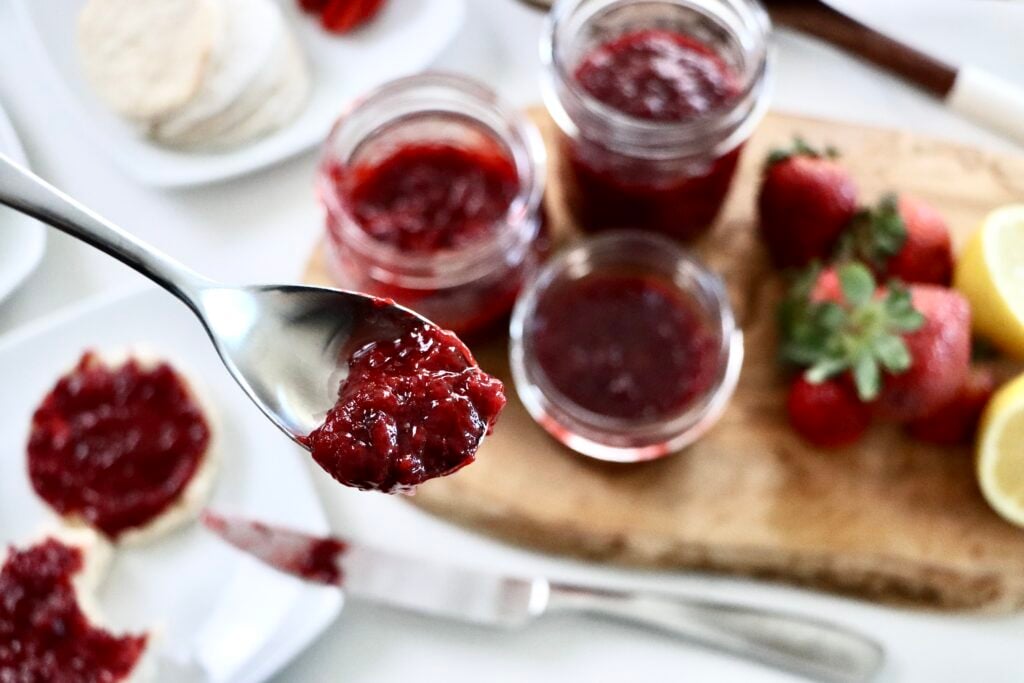
- Lemon juice adds brightness and helps the jam naturally thicken
How to Make Strawberry Jam (Step-by-Step)
Step 1: Cook the Strawberries
Add the strawberries and lemon juice to a medium saucepan.
Cook over medium heat, stirring occasionally, until the strawberries are very soft and begin to release their juices.
Step 2: Mash the Fruit
Use a potato masher to mash the strawberries to your desired consistency.
- For a chunkier jam → mash lightly
- For a smoother jam → mash more thoroughly or use an immersion blender
Step 3: Add Sugar and Salt
Stir in the sugar and a pinch of salt.
Bring the mixture to a boil, stirring to combine.
Step 4: Simmer Until Thickened
Continue boiling for 20–30 minutes, stirring occasionally.
As the jam cooks, it will thicken and deepen in color.
How to Tell When Strawberry Jam Is Done
This is one of the most important parts of making jam—and once you know what to look for, it becomes second nature.
The Frozen Spoon Test (Best Method)
- Place a spoon in the freezer for a few minutes
- Spoon a small amount of jam onto the cold spoon
- Run your finger through it
👉 If it wrinkles and holds its shape, it’s ready
👉 If it runs back together, keep cooking
Temperature Test
- Jam is set at 220°F (104°C)
- A thermometer makes this super reliable
Visual Clues
- Bubbles become thicker and slower
- The jam coats the back of a spoon
- When stirred, it leaves a trail that doesn’t immediately fill in
Tips for the Best Strawberry Jam
- Don’t rush the simmer—this is where flavor develops
- Stir more often as it thickens to prevent sticking
- Use a wide pan to help it reduce faster
- Slightly undercook if you prefer a softer, spreadable jam (it thickens as it cools)
How to Store Strawberry Jam
Refrigerator
Store in airtight jars in the fridge for up to 2–3 weeks.
Freezer
- Let jam cool completely
- Transfer to freezer-safe jars
- Leave space at the top for expansion
Freeze for up to 3 months.
Canning (Optional)
If you’d like to make your jam shelf-stable, you can use a water bath canning method:
- Sterilize jars and lids
- Fill jars with hot jam, leaving headspace
- Process in a boiling water bath for 10 minutes
Tip: If you’re new to canning, it’s worth following a detailed step-by-step guide for safety.
Yield
Makes about 2 (8 oz) jars of jam.

Ways to Use Strawberry Jam
This jam won’t last long, but here are a few favorite ways to enjoy it:
- Spread on sourdough toast
- Layered into yogurt bowls
- Drizzled over pancakes or waffles
- Served with biscuits
- Used as a filling for cakes or pastries
Frequently Asked Questions
Final Thoughts
This low sugar strawberry jam is one of those simple recipes that feels so rewarding to make. It’s proof that you don’t need complicated ingredients or techniques to create something truly delicious.
Just real food, simple steps, and a little time on the stove.
If you try this recipe, I’d love to hear how it turned out for you. Save it, share it, and come back to it whenever strawberries are in season (or whenever you buy the frozen bulk bag from Costco)—because this is one you’ll make again and again. 💛
Don’t forget to pin this for later!

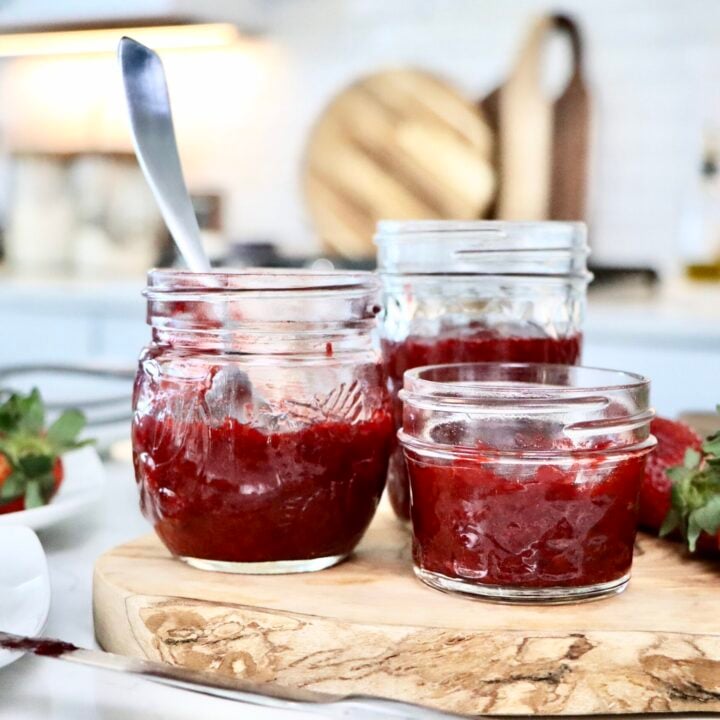
Low Sugar Strawberry Jam
Easy low sugar strawberry jam recipe with no pectin. A simple homemade jam bursting with fresh strawberry flavor.
Ingredients
- 5 cups fresh or frozen strawberries, hulled (green tops removed)
- 2 tablespoons lemon juice
- 1/2 cup sugar
- Pinch of salt
Instructions
Step 1: Cook the Strawberries
Add the strawberries and lemon juice to a medium saucepan.
Cook over medium heat, stirring occasionally, until the strawberries are very soft and begin to release their juices.
Step 2: Mash the Fruit
Use a potato masher to mash the strawberries to your desired consistency.
- For a chunkier jam → mash lightly
- For a smoother jam → mash more thoroughly or use an immersion blender
Step 3: Add Sugar and Salt
Stir in the sugar and a pinch of salt.
Bring the mixture to a boil, stirring to combine.
Step 4: Simmer Until Thickened
Continue boiling for 20–30 minutes, stirring occasionally.
As the jam cooks, it will thicken and deepen in color.
Notes
- Strawberries: Fresh or frozen both work well. If using frozen, no need to thaw—just allow a slightly longer cooking time.
- Texture: Use a potato masher for a chunkier jam or an immersion blender for a smoother consistency.
- Sweetness: This is a low sugar jam, so the natural strawberry flavor really shines. You can adjust sugar slightly to taste, but reducing too much may affect thickness and shelf life.
- No Pectin Needed: This jam thickens naturally as it cooks down—just be sure to simmer long enough.
- Thickness Tip: If your jam seems thin, continue simmering. If it thickens too much, stir in a small splash of water or lemon juice.
- Storage: Store in the refrigerator for 2–3 weeks or freeze for up to 3 months.
- Canning: For shelf-stable storage, process in a water bath canner following proper canning guidelines.
- Yield: Makes about 2 (8 oz) jars.
How to Tell When It’s Done (see post for more details):
- Use the frozen spoon test—jam should wrinkle and hold its shape
- Or check temperature: 220°F (104°C)
- Jam will thicken more as it cools
Nutrition Information:
Yield: 32 Serving Size: 1 TbspAmount Per Serving: Calories: 29Total Fat: 0gUnsaturated Fat: 0gSodium: 1mgCarbohydrates: 8gFiber: 1gSugar: 6gProtein: 0g
Nutrition facts are calculated automatically and are approximate.