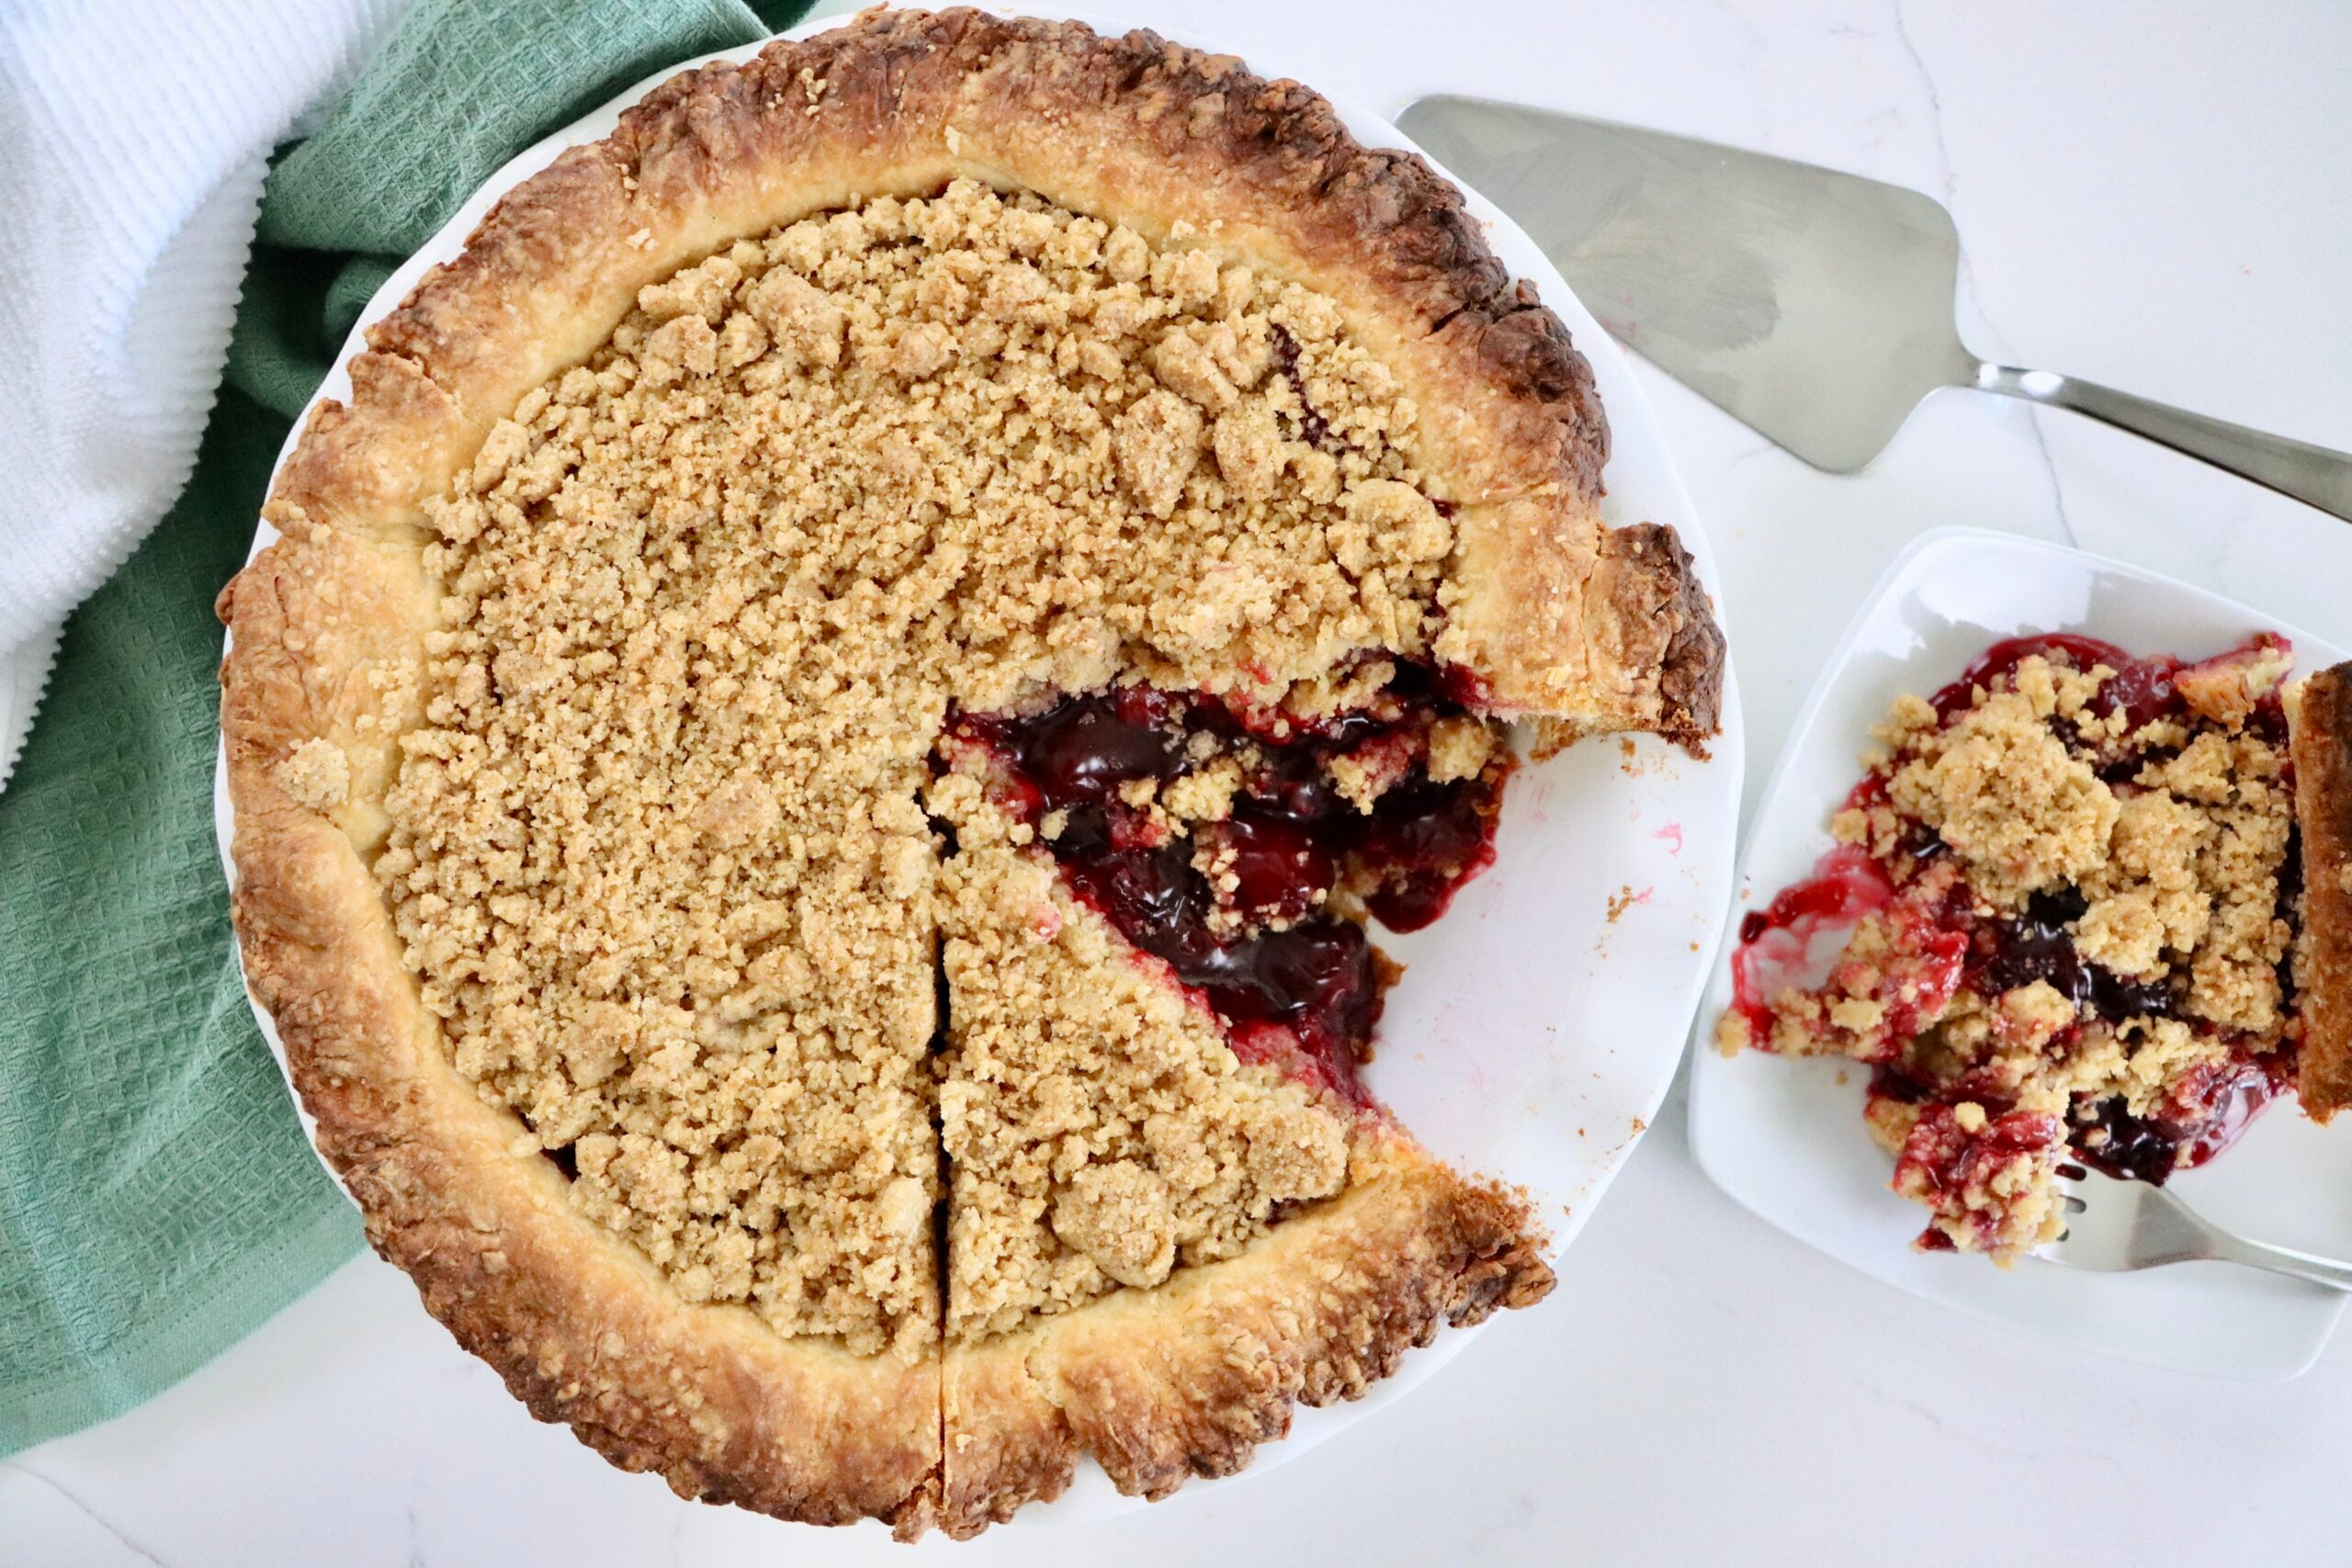
This Cherry Pie Has a Gingerbread Crust You Didn’t See Coming
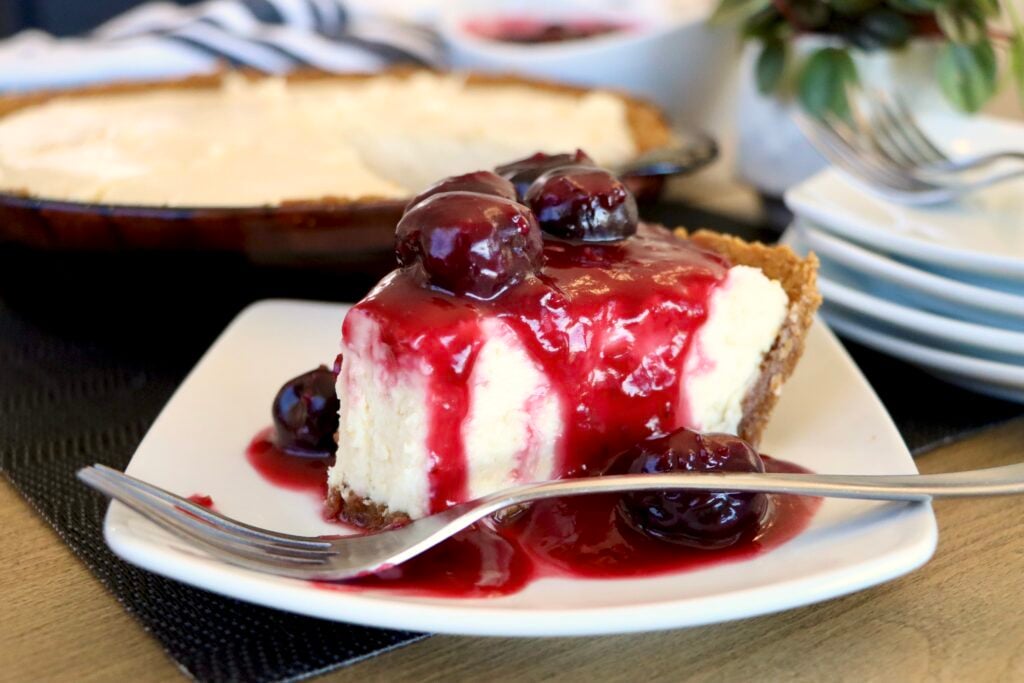
A cherry cream cheese pie with a gingerbread-spiced graham cracker crust and real homemade cherry filling — no canned filling here.
Quick look at this Cherry Cream Cheese Pie with a Gingerbread Crust
This post may contain affiliate links. As an amazon associate I earn from qualifying purchases at no additional cost to you.
Cherry cream cheese pie usually means one of two things: a no-bake filling straight out of a mixing bowl, or a shortcut with a can of cherry pie filling dumped on top. This one’s neither. The crust is graham cracker, but spiced like gingerbread — cinnamon, molasses, cloves, nutmeg, and ginger — and the cherry topping is made completely from scratch, no can in sight. Real ingredients, real flavor, and yes, it’s still easy enough for a weeknight.
This one’s actually my husband’s birthday pie. His mom has made her own version for him every year for as long as he can remember, and once we moved to Colorado, I wanted to keep that tradition alive — just built with real ingredients instead of crushed gingerbread cookies, frozen lemonade concentrate, and a can of cherry pie filling. What came out of that swap turned into a flavor all its own, and my husband has fallen in love with his birthday pie all over again.
Quick Answer: Cherry cream cheese pie is a baked cheesecake-style pie with a gingerbread-spiced graham cracker crust, a whipped cream cheese and sweetened condensed milk filling, and a topping of homemade cherry pie filling. This version skips the canned filling entirely and spices the crust like gingerbread for a cozier twist on the classic.
Baking at 7,053 ft in Colorado Springs means this recipe went through the high-altitude wringer before it ever made it to the blog — you’ll see those adjustments called out right in the ingredient list and the high altitude baking tips section below, so you’re not guessing.
Why You’ll Love This Recipe
- No canned pie filling. The cherry topping is made from scratch with real cherries — a callback to the same “made with real ingredients” approach behind my Peach Pie and Apple Crisp.
- A crust with a secret. Cinnamon, molasses, cloves, nutmeg, and a pinch of ginger turn a plain graham cracker crust into something that tastes like gingerbread — and like it belongs in a bakery case.
- Make-ahead friendly. Every component chills separately, so this is a genuinely good potluck or holiday pie — build it a day ahead and just serve cold.
- High-altitude tested. No guessing on oven temps if you’re baking above 5,000 ft — it’s all built into the recipe.
Ingredients
Gingerbread-Spiced Graham Cracker Crust
(spiced like gingerbread — but not made with gingerbread cookies)
- 2 cups crushed graham crackers (I like Annie’s Honey Grahams for the better ingredient list)
- 8 Tbsp butter, melted
- 1/4 cup brown sugar
- 1 tsp vanilla
- 1/2 tsp molasses
- 1/2 tsp cinnamon
- 1/4 tsp cloves
- 1/4 tsp nutmeg
- Pinch of ginger
Cheesecake Filling
- 20 oz cream cheese, softened
- 3 Tbsp lemon juice
- 1 tsp vanilla
- 1/4 cup sugar
- 1 (14 oz) can sweetened condensed milk
Homemade Cherry Topping
(this is your homemade cherry pie filling — made from scratch, no can needed)
- 4 cups frozen or fresh cherries
- 3/4 cup sugar
- 1/2 cup water
- 1/4 cup cornstarch (+1 tsp for high altitude)
- 2 Tbsp lemon juice
- 1 Tbsp butter
- 1 tsp vanilla
High Altitude Adjustments:
Bake both the crust and the filling at 345°F instead of 325°F (+20°F). Lower air pressure means faster moisture evaporation, so start checking the crust at 8 minutes instead of 10, and the filling at 9–10 minutes instead of 10–12 — you want the edges just set and the center slightly jiggly. For the cherry topping, add the extra teaspoon of cornstarch listed above; the mixture won’t reduce as efficiently since liquids simmer at a lower temperature up here, so it needs a little help thickening.
How to Make Cherry Cream Cheese Pie
Make the Gingerbread Crust – Preheat your oven to 325°F (345°F at high altitude). In a medium bowl, stir together the crushed graham crackers, melted butter, brown sugar, vanilla, molasses, cinnamon, cloves, nutmeg, and ginger until it looks like wet sand. Press firmly into the bottom and up the sides of a 9-inch pie pan — the bottom of a measuring cup works great for this. Bake for 10 minutes (8 minutes at high altitude), then set aside to cool slightly.
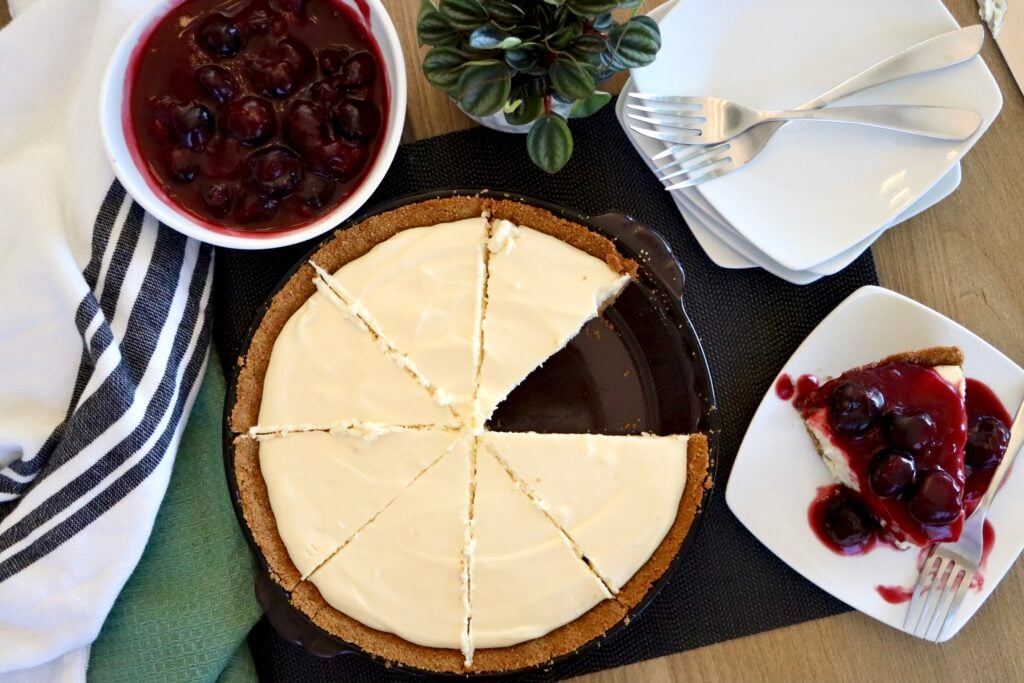
Make the Cheesecake Filling – While the crust bakes, add the cream cheese, lemon juice, vanilla, sugar, and sweetened condensed milk to a stand mixer fitted with the whisk attachment. Whip until completely smooth and no lumps remain — scrape the bowl down once or twice to make sure. Pour the filling into the warm baked crust and smooth the top. Bake at 325°F (345°F at high altitude) for 10–12 minutes (9–10 minutes at high altitude), until the edges are set and the center has just a slight jiggle. Let cool on the counter, then transfer to the fridge uncovered until completely cold — at least 3–4 hours, or overnight.
Make the Homemade Cherry Topping – While the pie bakes and cools, combine the cherries, sugar, water, cornstarch, and lemon juice in a saucepan over medium heat. Cook, stirring often, until thick and glossy — the mixture should coat the back of a spoon. Remove from heat and stir in the butter and vanilla. Let cool completely, then refrigerate until fully cold (this can take a couple hours — don’t rush it, or it’ll melt into the cheesecake layer instead of sitting on top).
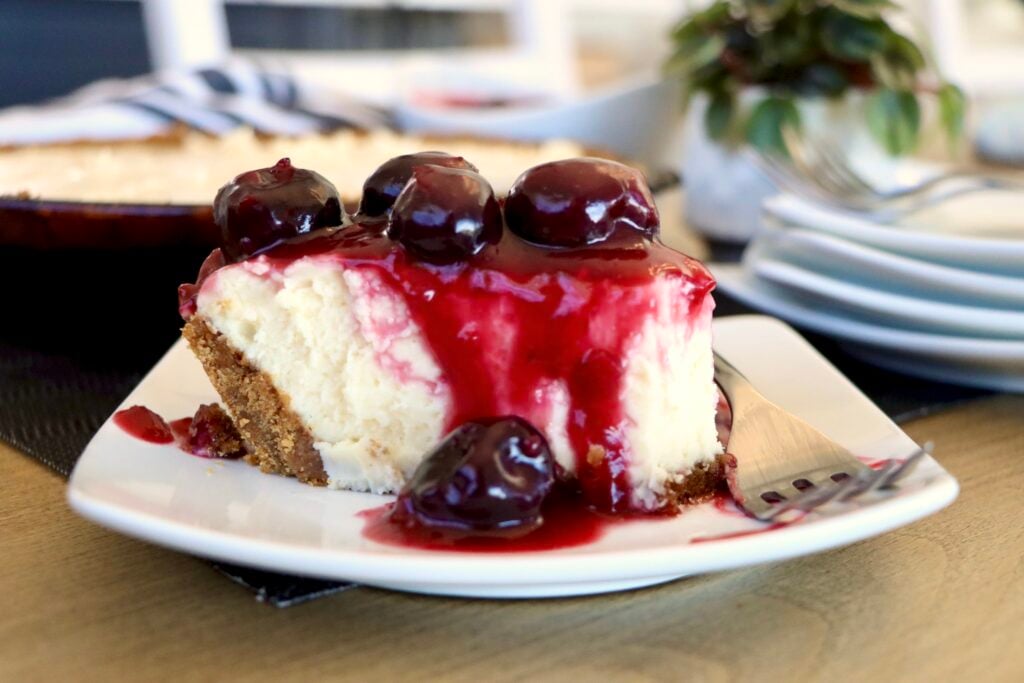
Assemble and Serve – Once both the pie and the cherry topping are completely cold, spoon the cherry topping over the top — either spread it over the whole pie or scoop individual portions onto each slice as you serve, which keeps the layers cleaner for photos and leftovers. Serve cold. Whipped cream on top wouldn’t hurt anything either.
Recipe Tips for Success
- Room-temperature cream cheese, no exceptions. Cold cream cheese won’t whip smooth even with a stand mixer — you’ll end up with lumps that never fully disappear. Set it out for at least an hour.
- Don’t rush the chill. The pie needs to be completely cold before the cherry topping goes on, and the cherry topping needs to be completely cold before it goes on the pie. Skipping this is the #1 reason the layers slide into each other instead of staying distinct.
- Cook the cherry filling until it’s genuinely thick. It should coat the back of a spoon and hold a line when you drag your finger through it — if it still looks soupy, give it another minute or two on the heat.
- Don’t overbake the filling. A slight jiggle in the center when it comes out of the oven is exactly right. It firms up completely as it chills, and pulling it early is your best defense against cracking.
High Altitude Cherry Pie: Baking This Recipe at Elevation
Baking at elevation changes more than people expect, and a custard-style filling like this one is actually pretty forgiving compared to a cake — but a few things still matter for a high altitude cherry pie:
- Oven temp goes up, not down. +20°F across the board for both bakes (see ingredient notes above).
- Watch for cracking. Drier mountain air pulls moisture out of the filling faster, which is the most common cause of a cracked cheesecake-style top. Don’t overbake — pull it the moment the center stops looking wet, even if it still jiggles slightly.
- Fruit fillings need a little more thickener. The extra teaspoon of cornstarch in the cherry topping isn’t optional up here — liquids simmer at a lower temperature at altitude, so they don’t reduce and thicken as efficiently as they would at sea level.
Recipe Variations
- Swap the crust: My Greek Yogurt Pie Crust or Sourdough Pie Crust both would work here if you want something other than graham cracker.
- Different fruit: This same cheesecake filling works under a homemade peach or berry topping if cherries aren’t in season.
- Skip the spice: Leave out the molasses, cloves, nutmeg, and ginger for a classic plain graham cracker crust — just know you’ll be missing the best part.
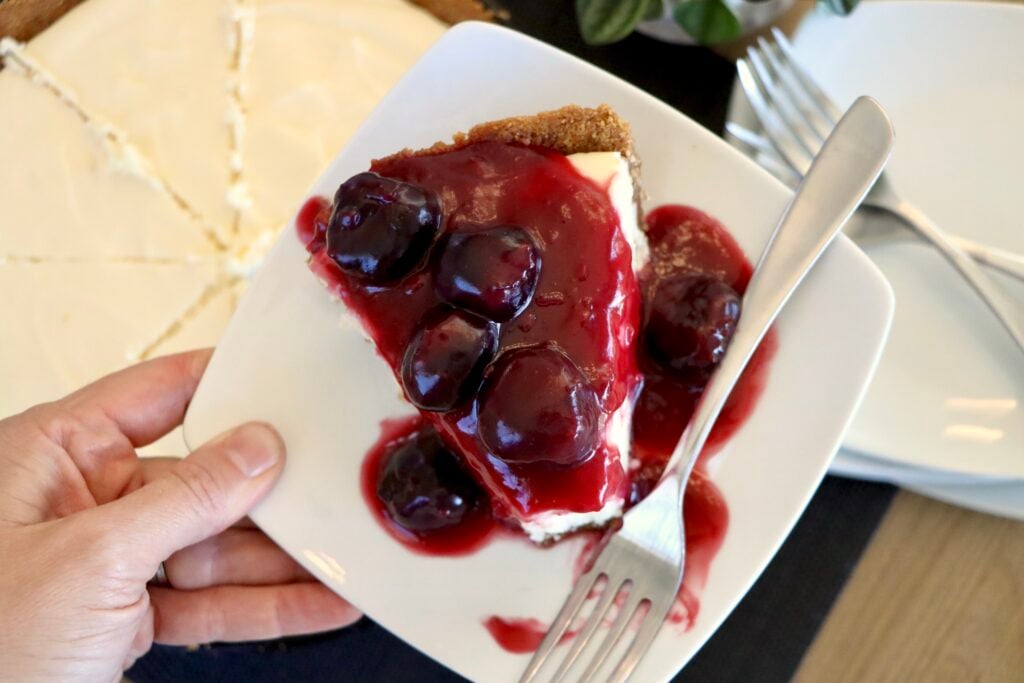
Storage & Serving
Store leftovers covered in the fridge for up to 4 days. This pie does not freeze well once the cherry topping is added (the topping gets watery as it thaws), but you can freeze the baked, unfilled cheesecake pie (crust + filling, no cherries) for up to 1 month — thaw overnight in the fridge and add fresh cold cherry topping before serving.
Equipment
A few things that make this recipe easier:
- A 9-inch pie pan — glass or ceramic both work well for even baking.
- A stand mixer with the whisk attachment for the cheesecake filling — a hand mixer works too, it just takes a little longer to get fully smooth.
- A medium saucepan for the homemade cherry topping.
You can find the exact pie pan and sauce pan I used, along with the rest of my favorite kitchen tools, on my Amazon storefront.
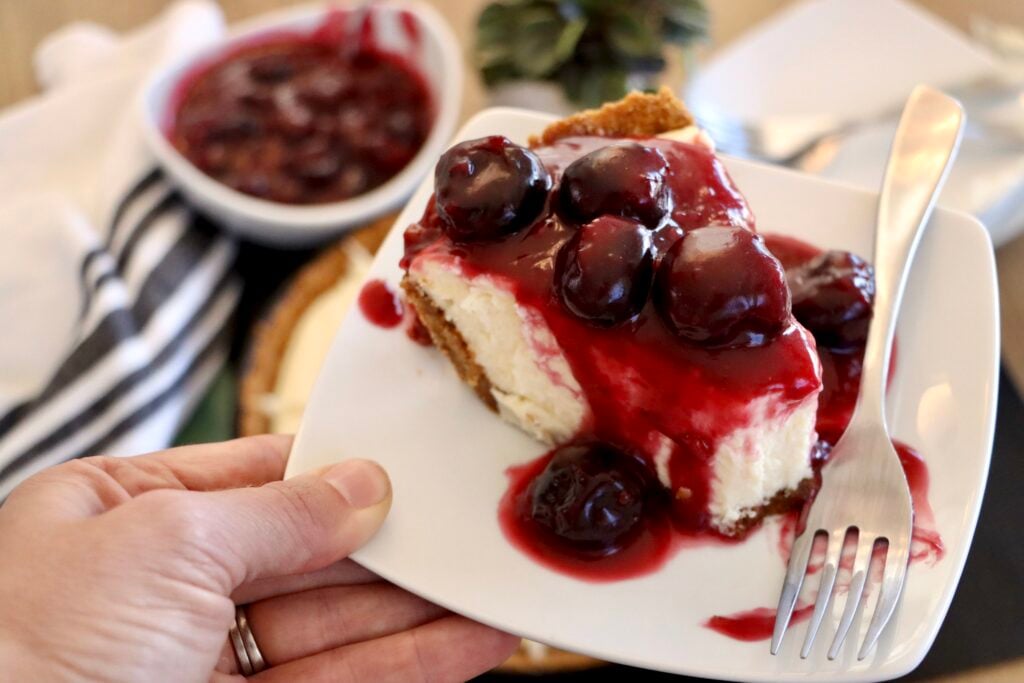
Frequently Asked Questions
Can I use canned cherry pie filling instead of making it from scratch?
You can, but you’ll lose the whole point of this version. The homemade cherry pie filling takes about 10 minutes of hands-on time and tastes noticeably fresher and less syrupy-sweet than canned.
What’s the difference between this and a regular cherry pie with cream cheese?
Most cherry pie with cream cheese recipes are either no-bake or use canned pie filling straight from the can. This one bakes the cream cheese layer cheesecake-style, uses a gingerbread-spiced graham cracker crust instead of a plain one, and makes the cherry topping completely from scratch.
Can I make this pie ahead of time?
Yes — this is a great make-ahead dessert. Build the crust and filling up to 2 days ahead and keep it covered in the fridge, then make the cherry topping and assemble the day you’re serving it, or the day before.
Do I need to use a water bath for the filling?
No. Because this filling only bakes for 10–12 minutes and isn’t a full New York-style cheesecake, a water bath isn’t necessary.
Why is my filling cracking?
Overbaking is almost always the cause, especially at high altitude where the drier air pulls moisture out faster. Pull the pie the moment the center stops looking wet and glossy, even if there’s still a slight jiggle — it firms up completely as it chills.
Can I use fresh cherries instead of frozen?
Yes, either works. If using fresh, you’ll need to pit them first, which is the only real extra step.
Is this recipe gluten-free adaptable?
Yes — swap in gluten-free graham crackers for the crust and the rest of the recipe is naturally gluten-free as written.
Final Thoughts
This is one of those recipes that looks like it took a lot more effort than it did — the gingerbread crust and homemade cherry topping just quietly do the work. If you make it, I’d love to know how it turned out — leave a comment below or tag @my.colorado.kitchen on Instagram so I can see it. And if you’re baking at elevation too, you’re in good company around here. 🥧
Want to watch the full process instead of just reading it? I walk through the whole recipe (gingerbread crust and all) on YouTube, and I share every new recipe over on Facebook — come say hi.
Don’t forget to pin this for later!

Love this pie? There are 17 more where it came from.
Pies & Galettes gathers my fruit pies, rustic galettes and holiday favorites into one ad-free, printable ebook. No scrolling, no pop-ups — just the recipe, ready for your binder.
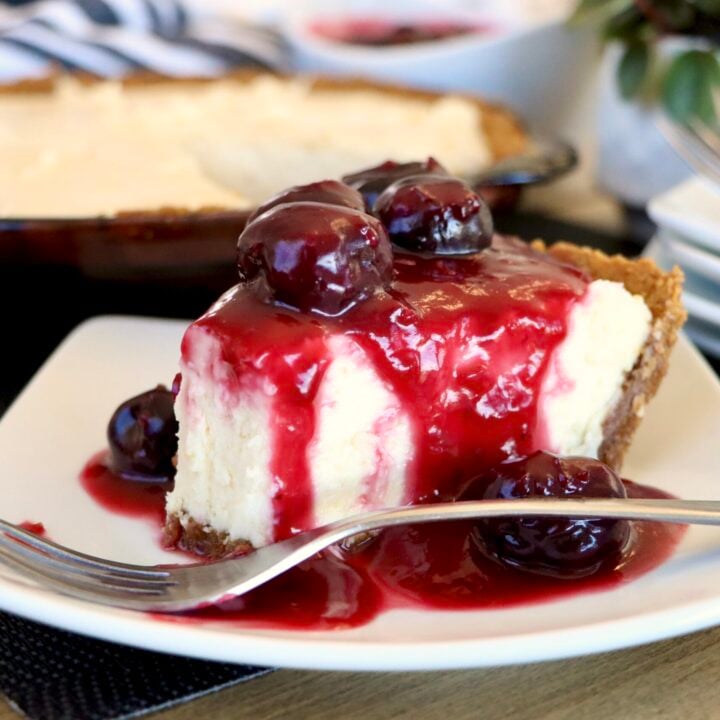
Cherry Cream Cheese Pie with a Gingerbread Crust
A baked cheesecake-style pie with a gingerbread-spiced graham cracker crust, tangy cream cheese filling, and homemade cherry topping — no canned pie filling required.
Ingredients
Gingerbread-Spiced Graham Cracker Crust
- 2 cups crushed graham crackers (Annie's Honey Grahams recommended)
- 8 Tbsp butter, melted
- 1/4 cup brown sugar
- 1 tsp vanilla
- 1/2 tsp molasses
- 1/2 tsp cinnamon
- 1/4 tsp cloves
- 1/4 tsp nutmeg
- Pinch of ginger
Cheesecake Filling
- 20 oz cream cheese, softened
- 3 Tbsp lemon juice
- 1 tsp vanilla
- 1/4 cup sugar
- 1 (14 oz) can sweetened condensed milk
Homemade Cherry Topping
- 4 cups frozen or fresh cherries
- 3/4 cup sugar
- 1/2 cup water
- 1/4 cup cornstarch (+1 tsp at high altitude)
- 2 Tbsp lemon juice
- 1 Tbsp butter
- 1 tsp vanilla
Instructions
- Preheat oven to 325°F (345°F at high altitude). Mix graham cracker crumbs, melted butter, brown sugar, vanilla, molasses, cinnamon, cloves, nutmeg, and ginger. Press into a 9-inch pie pan. Bake 10 minutes (8 minutes at high altitude).
- In a stand mixer with the whisk attachment, beat cream cheese, lemon juice, vanilla, sugar, and sweetened condensed milk until smooth. Pour into the baked crust. Bake 10–12 minutes (9–10 minutes at high altitude), until edges are set and center is just slightly jiggly. Cool, then refrigerate uncovered until completely cold, at least 3–4 hours.
- Combine cherries, sugar, water, cornstarch, and lemon juice in a saucepan over medium heat. Cook, stirring, until thick and glossy. Remove from heat, stir in butter and vanilla. Cool completely, then refrigerate until cold.
- Top the cold pie with the cold cherry topping. Serve cold.
Notes
- For high-altitude baking (5,000 ft+), increase oven temp by 20°F for both bakes, reduce bake times slightly (see instructions), and add 1 extra teaspoon of cornstarch to the cherry topping.
- Pie can be assembled 1 day ahead; add the cherry topping just before serving for the cleanest layers.
Nutrition Information:
Yield: 8 Serving Size: 1Amount Per Serving: Calories: 912Total Fat: 44gSaturated Fat: 24gUnsaturated Fat: 21gCholesterol: 107mgSodium: 622mgCarbohydrates: 124gFiber: 5gSugar: 76gProtein: 11g
Nutrition facts are calculated automatically and are approximate.