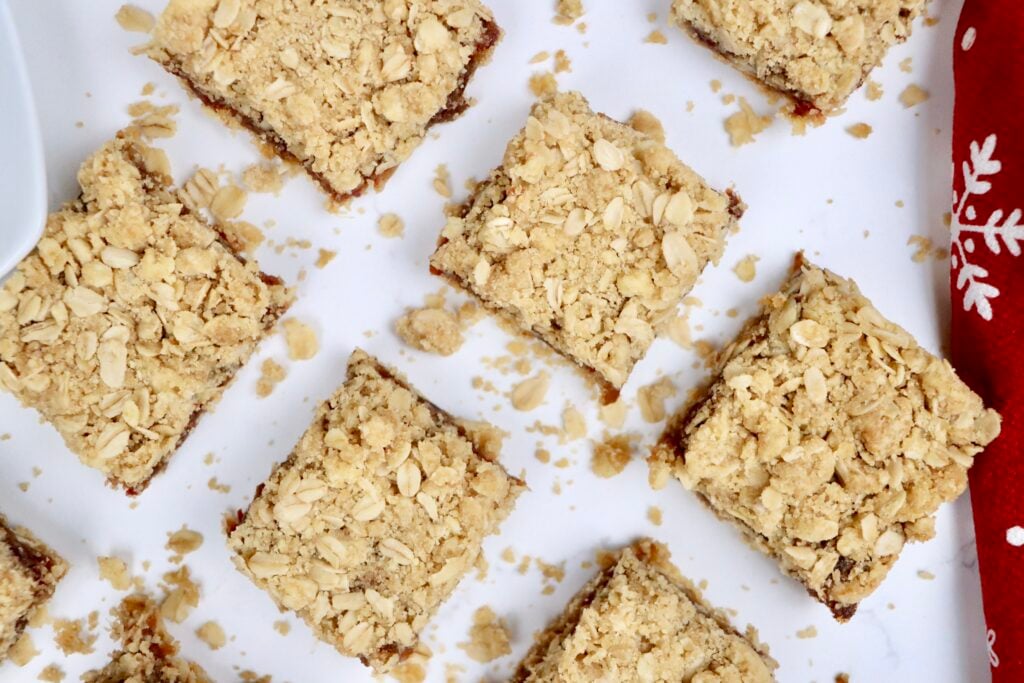
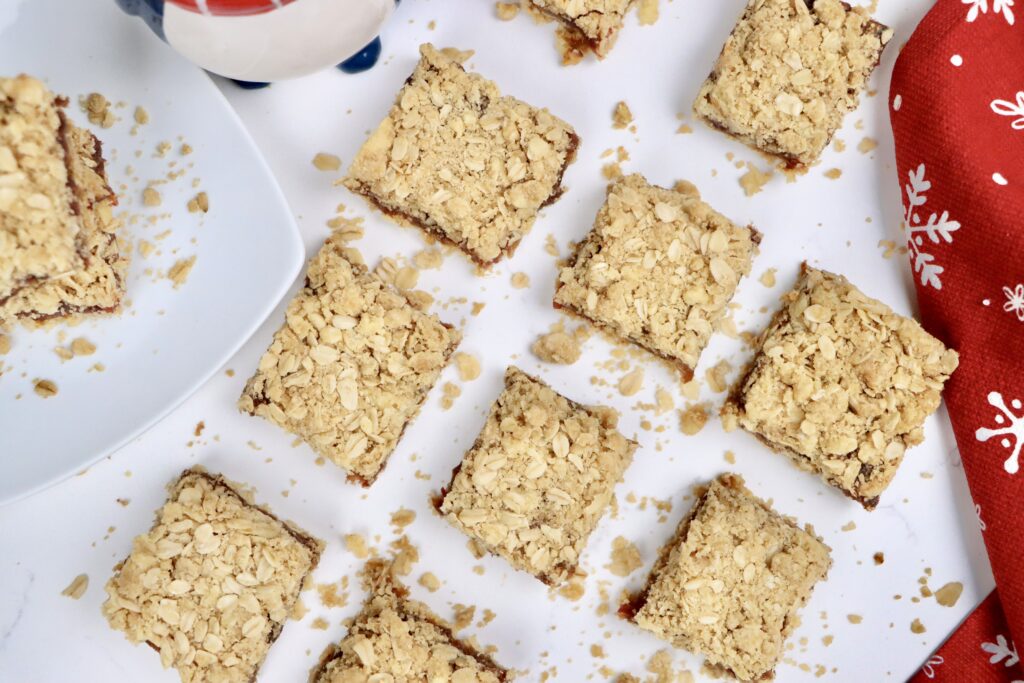
Old-Fashioned Date Bars (From Scratch) – Chewy, Cozy & Made with Real Ingredients
Make these old-fashioned Date Bars completely from scratch using real dates and sprouted oats. A chewy date filling is layered between buttery oatmeal crumble for the perfect nostalgic dessert bar—simple, wholesome, and unbelievably delicious.
This post may contain affiliate links. As an amazon associate I earn from qualifying purchases at no additional cost to you.
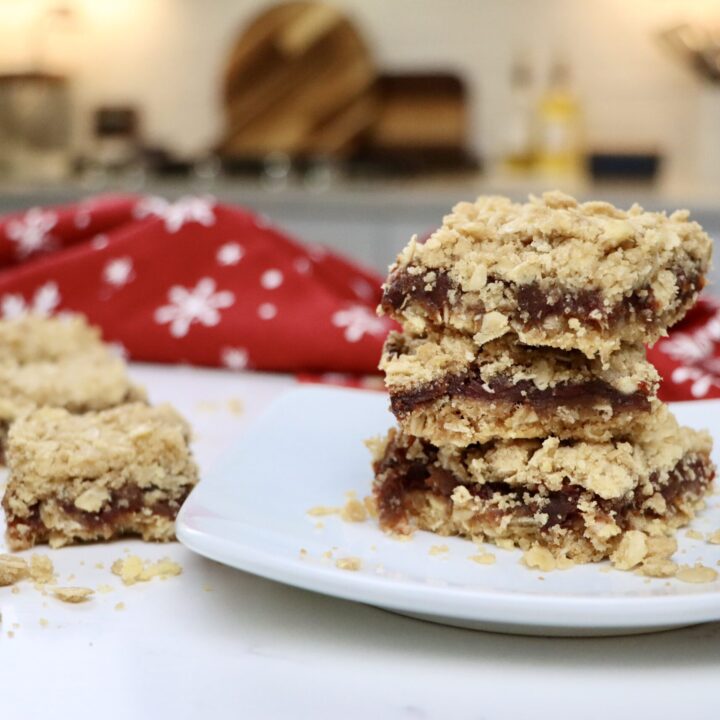
There’s something so nostalgic about a pan of warm old-fashioned Date Bars cooling on the counter. This classic treat has been around for generations, and for good reason—chewy, sweet dates layered between buttery oatmeal crumble is the kind of simple, comforting dessert that never goes out of style. And like every recipe in my kitchen, these Homemade Date Bars are made completely from scratch using whole, real ingredients.
If you love easy, wholesome dessert bars that feel both classic and homemade, you’re going to love this recipe. I know my family does!
Why You’ll Love These Homemade Date Bars
These chewy date bars check all the boxes—simple, cozy, and made with pantry staples you probably already have on hand.
Here’s why they’re a favorite in our house:
- Naturally sweet and perfectly chewy
- Made completely from scratch—no boxed mixes or processed fillings
- Wholesome, real-food ingredients (especially delicious with sprouted oats!)
- Great for make-ahead snacks, desserts, or lunchbox treats
- Freezer-friendly for instant dessert whenever you need it
- Feel-good comfort food with old-fashioned charm
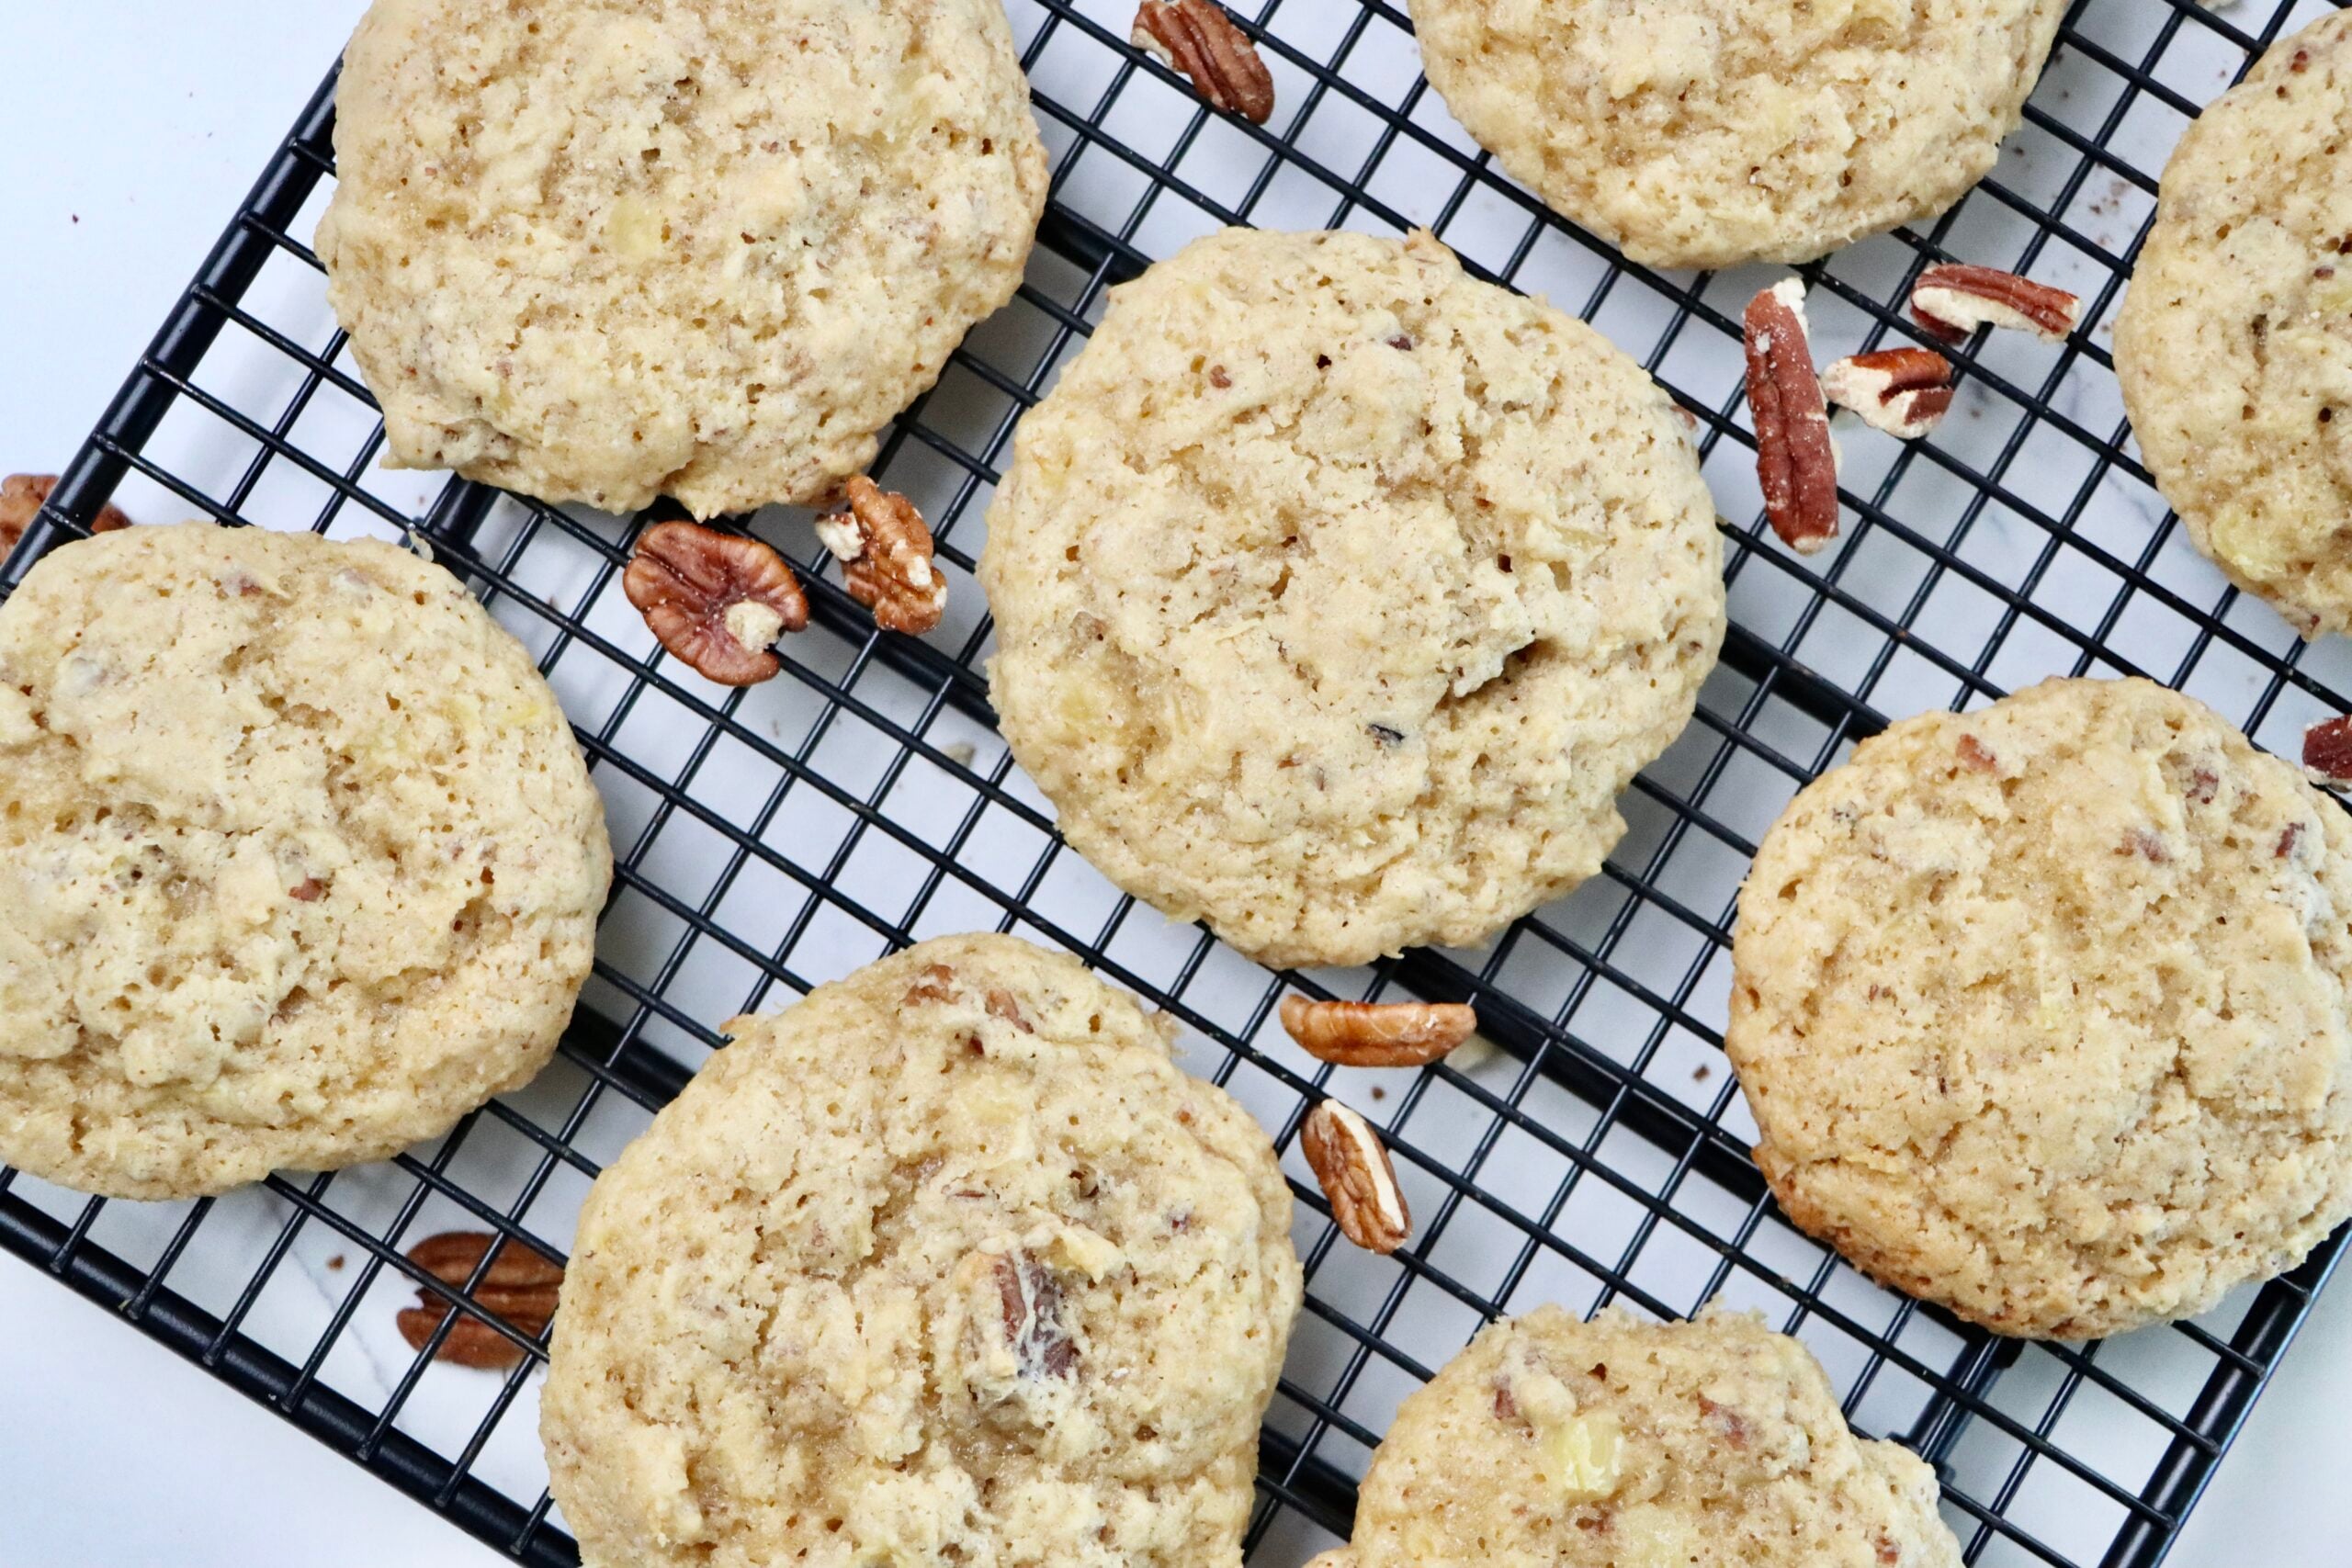
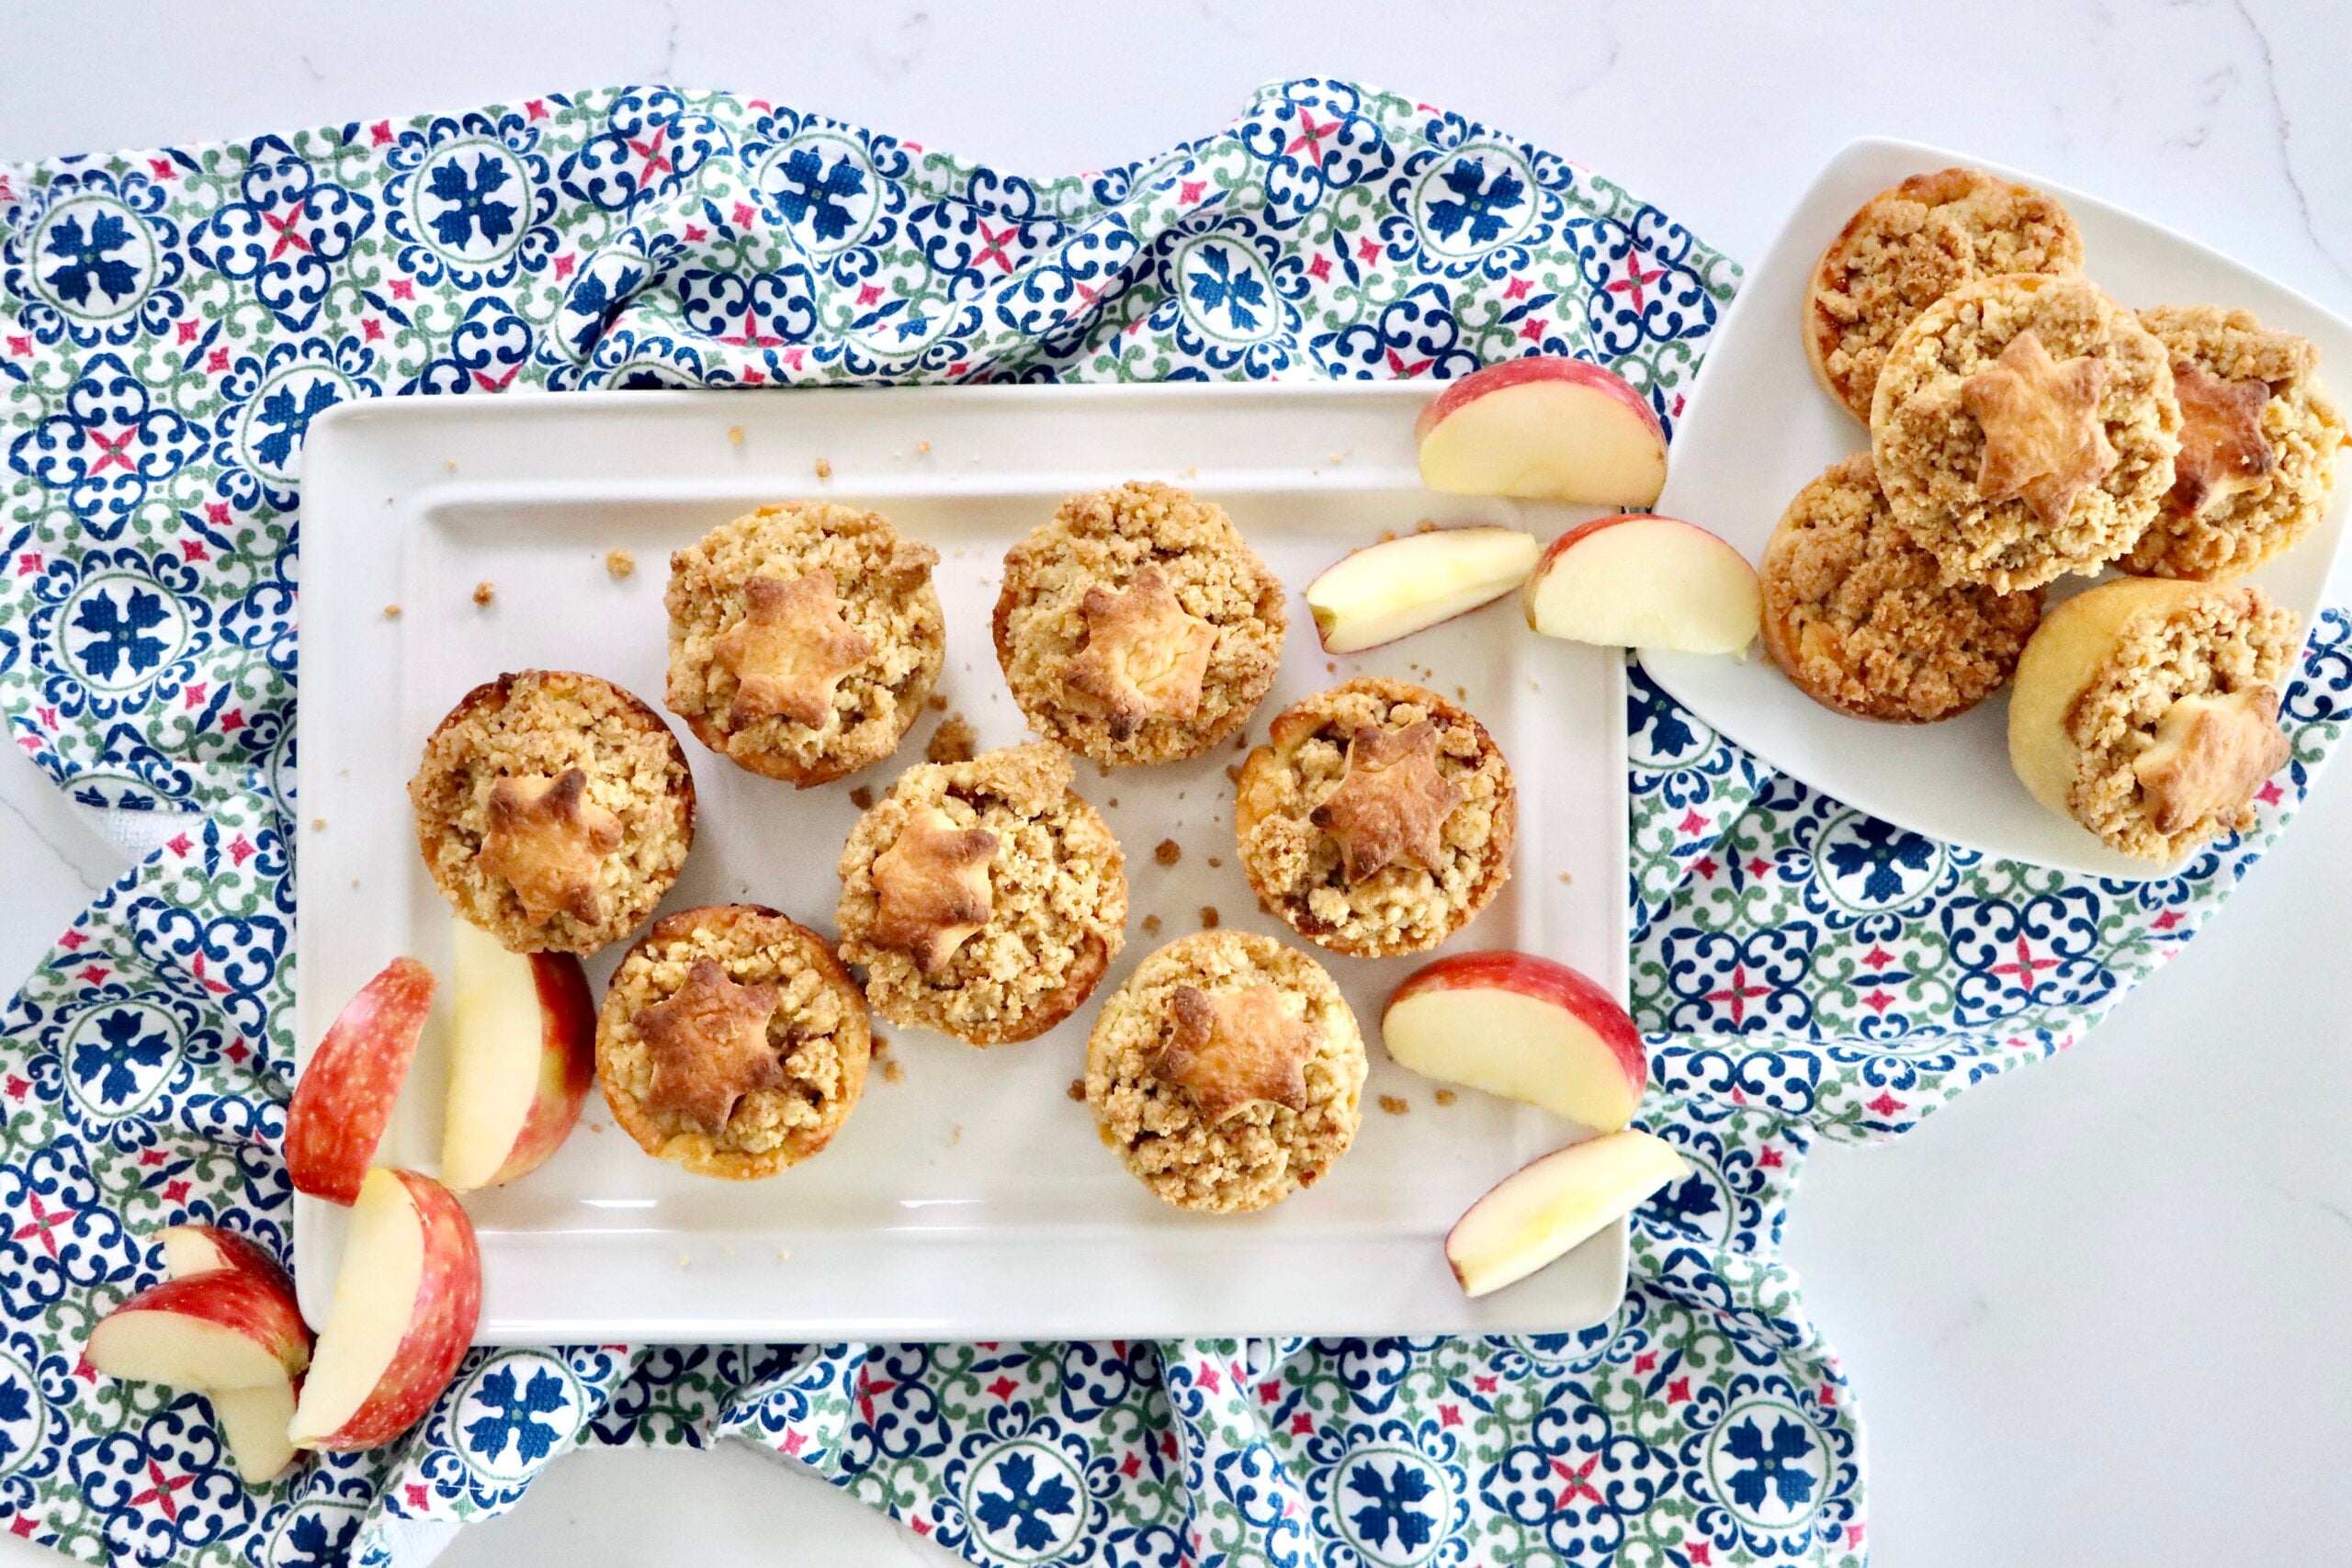
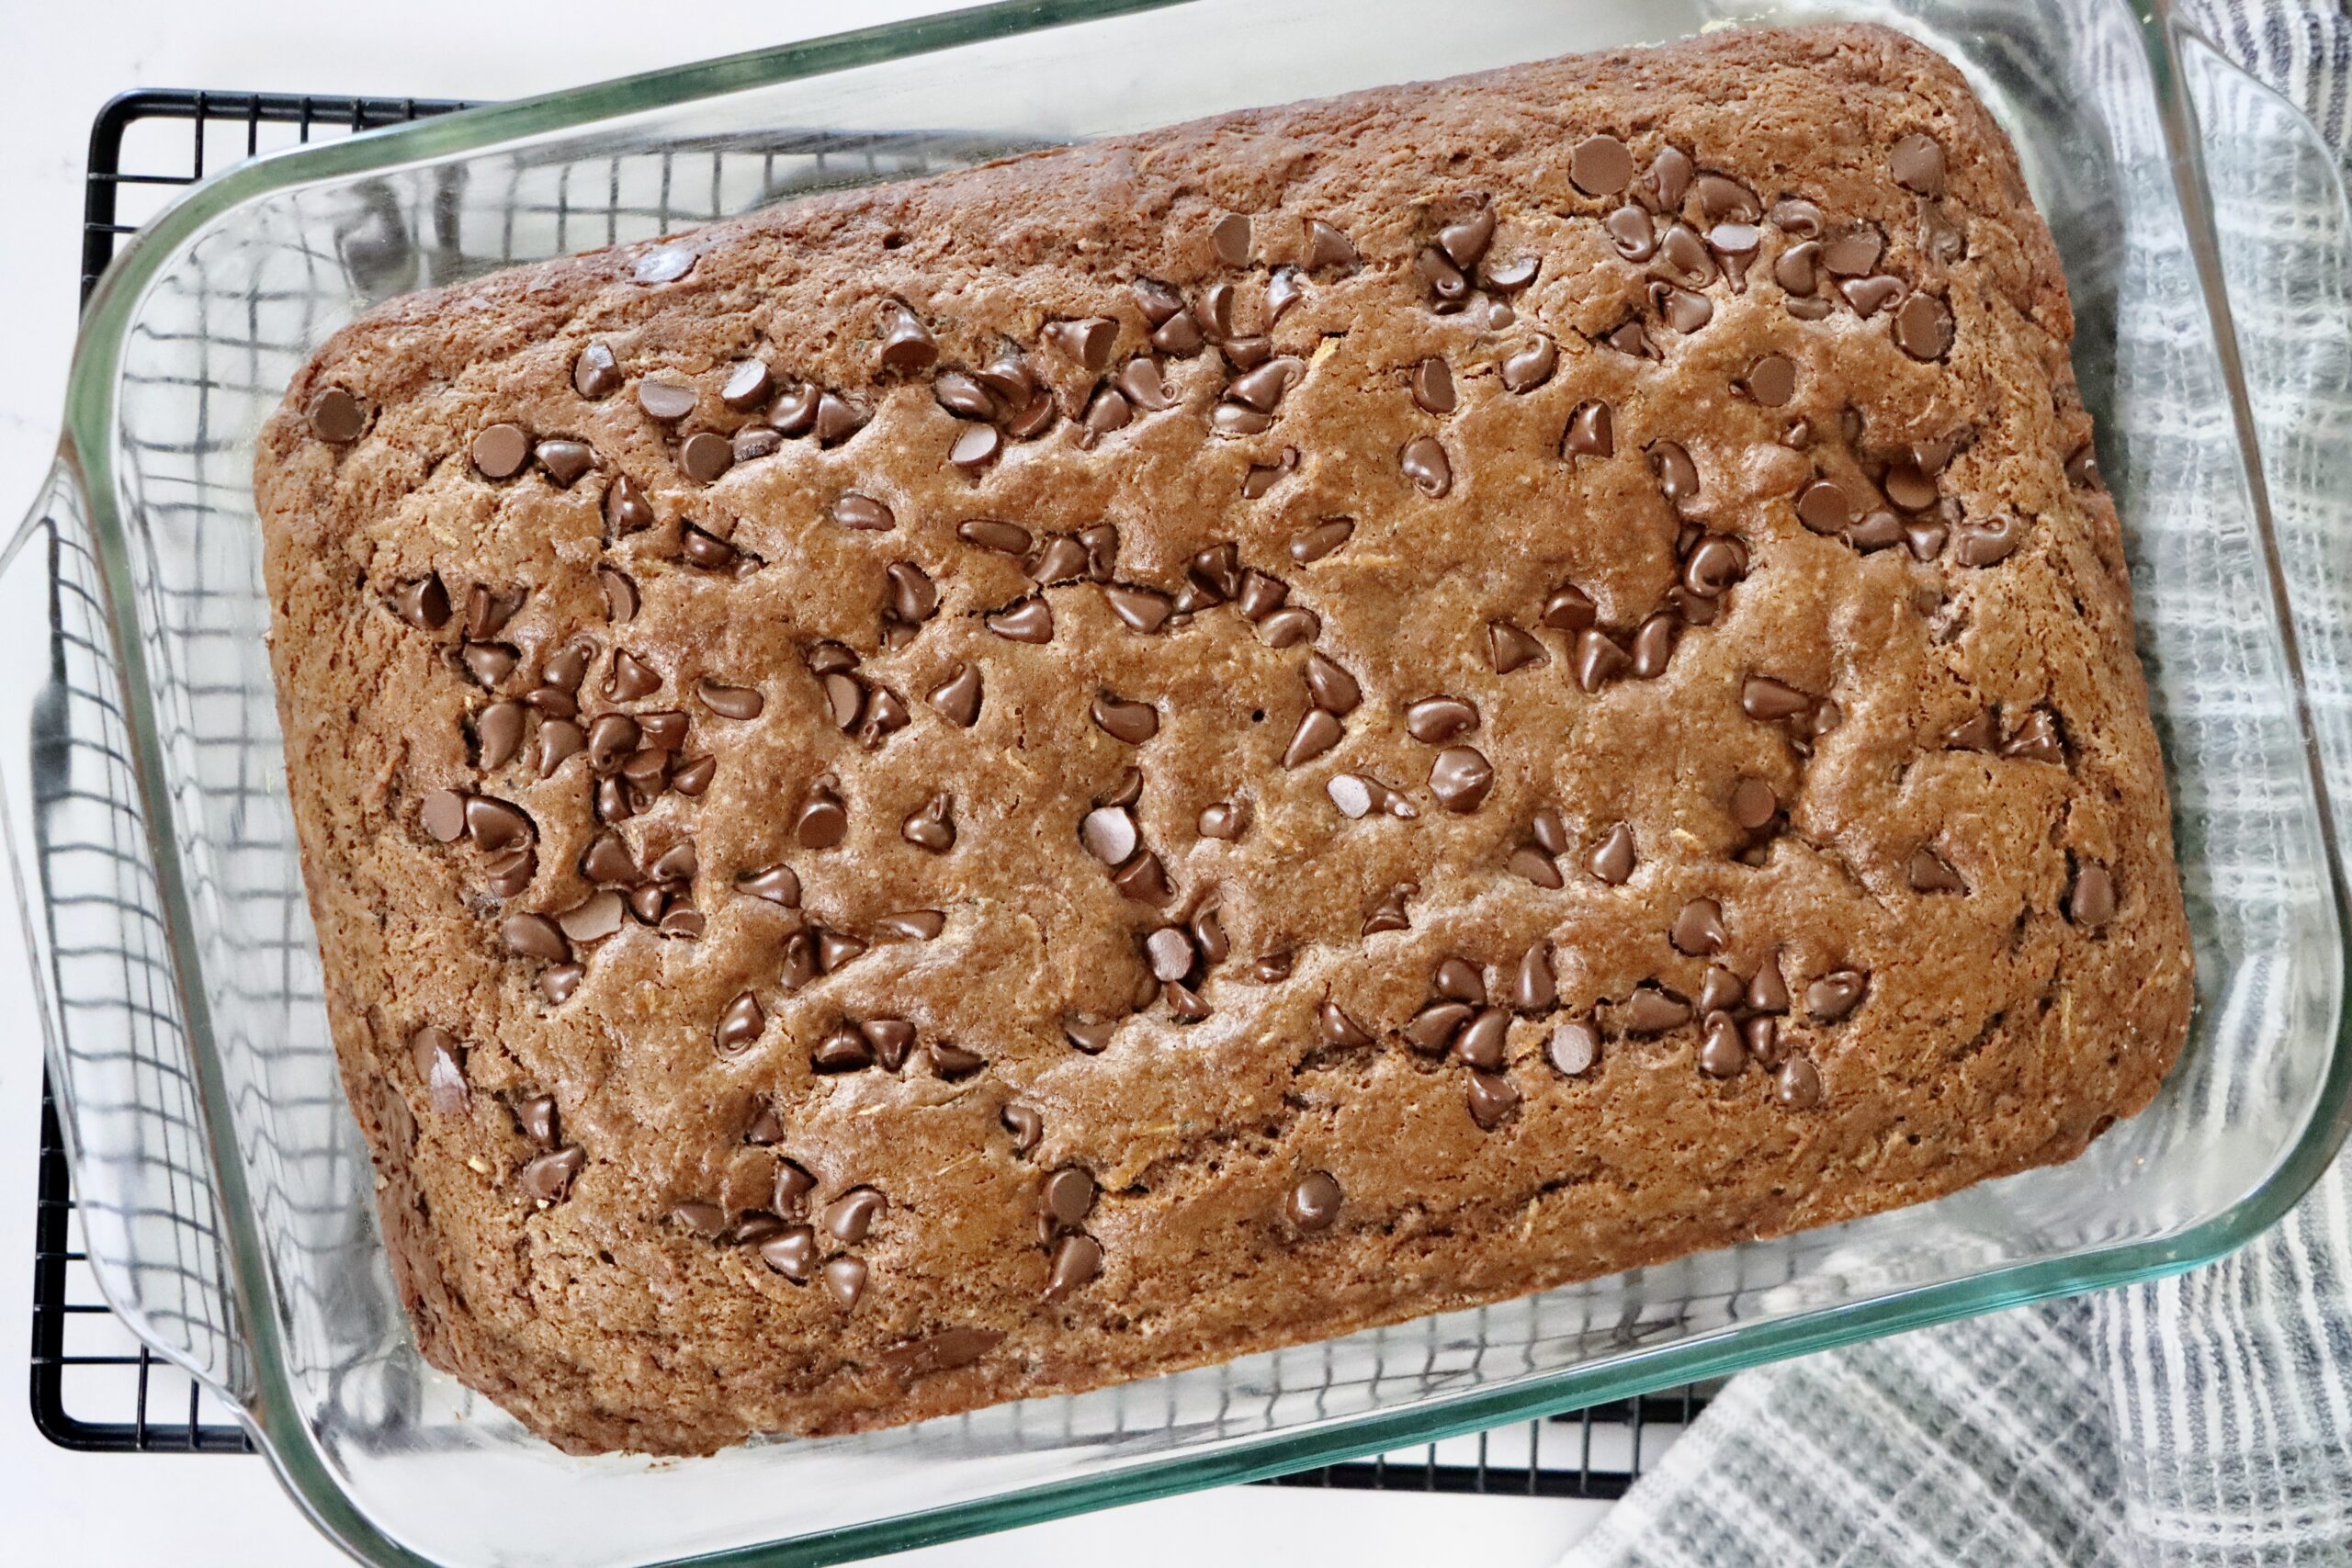
If you enjoy classic bakes like my banana bread, or berry peach galette this one will fit right in.
Ingredients You’ll Need
For the Chewy Date Filling
- 3 cups chopped pitted dates (I like to use medjool dates, but any date variety will work just great)
- 1 cup water
- 1/4 cup sugar (I prefer organic cane sugar whenever possible)
- 1 teaspoon vanilla
The dates slowly simmer into a thick, jammy filling—rich, naturally sweet, and the heart of these bars.
For the Oatmeal Crumble
- 1 1/2 cups oats (I prefer sprouted oats for better texture and nutrition)
- 1 cup brown sugar (organic if possible)
- 11 tablespoons melted butter
- 1 teaspoon baking soda
- 1 1/2 cups all-purpose flour (Whenever possible I buy organic and unbleached all-purpose flour)
This mixture becomes both the bottom crust and the crumb topping—simple, buttery, and perfectly tender.
What Are Sprouted Oats (and Why Are They Better)? Sprouted oats are whole oats that have been soaked and allowed to begin the natural sprouting process. This simple step makes the grain easier to digest and can increase the availability of nutrients like vitamins and minerals. Sprouted oats also have a slightly sweeter, nuttier flavor and a softer texture, which makes them perfect for baking. In recipes like these Date Bars, sprouted oats create a tender, more delicate crumble while still keeping all the wholesome goodness of traditional oats.
How to Make Old-Fashioned Date Bars
Step 1: Make the Date Filling
Add chopped dates, water, sugar, and vanilla to a 2–3 quart saucepan.
Heat on medium for 10–15 minutes, stirring occasionally, until thick, smooth, and cohesive.
Set aside to cool slightly.
Step 2: Make the Crumble Mixture
In a mixing bowl, combine oats, brown sugar, melted butter, baking soda, and flour.
Mix until everything is evenly moistened and crumbly.
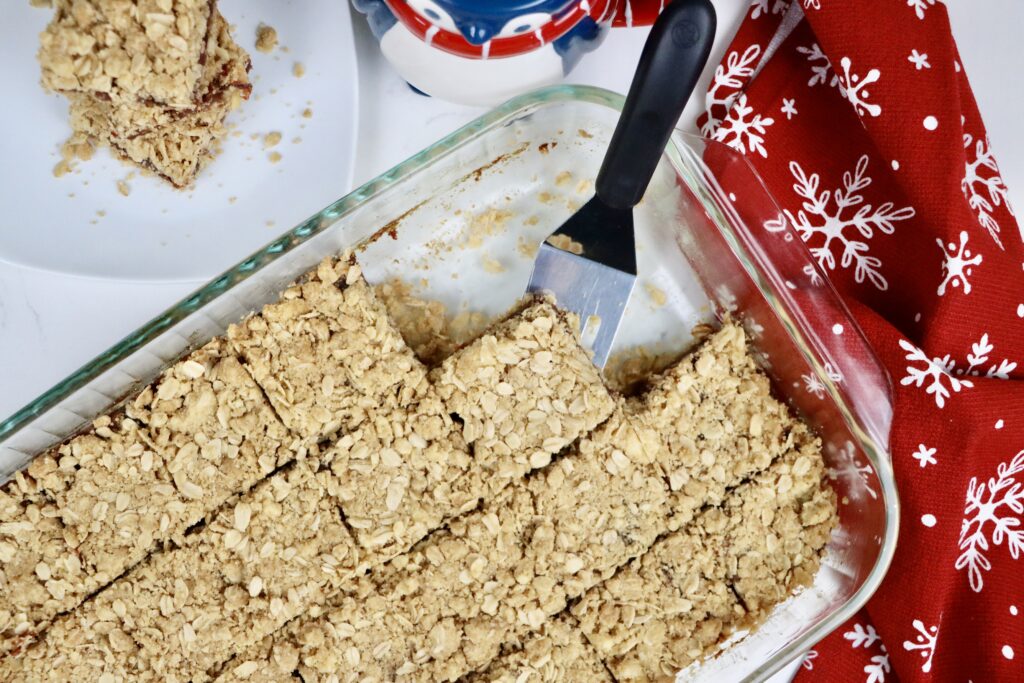
Step 3: Assemble the Bars
- Butter a 9×13 pan.
- Press half of the oat mixture into the bottom of the pan.
- Spread the warm date filling over the top.
- Sprinkle the remaining oat mixture over the filling and press gently to create an even layer.
Step 4: Bake
Bake at 350°F for 30–35 minutes, or until the top is lightly golden and the edges look set.
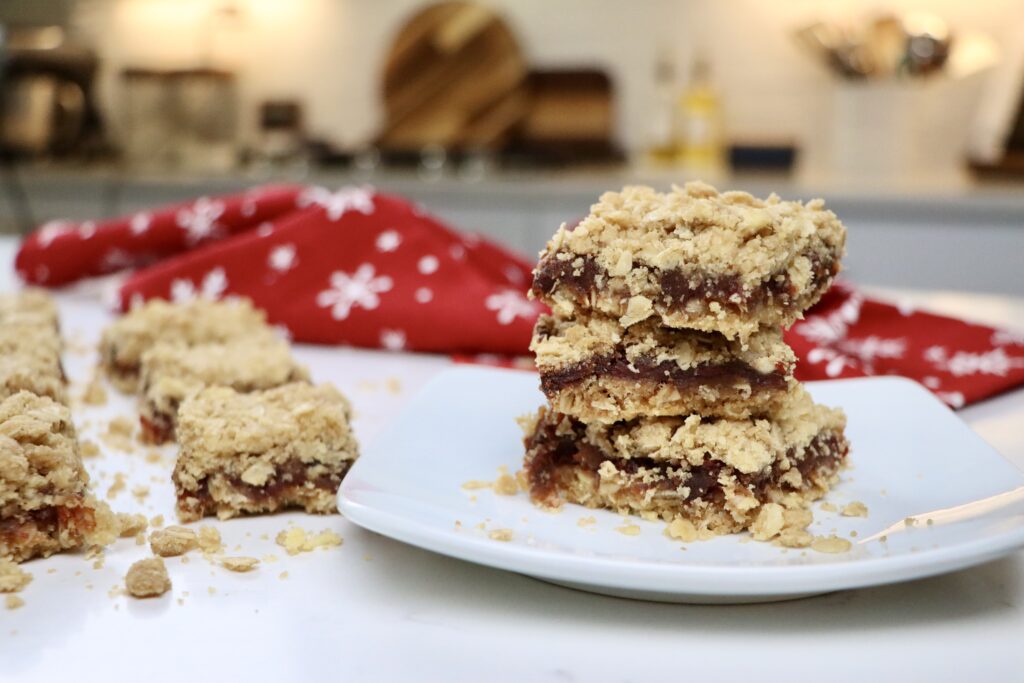
Step 5: Cool + Slice
Let cool completely before cutting into bars. The cooler they are, the cleaner your slices will be.
(For extra-firm bars, chill for 1–2 hours.)
Tips for the Best Date Bars
- Chop your dates small for a smoother filling.
- Don’t skip the gentle press on the crumble—it helps the bars hold together.
- Sprouted oats add more chew and a deeper, nuttier flavor.
- If the filling looks too thick, add a splash of water.
- Want cleaner slices? Chill before cutting with a sharp knife.
Variations
Customize your bars with any of these fun twists:
- Add chopped walnuts or pecans to the crumble
- Stir in orange zest to brighten the date filling
- Sprinkle cinnamon or cardamom into the oat mixture for a warm spice note
- Use a gluten-free 1:1 flour blend to make GF date bars
- Swap some dates for dried apricots for a fruity twist
Storage + Freezer Tips
- Store at room temperature for 3–4 days in an airtight container.
- Refrigerate for up to 1 week.
- Freeze individual bars for 2–3 months. To thaw, simply leave them at room temp for 20–30 minutes.
These freeze beautifully—perfect for quick snacks or desserts.
How to Serve Date Bars
These bars are delicious:
- With morning coffee
- As an afternoon snack
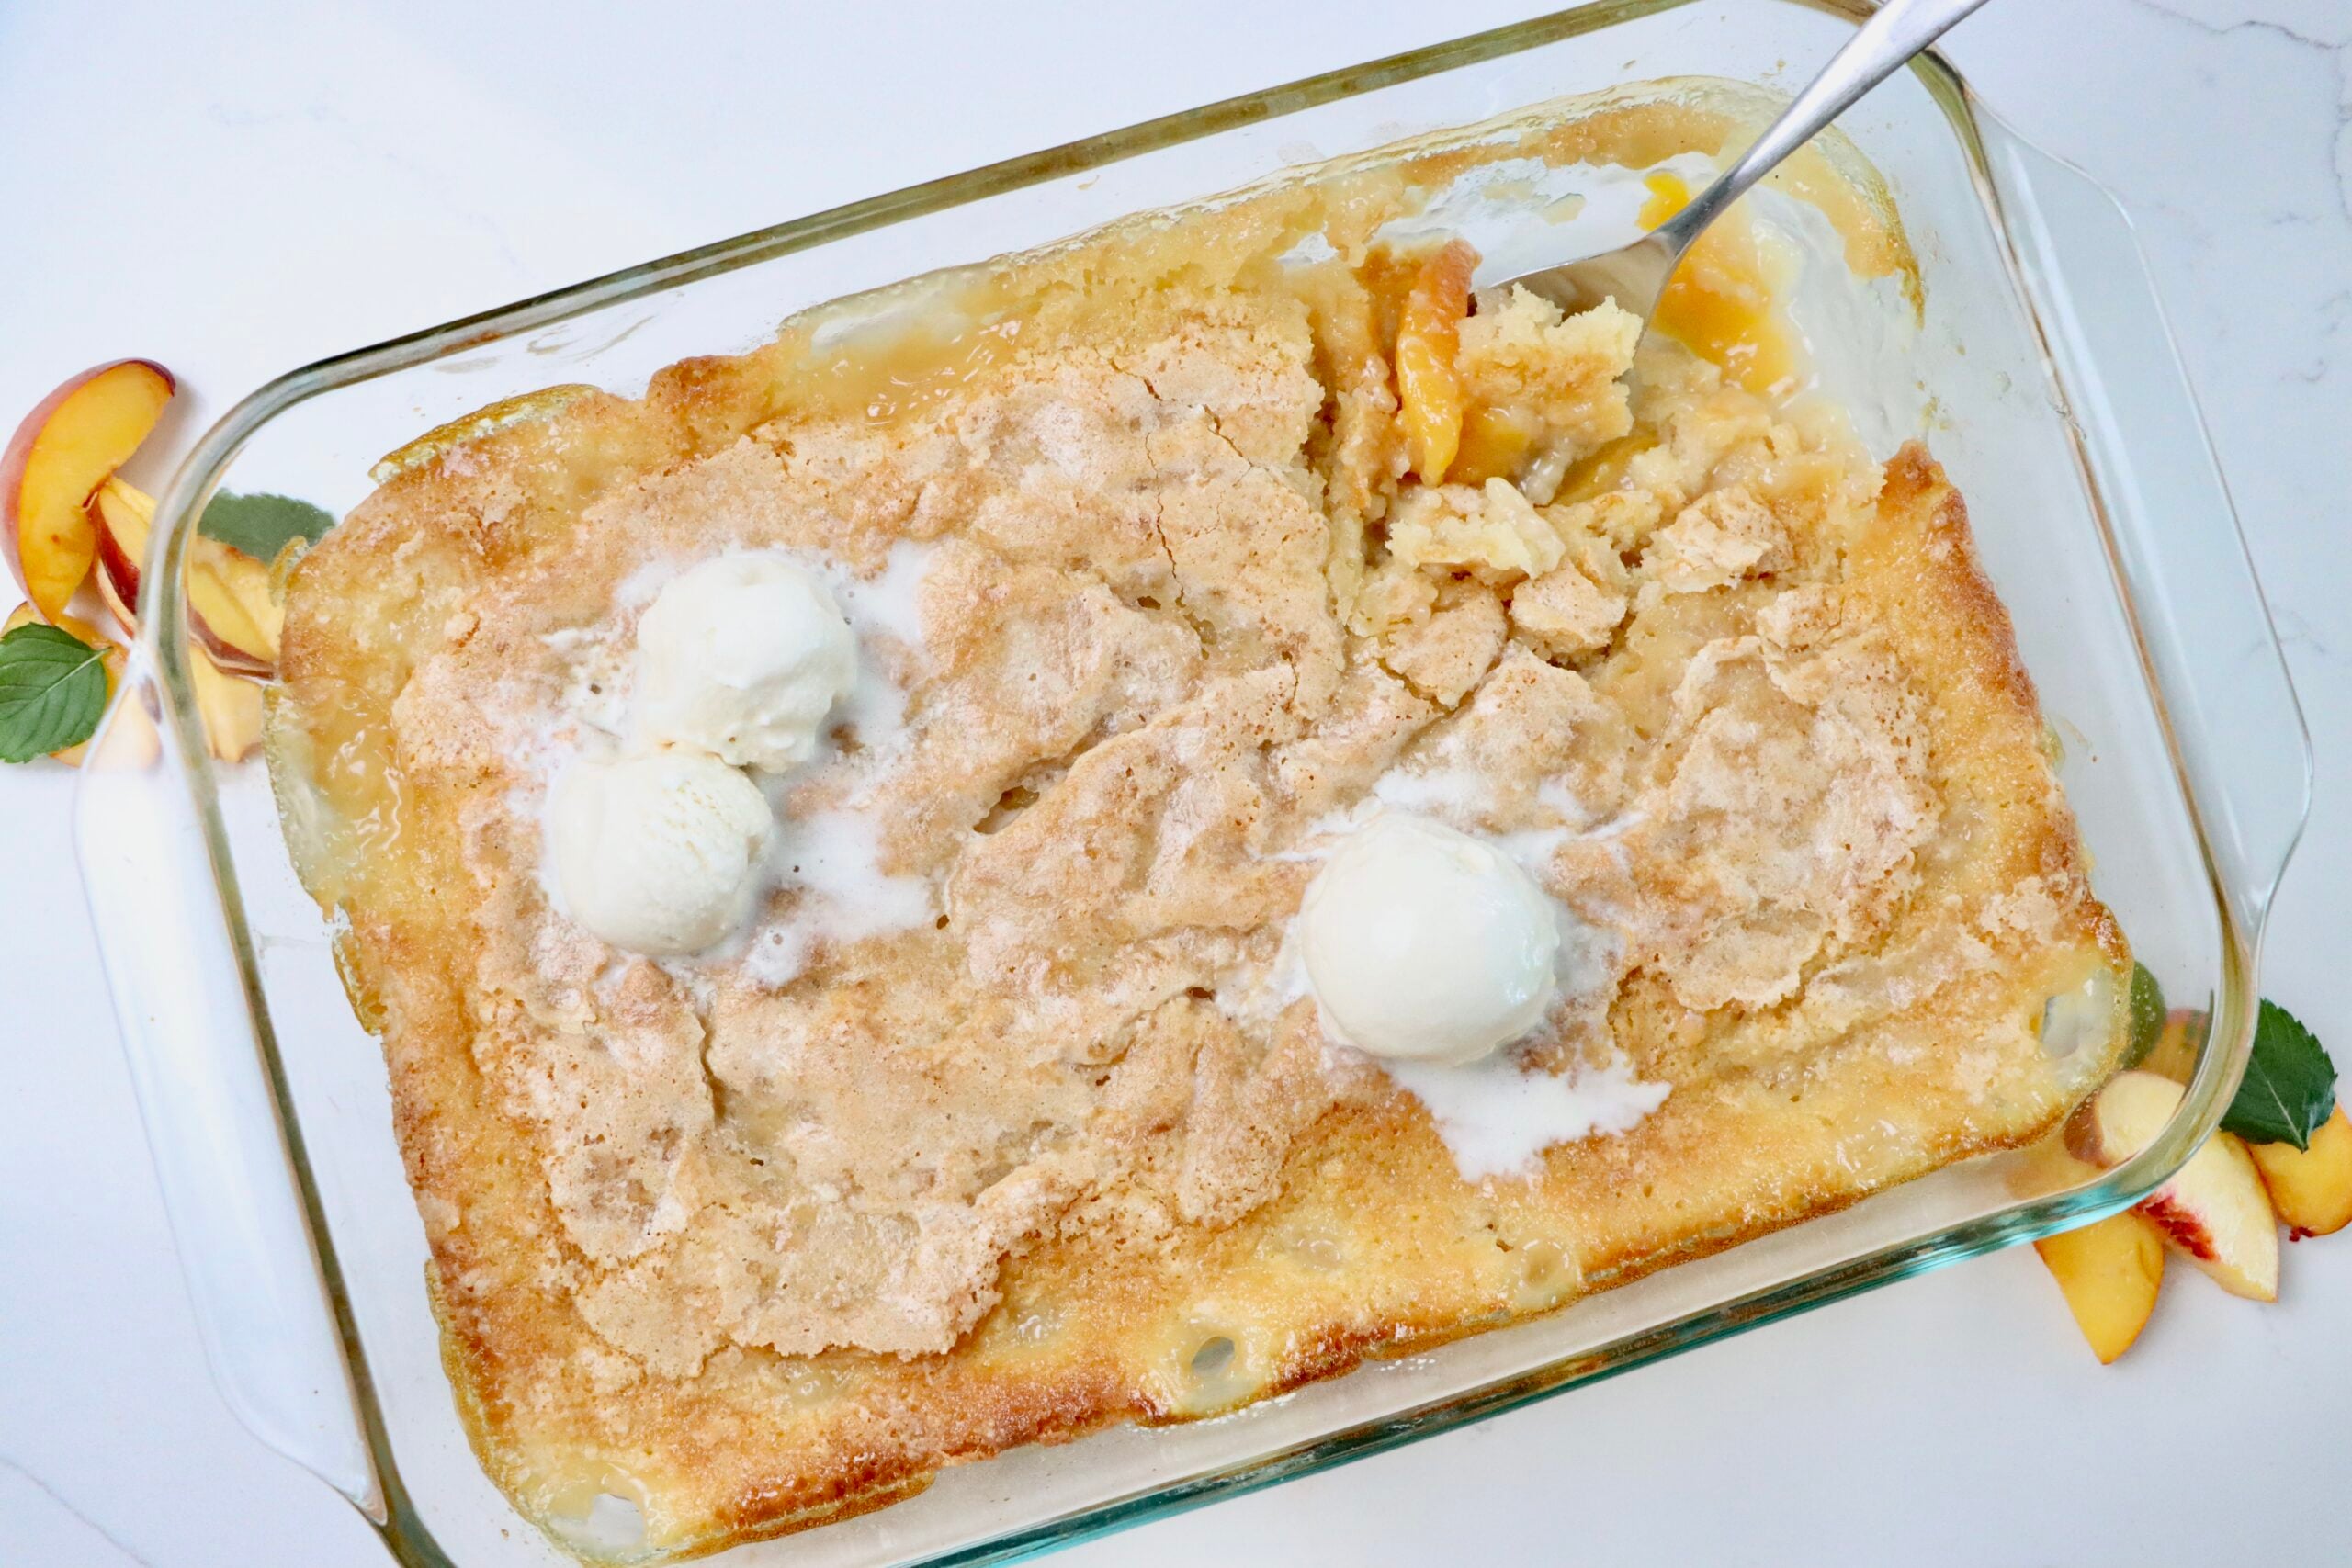
- On a holiday dessert tray
- Warmed slightly and topped with homemade whipped cream
They’re one of those classic desserts that work in every season.
Final Thoughts
These Homemade Date Bars are exactly the kind of simple, wholesome dessert that brings warmth back into the kitchen. Made from scratch with whole, real ingredients, they’re easy enough for everyday baking but special enough to share.
If you try this recipe, leave a comment below, tag me on instagram @my.colorado.kitchen and let me know how it turned out. And don’t forget to click on the “P” in the recipe card to save this recipe on Pinterest so you’ll always have it handy!
Date Bars
Make these old-fashioned Date Bars completely from scratch using whole, real ingredients. A chewy date filling is layered between buttery oatmeal crumble for the perfect nostalgic dessert bar—simple, wholesome, and unbelievably delicious.
Ingredients
Date Filling
- 3 cups chopped pitted dates
- 1 cup water
- 1/4 cup sugar
- 1 tsp vanilla
Oat Crumble
- 1 1/2 cups oats (sprouted oats recommended)
- 1 cup brown sugar
- 11 Tbsp melted butter
- 1 tsp baking soda
- 1 1/2 cups all-purpose flour
Instructions
Step 1: Make the Date Filling
Add chopped dates, water, sugar, and vanilla to a 2–3 quart saucepan. Heat on medium for 10–15 minutes, stirring occasionally, until thick, smooth, and cohesive. Set aside to cool slightly.
Step 2: Make the Crumble Mixture
In a mixing bowl, combine oats, brown sugar, melted butter, baking soda, and flour. Mix until everything is evenly moistened and crumbly.
Step 3: Assemble the Bars
- Butter a 9×13 pan.
- Press half of the oat mixture into the bottom of the pan.
- Spread the warm date filling over the top.
- Sprinkle the remaining oat mixture over the filling and press gently to create an even layer.
Step 4: Bake
Bake at 350°F for 30–35 minutes, or until the top is lightly golden and the edges look set.
Step 5: Cool + Slice
Let cool completely before cutting into bars. The cooler they are, the cleaner your slices will be.(For extra-firm bars, chill for 1–2 hours.)
Notes
Tips for the Best Date Bars
- Chop your dates small for a smoother filling.
- Don’t skip the gentle press on the crumble—it helps the bars hold together.
- Sprouted oats add more chew and a deeper, nuttier flavor.
- If the filling looks too thick, add a splash of water.
- Want cleaner slices? Chill before cutting with a sharp knife.
Variations
Customize your bars with any of these fun twists:
- Add chopped walnuts or pecans to the crumble
- Stir in orange zest to brighten the date filling
- Sprinkle cinnamon or cardamom into the oat mixture for a warm spice note
- Use a gluten-free 1:1 flour blend to make GF date bars
- Swap some dates for dried apricots for a fruity twist
Storage + Freezer Tips
- Store at room temperature for 3–4 days in an airtight container.
- Refrigerate for up to 1 week.
- Freeze individual bars for 2–3 months. To thaw, simply leave them at room temp for 20–30 minutes.
Nutrition Information:
Yield: 20 Serving Size: 1 BarAmount Per Serving: Calories: 358Total Fat: 8gSaturated Fat: 4gUnsaturated Fat: 4gCholesterol: 17mgSodium: 131mgCarbohydrates: 71gFiber: 5gSugar: 40gProtein: 5g
Nutrition facts are calculated automatically and are approximate.