Easy Cherry Jam Recipe (No Pectin, Low Sugar, Small Batch)
This easy cherry jam recipe uses simple, real ingredients with no pectin and less sugar. A small batch homemade cherry jam ready in under an hour!
This post may contain affiliate links. As an amazon associate I earn from qualifying purchases at no additional cost to you.
For the longest time, jam felt like one of those things you had to buy at the store—either too sweet, too processed, or just… not quite right. And the idea of making it yourself? That sounded complicated.
But this easy cherry jam recipe changes all of that.
With just a handful of real ingredients and no pectin, you can turn fresh (or frozen!) cherries into a rich, flavorful jam in under an hour. It’s simple, nourishing, and exactly the kind of recipe that helps you slow down and feed your family well—without adding stress to your day.
Where real ingredients meet everyday cooking—that’s exactly what this recipe is all about.
Want other jam flavors? Check out the full list HERE!
Why You’ll Love This Cherry Jam
- Made with just 4 simple ingredients
- No pectin required
- Lower sugar than traditional recipes
- Perfect small batch recipe (no overwhelm!)
- Works with fresh or frozen cherries
- Ready in about 30 minutes
- Easy to store in the fridge or freezer
Ingredients You’ll Need
- 5 cups cherries, pitted (fresh or frozen)
- 2 tablespoons lemon juice
- 1/2 cup sugar
- Pinch of salt
Pro Tip:
Frozen cherries are a lifesaver here. No need to thaw—just toss them straight into the pan.
How to Make Cherry Jam (Step-by-Step)
1. Cook the Cherries
Add your cherries and lemon juice to a saucepan over medium heat.
Let them cook down until the fruit becomes very soft and starts to release its juices. This usually takes about 10–15 minutes.
2. Mash the Fruit
Using a potato masher, mash the cherries to your desired texture.
- Want it chunkier? Mash lightly.
- Prefer it smooth? Use an immersion blender.
3. Add Sugar & Salt
Stir in the sugar and a pinch of salt.
Bring the mixture to a gentle boil, stirring occasionally.
4. Cook Until Thick
Continue boiling for 20–30 minutes, stirring more frequently as it thickens.
You’ll notice the texture change—it becomes glossy, thicker, and coats your spoon.
How to Tell When Cherry Jam is Done
This is the part that makes or breaks homemade jam—and once you know these tricks, you’ll feel like a pro every time.
Frozen Spoon Test
Place a spoon in the freezer before you start cooking.
- Spoon a little jam onto the cold spoon
- Let it sit for a few seconds
- Push it gently with your finger
If it wrinkles and holds its shape, it’s ready.
Temperature Method
If you want precision, use a thermometer.
Jam is set at 220°F (104°C).
Sheet Test
Dip a spoon into the jam and lift it.
If the jam falls off in a thick sheet instead of drips, it’s done.
Visual Clues
- Bubbles become slower and thicker
- The jam coats the back of a spoon
- It looks glossy and rich
How to Store Cherry Jam
Refrigerator
Store in airtight jars in the fridge for up to 2–3 weeks.
Freezer
Pour into freezer-safe jars (leave space at the top).
Freeze for up to several months.
Quick Guide to Canning Cherry Jam
If you want to preserve your jam longer:
- Sterilize your jars
- Fill with hot jam, leaving 1/4 inch headspace
- Seal with lids
- Process in a boiling water bath for 10 minutes
- Let cool and check seals
Tips for the Best Homemade Cherry Jam
- Use ripe, flavorful cherries for the best taste
- Don’t rush the cooking—it needs time to thicken naturally
- Stir more often as it thickens to prevent burning
- Adjust sugar slightly depending on your cherries
- Remember: it thickens more as it cools
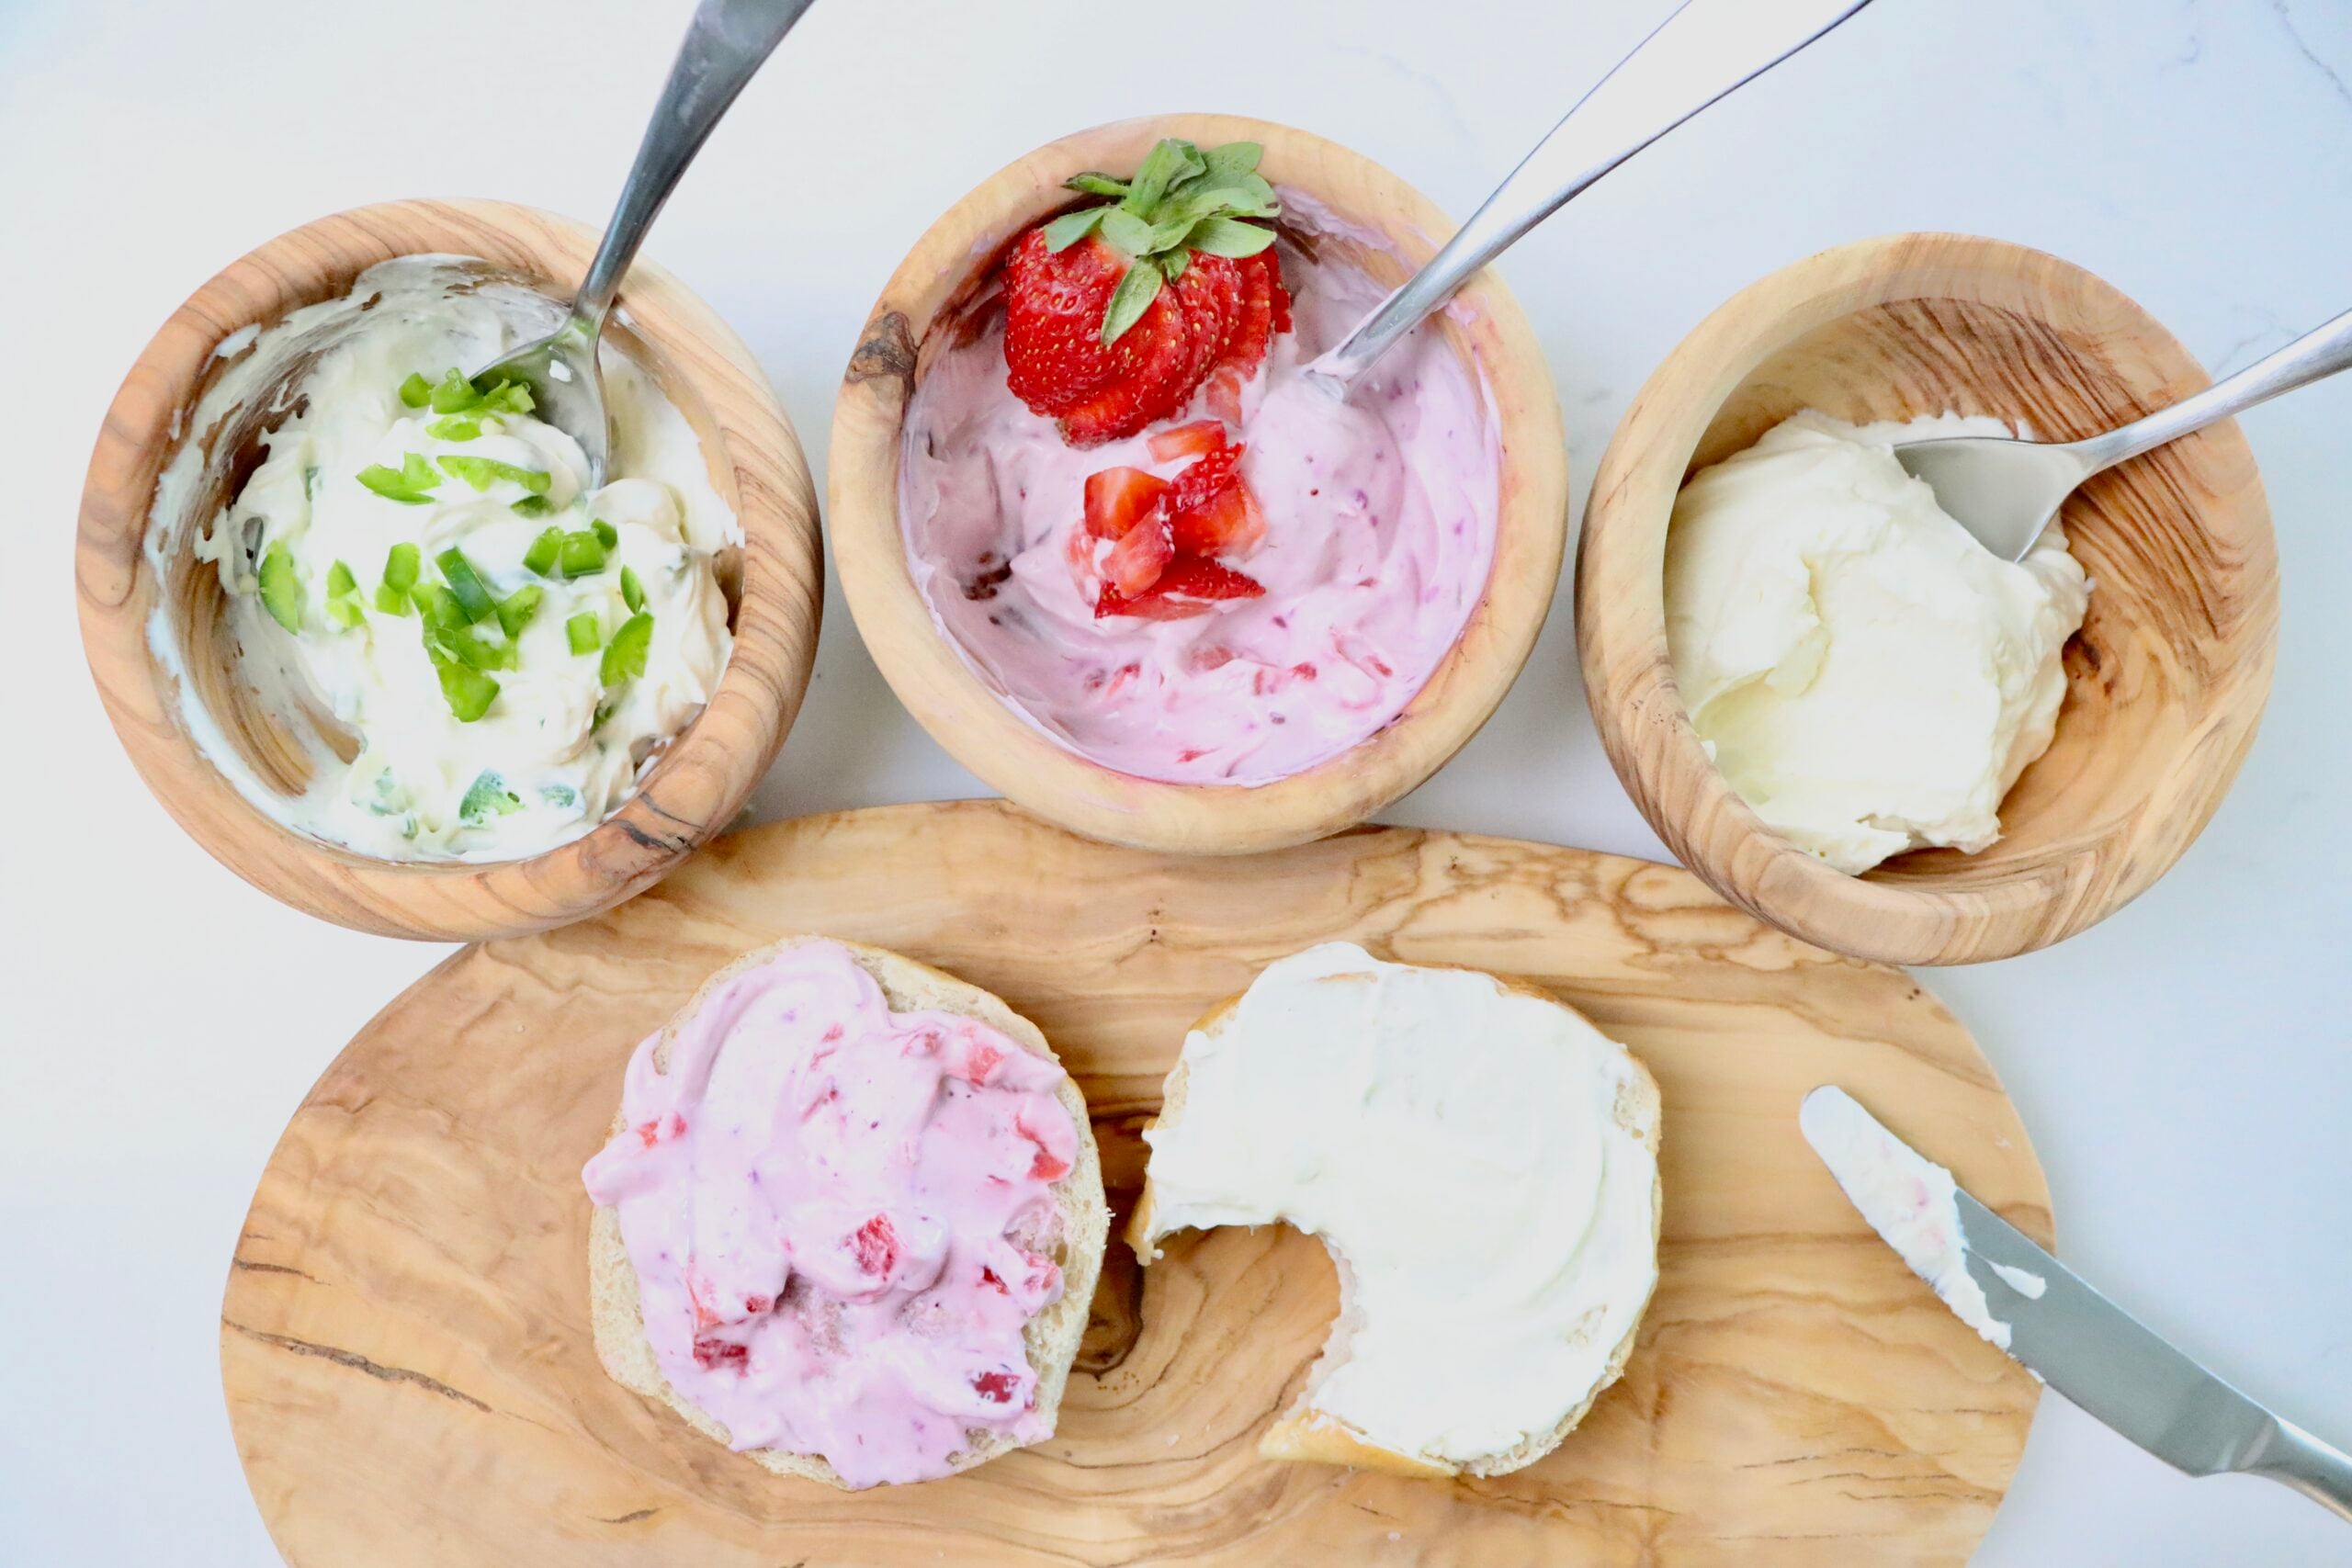
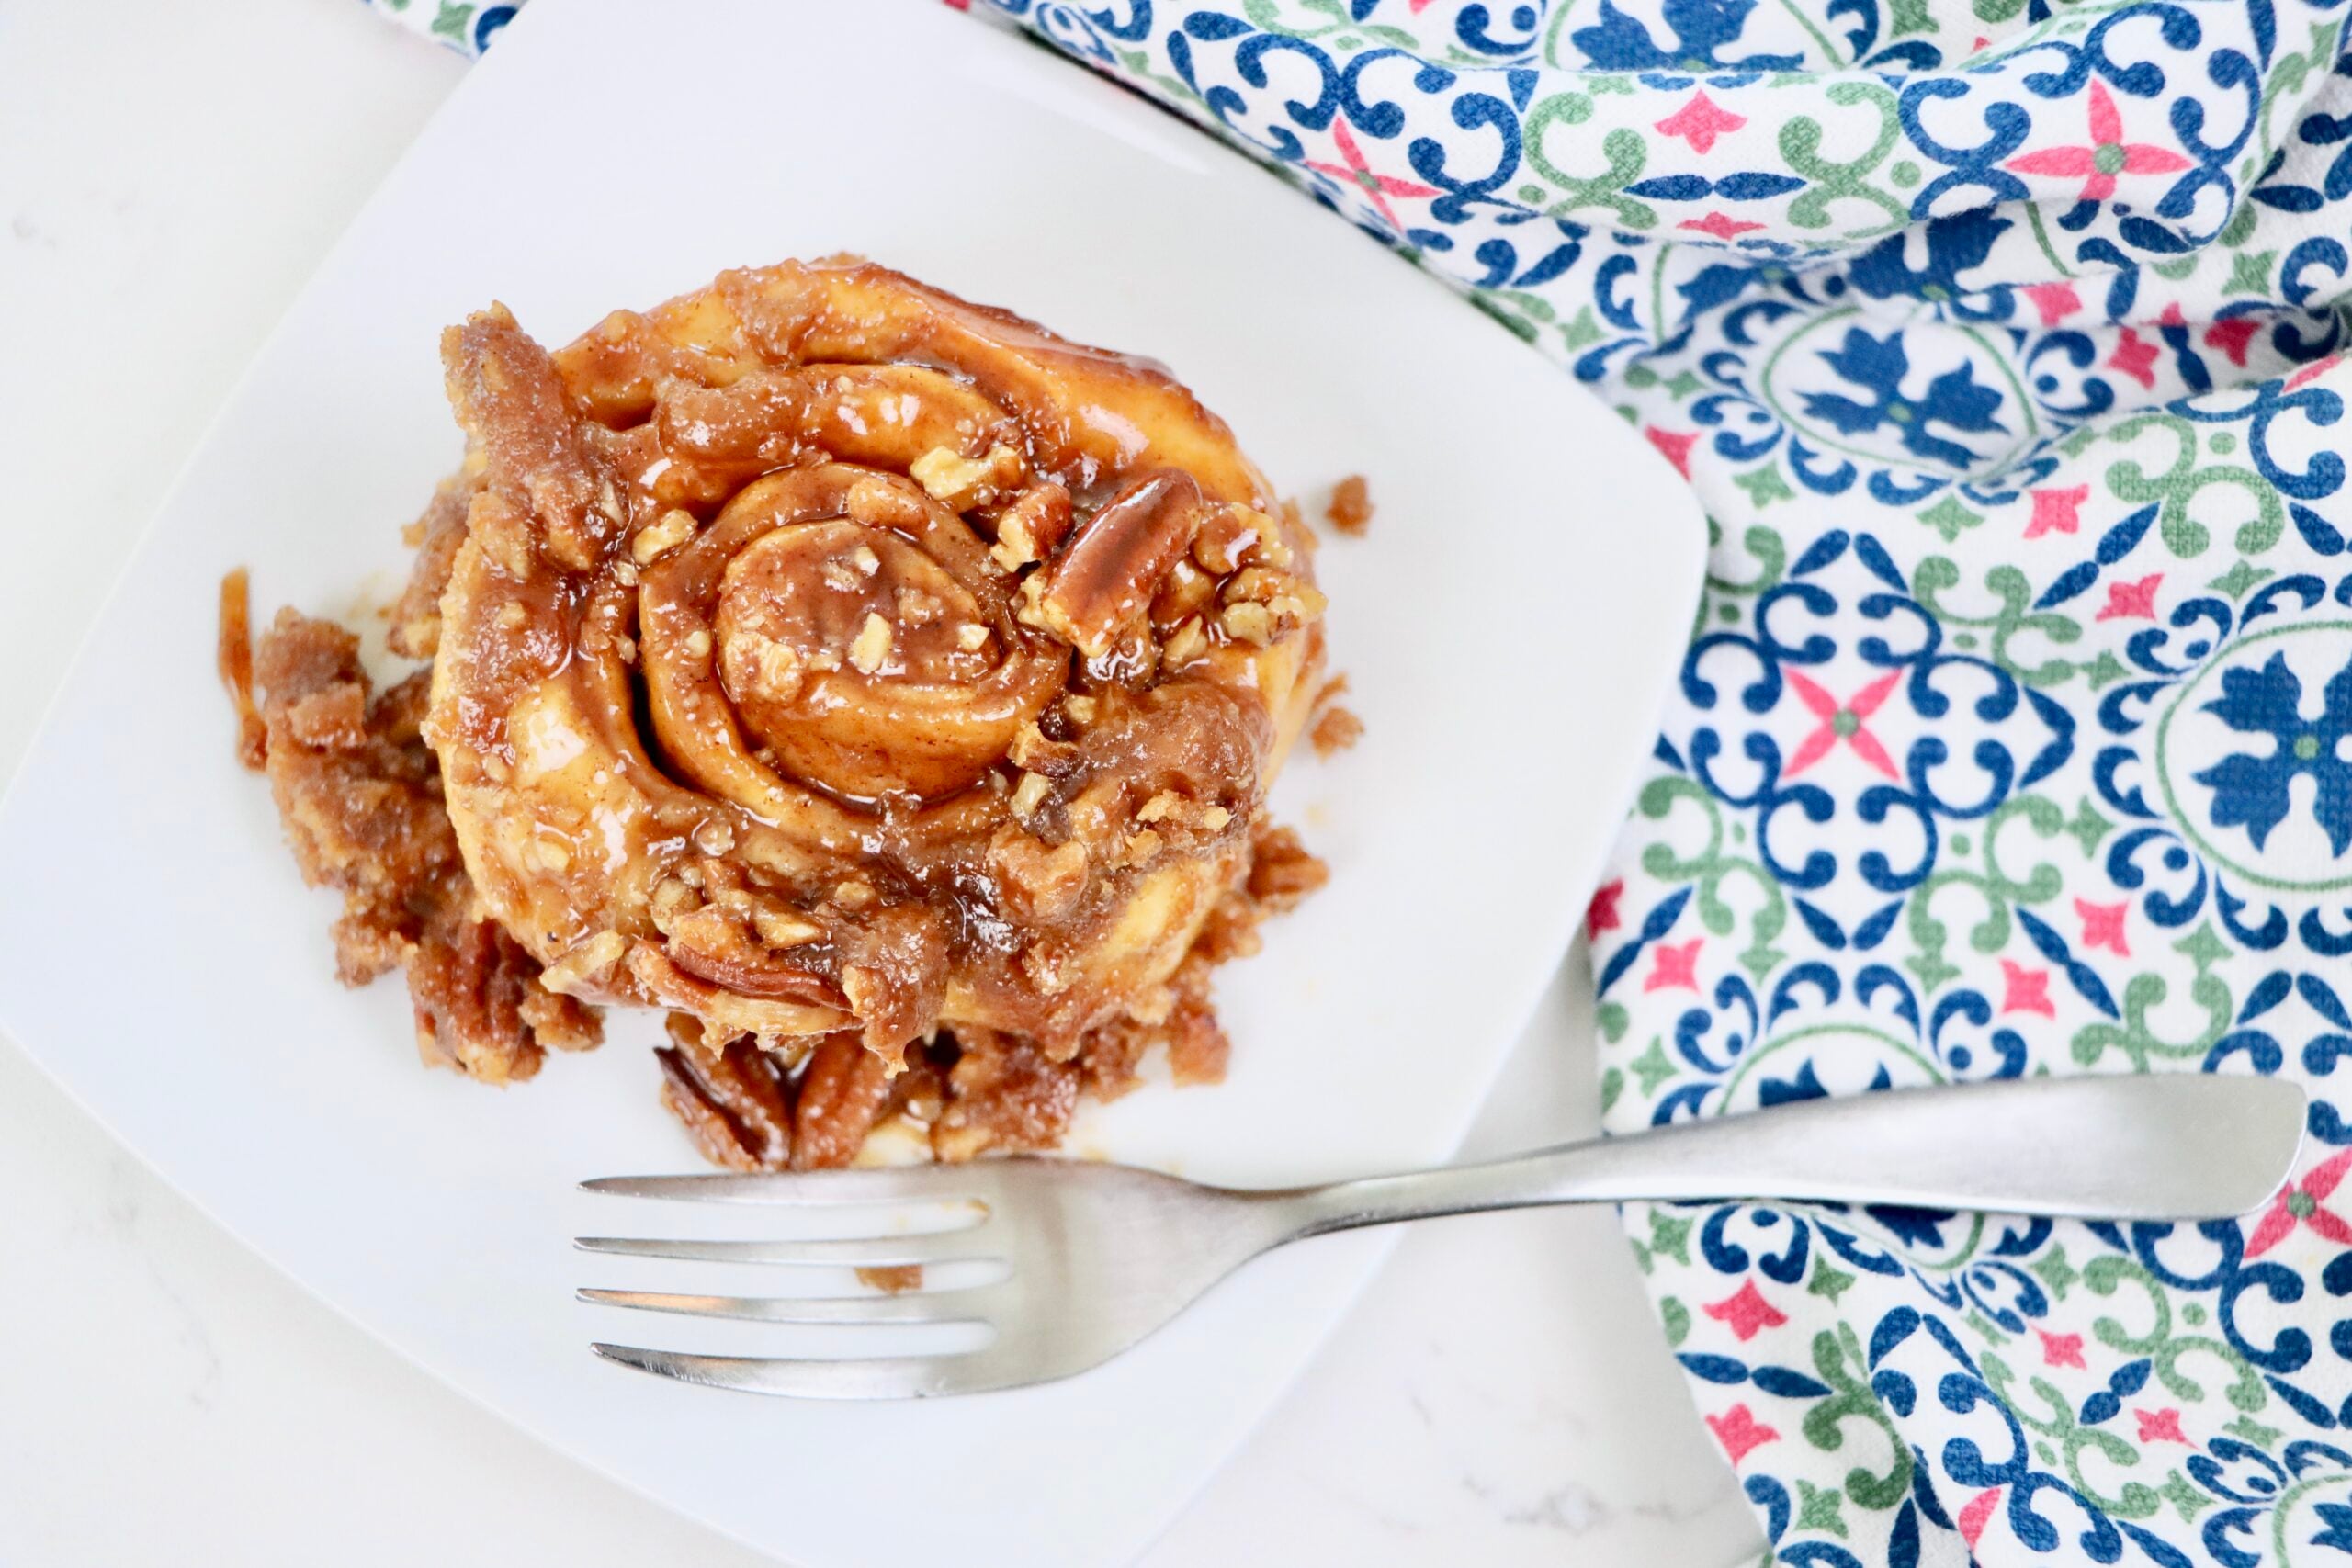
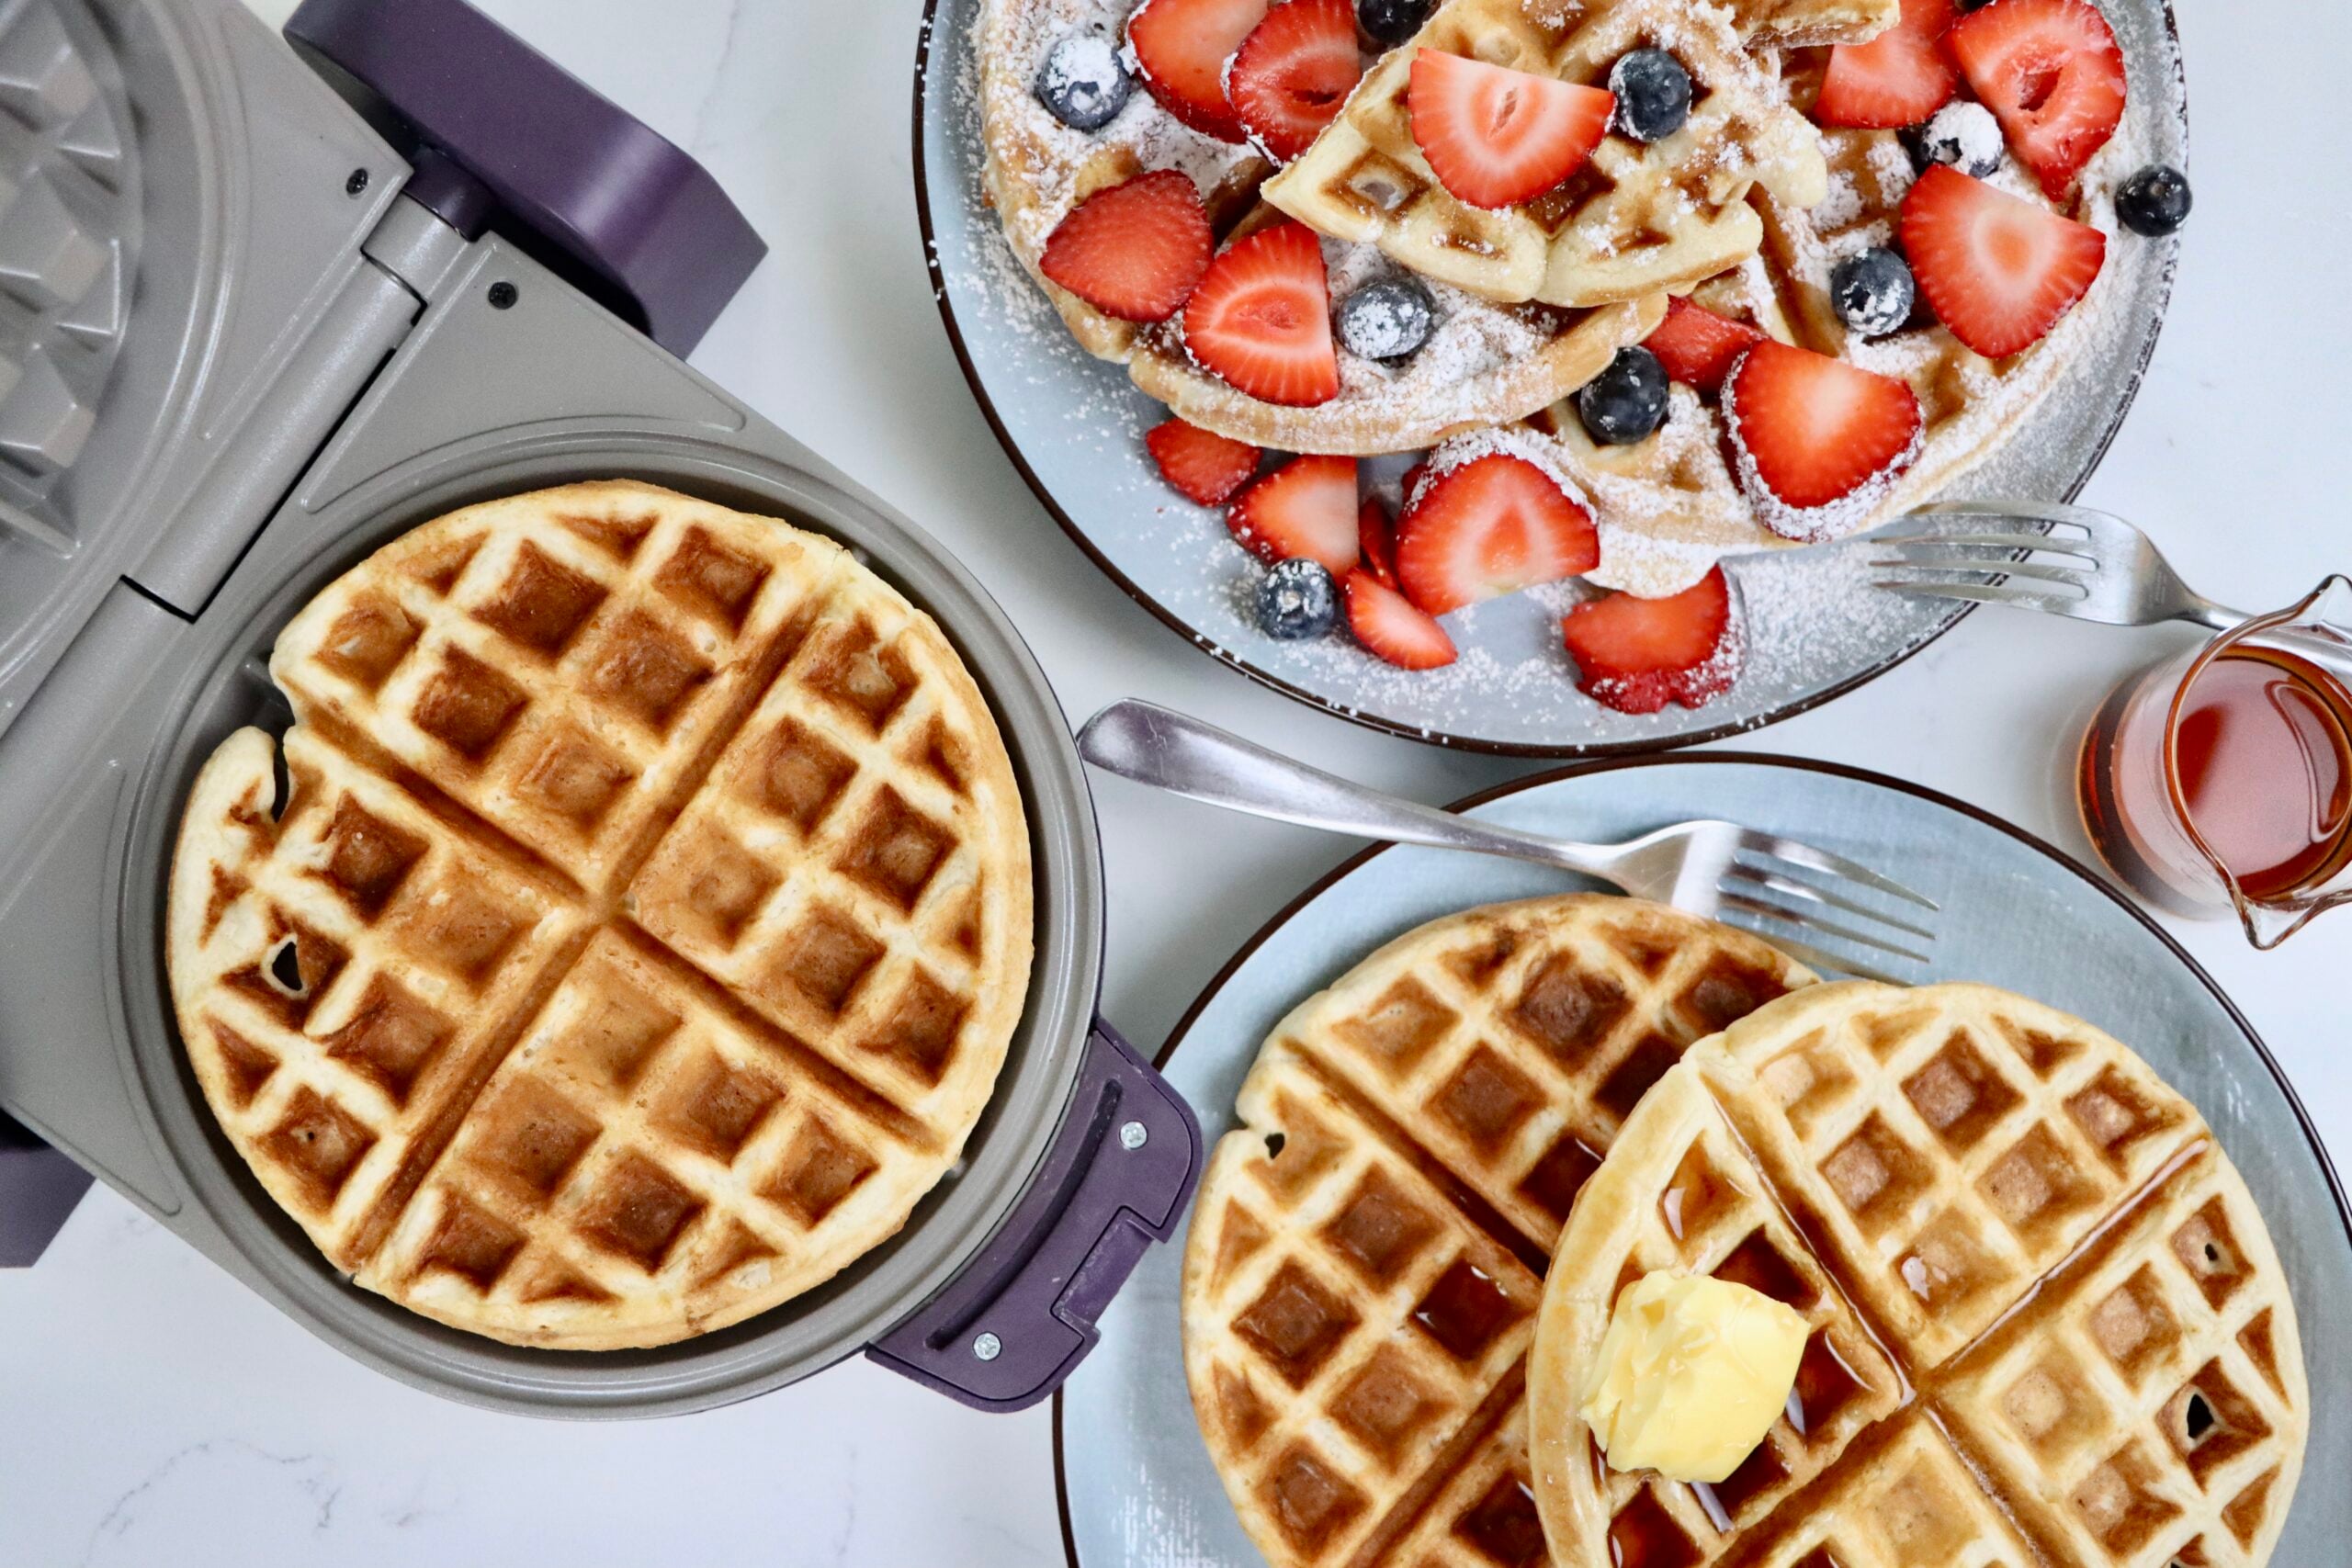
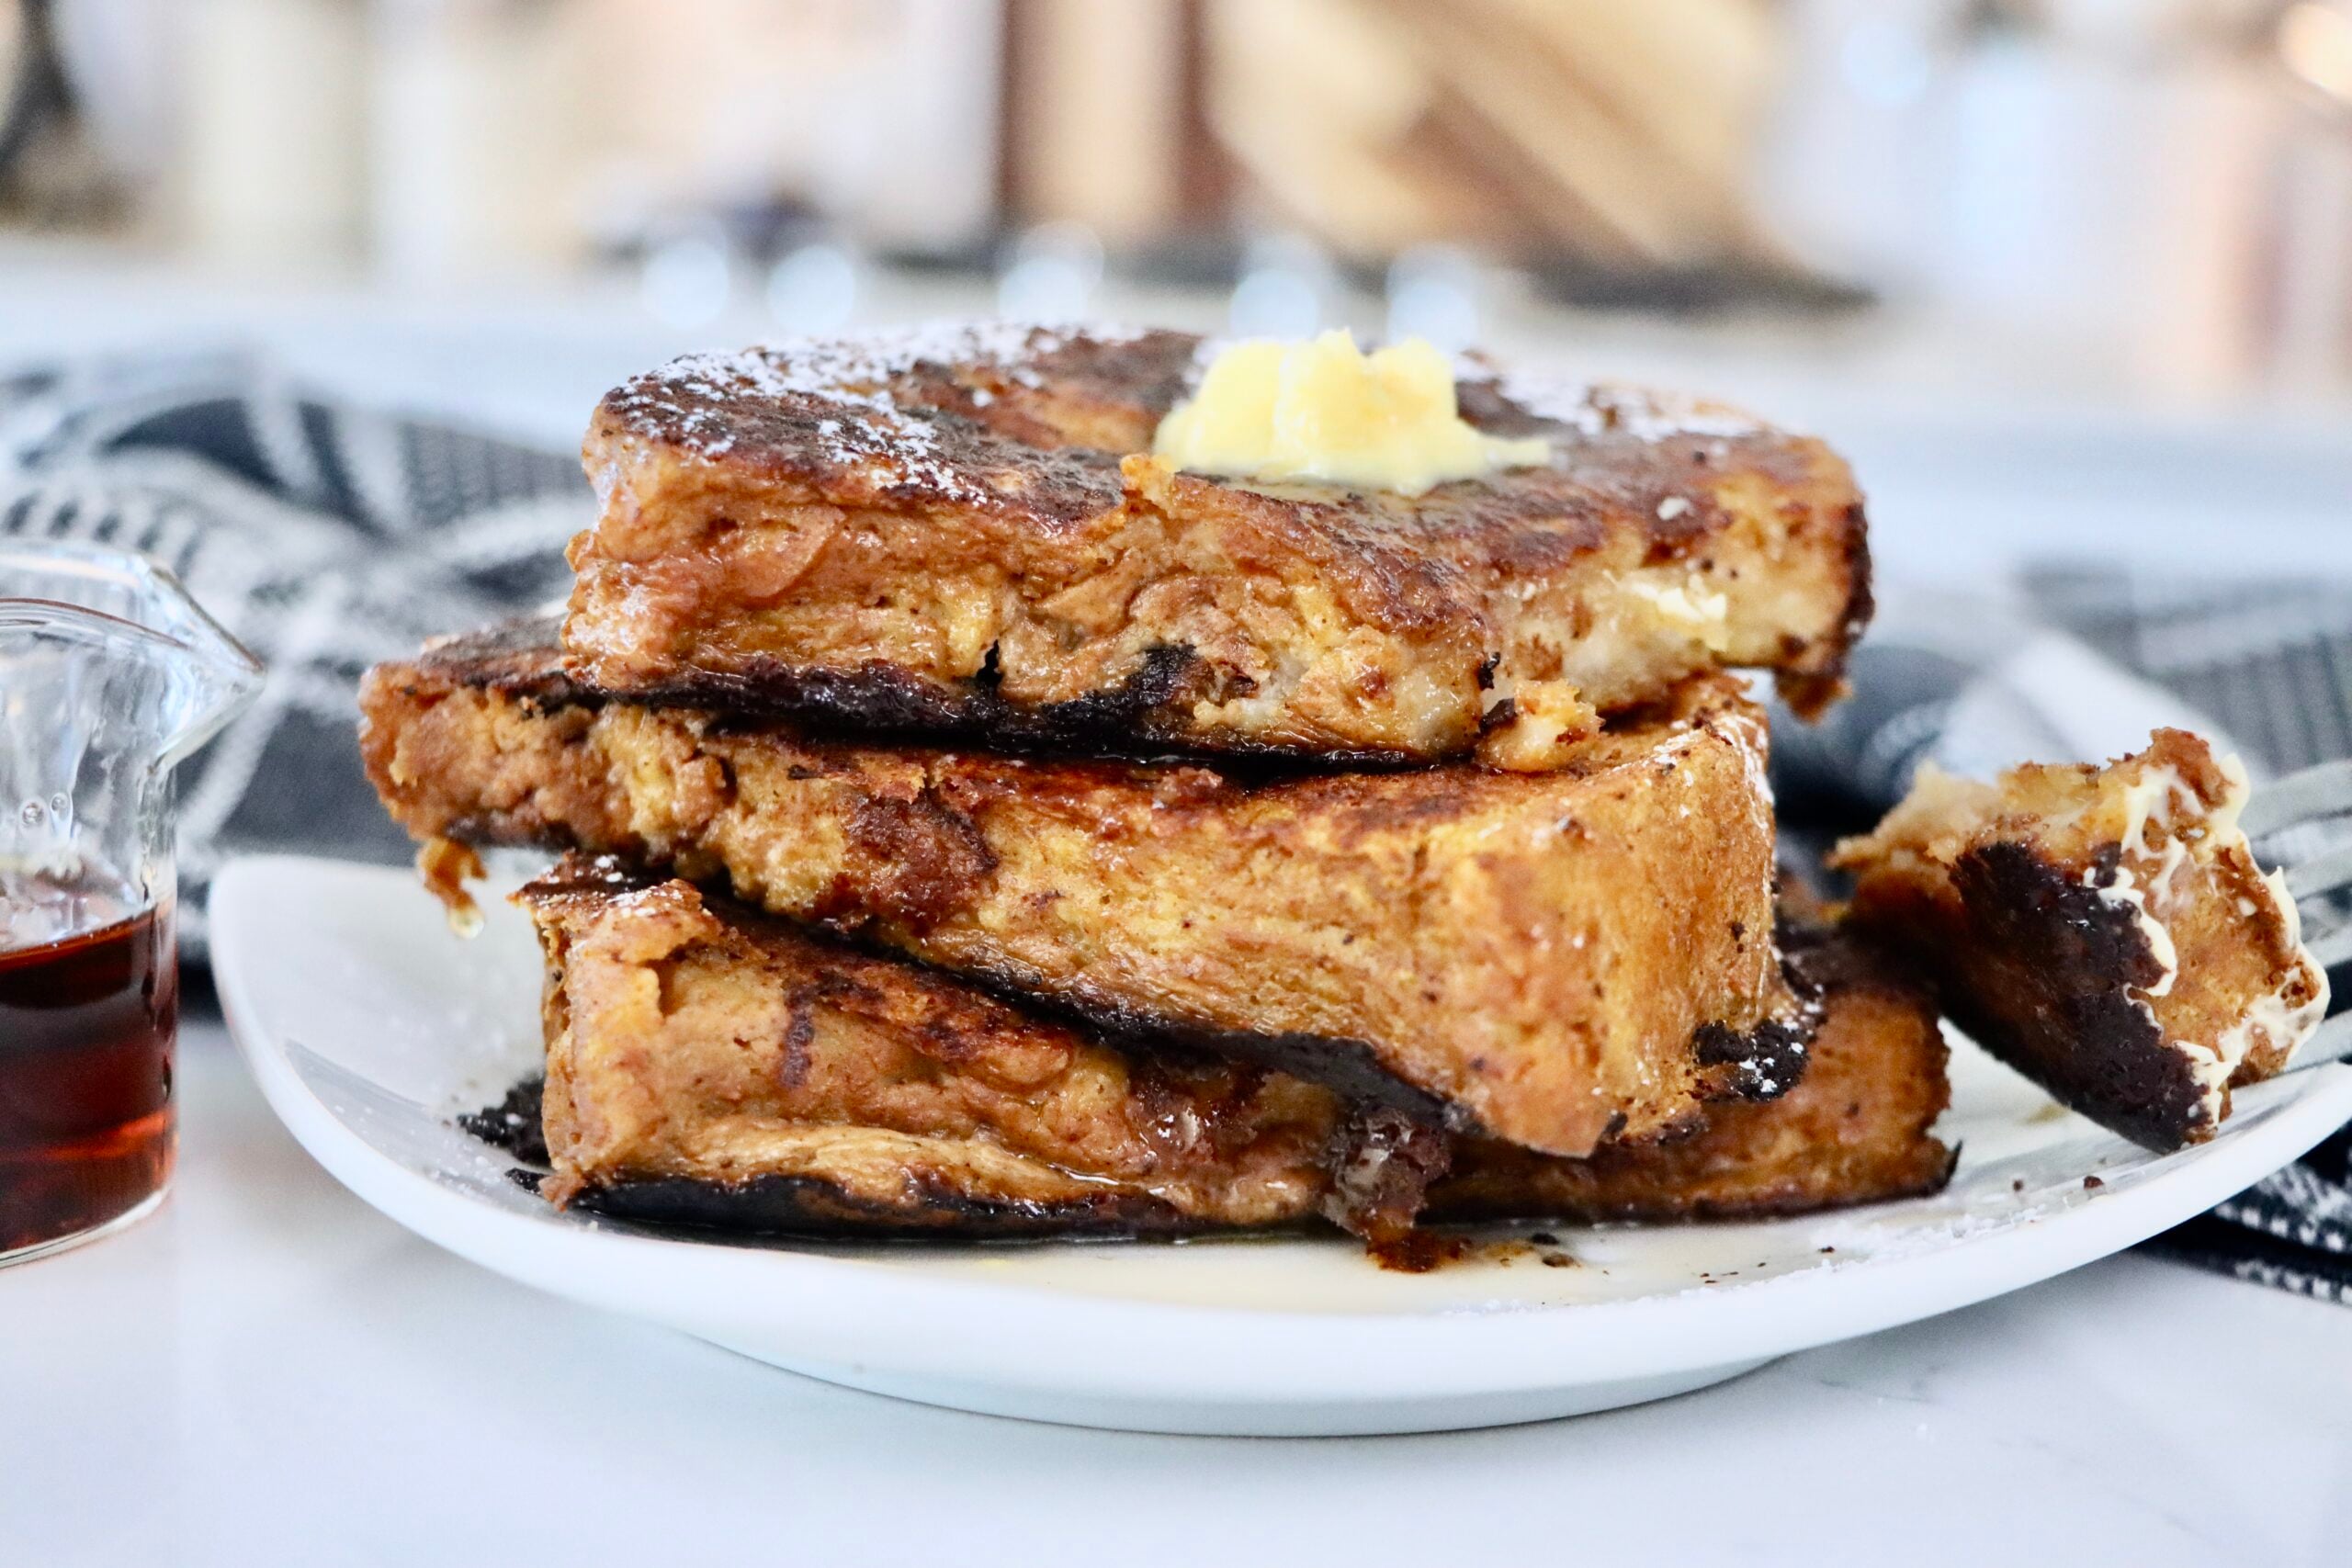
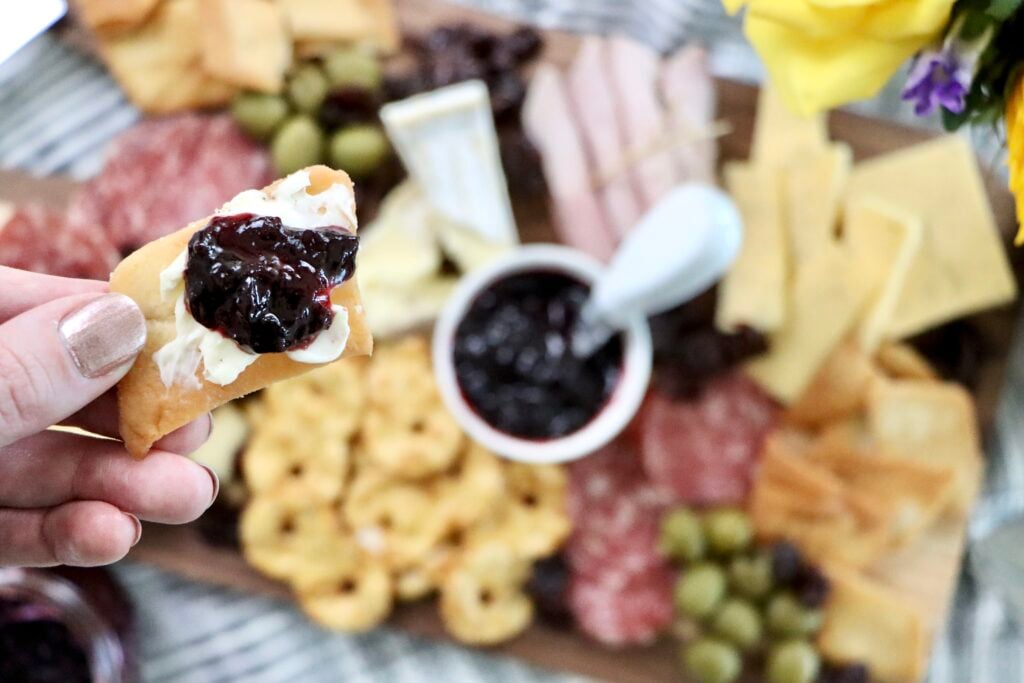
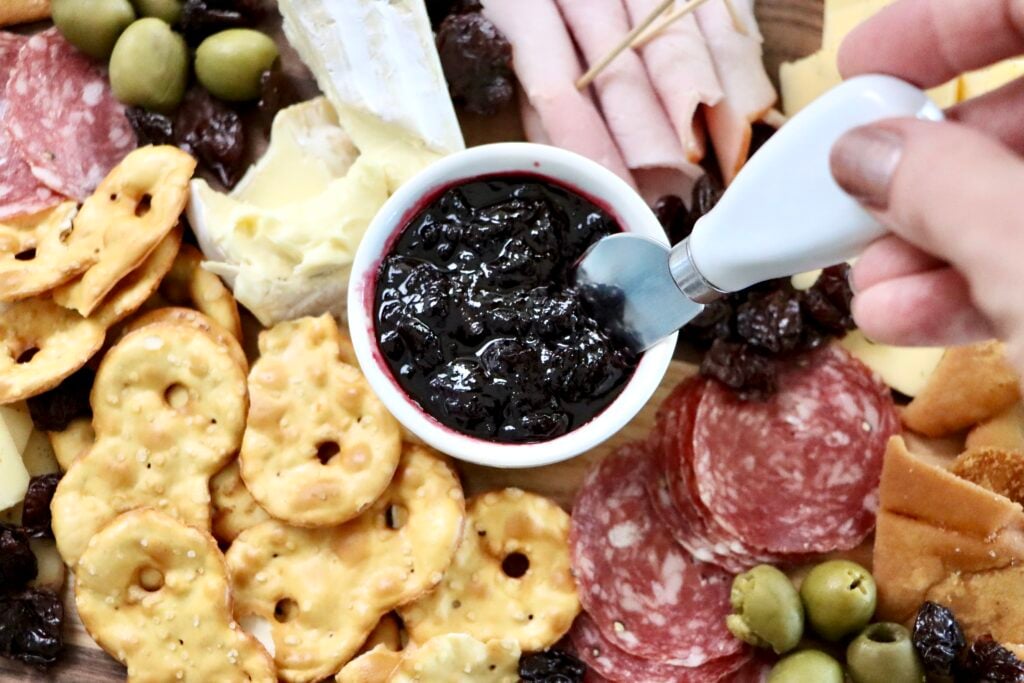
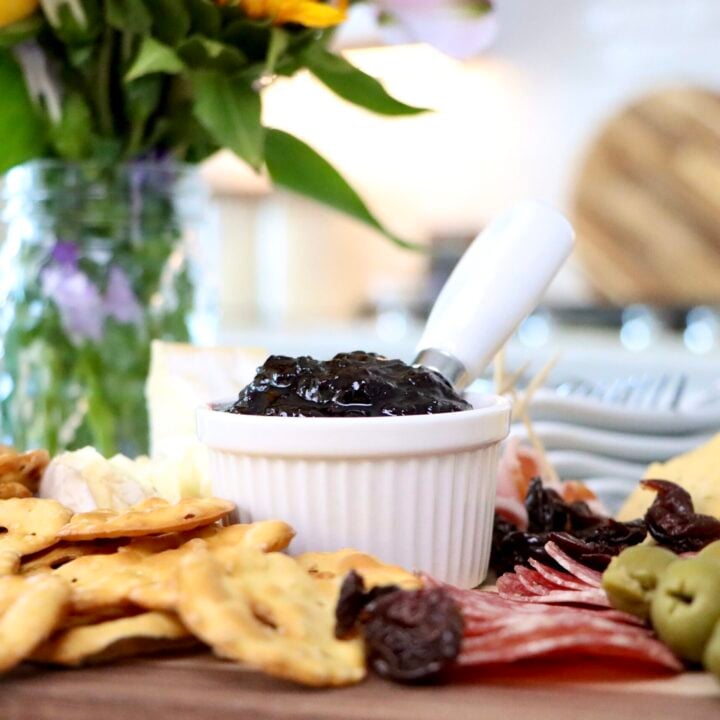
Ways to Use Cherry Jam
This is where the magic really happens.
- Spread on sourdough toast or biscuits
- Spoon over pancakes or waffles
- Swirl into yogurt or oatmeal
- Use as a pastry or cake filling
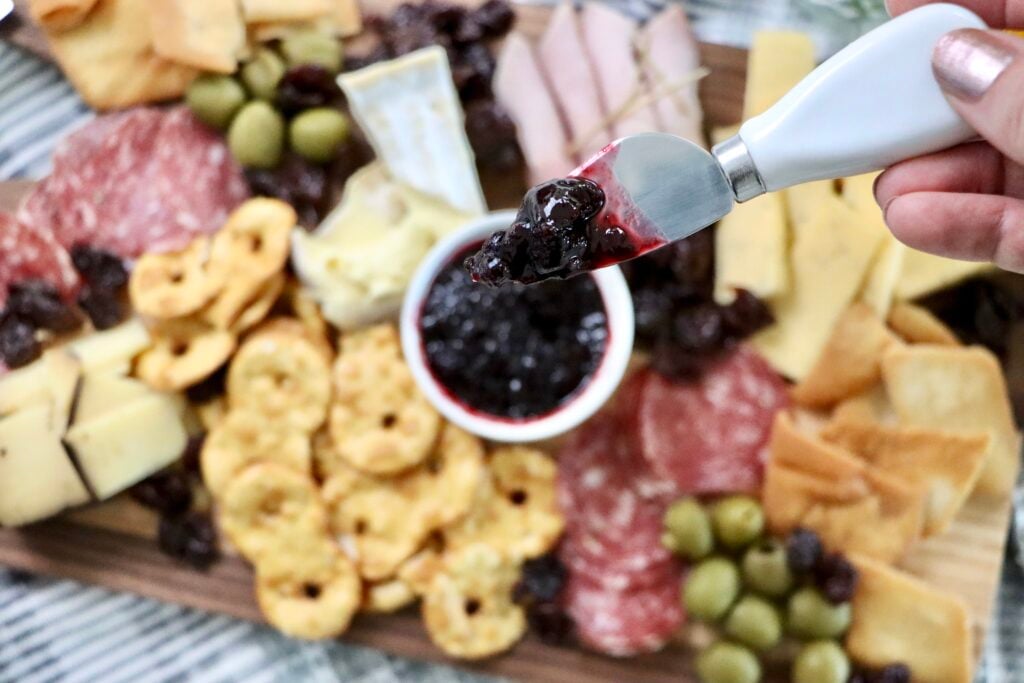
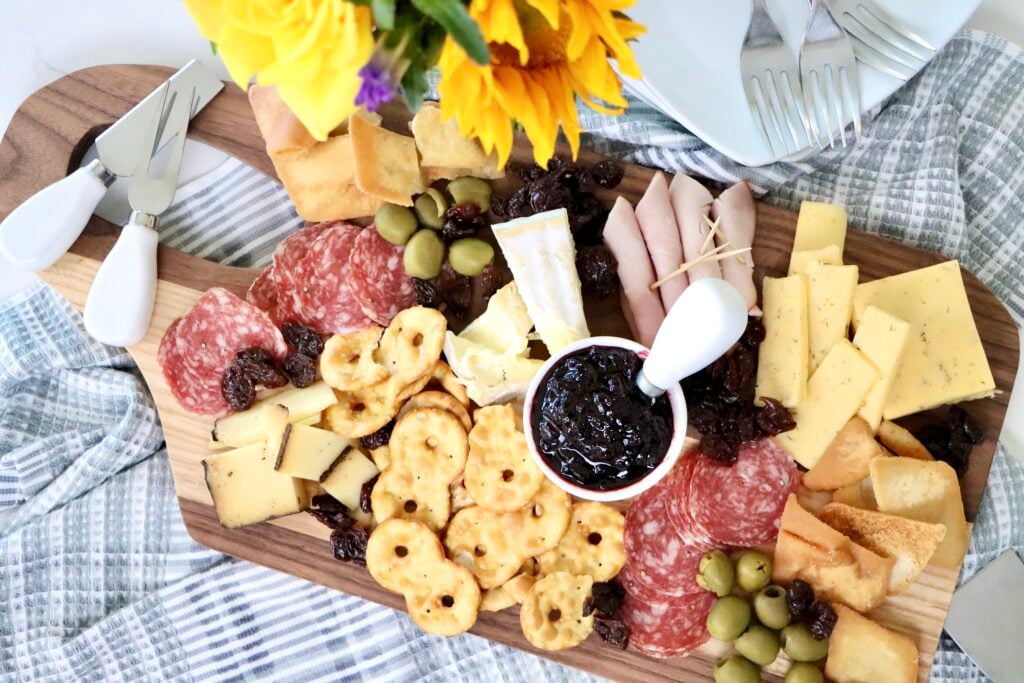
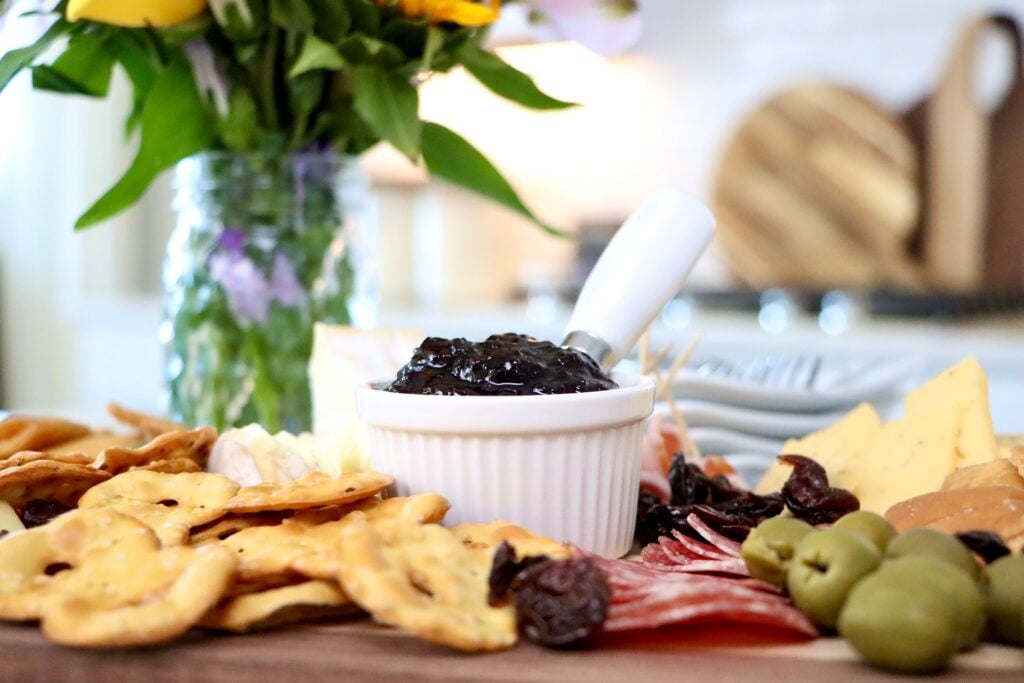
- Add to a simple cheese board
Frequently Asked Questions
Final Thoughts
Making your own jam might feel like a big step—but this recipe proves it doesn’t have to be.
It’s simple. It’s approachable. And it’s one of those small kitchen wins that makes a big difference in how you feed your family.
Once you try it, you might never go back to store-bought again.
Don’t forget to pin this for later!

Cherry Jam
This easy cherry jam recipe uses simple, real ingredients with no pectin and less sugar. A small batch homemade cherry jam ready in under an hour!
Ingredients
- 5 cups cherries, pitted (fresh or frozen - frozen cherries are a lifesaver here. No need to thaw—just toss them straight into the pan.)
- 2 tablespoons lemon juice
- 1/2 cup sugar
- Pinch of salt
Instructions
1. Cook the Cherries
Add your cherries and lemon juice to a saucepan over medium heat.
Let them cook down until the fruit becomes very soft and starts to release its juices. This usually takes about 10–15 minutes.
2. Mash the Fruit
Using a potato masher, mash the cherries to your desired texture.
- Want it chunkier? Mash lightly.
- Prefer it smooth? Use an immersion blender.
3. Add Sugar & Salt
Stir in the sugar and a pinch of salt.
Bring the mixture to a gentle boil, stirring occasionally.
4. Cook Until Thick
Continue boiling for 20–30 minutes, stirring more frequently as it thickens.
You’ll notice the texture change—it becomes glossy, thicker, and coats your spoon.
Notes
- This recipe makes about 2 (8 oz) jars
- Jam will continue to thicken as it cools
- Use a potato masher for a chunkier texture or an immersion blender for a smoother texture
- Cooking time may vary depending on the cherries
- Store in the fridge, freezer, or can for longer storage
- Leave headspace when freezing or canning
Nutrition Information:
Yield: 32 Serving Size: 1 TbspAmount Per Serving: Calories: 40Total Fat: 0gUnsaturated Fat: 0gSodium: 0mgCarbohydrates: 10gFiber: 1gSugar: 9gProtein: 0g
Nutrition facts are calculated automatically and are approximate.